
Why Stovetop Bacon Reigns Supreme for Home Cooks
While oven-baked bacon has gained popularity, the stovetop method remains the gold standard for precision cooking. Unlike other methods, frying bacon in a skillet puts you in complete control of the cooking process, allowing you to adjust heat instantly and monitor each strip's progress. Professional chefs consistently prefer this technique for its reliability and the superior texture it produces—crispy edges with tender centers that maintain that signature bacon chew.
Essential Equipment Checklist
You don't need specialty tools for perfect stovetop bacon. Here's what actually matters:
- Heavy-bottomed skillet (cast iron or stainless steel)—ensures even heat distribution
- Metal tongs—for safe flipping without splatter
- Slotted spatula—helps remove bacon while leaving grease behind
- Heatproof plate lined with paper towels—for proper draining
Save counter space by skipping bacon presses and splatter guards—proper heat management eliminates most splatter issues.
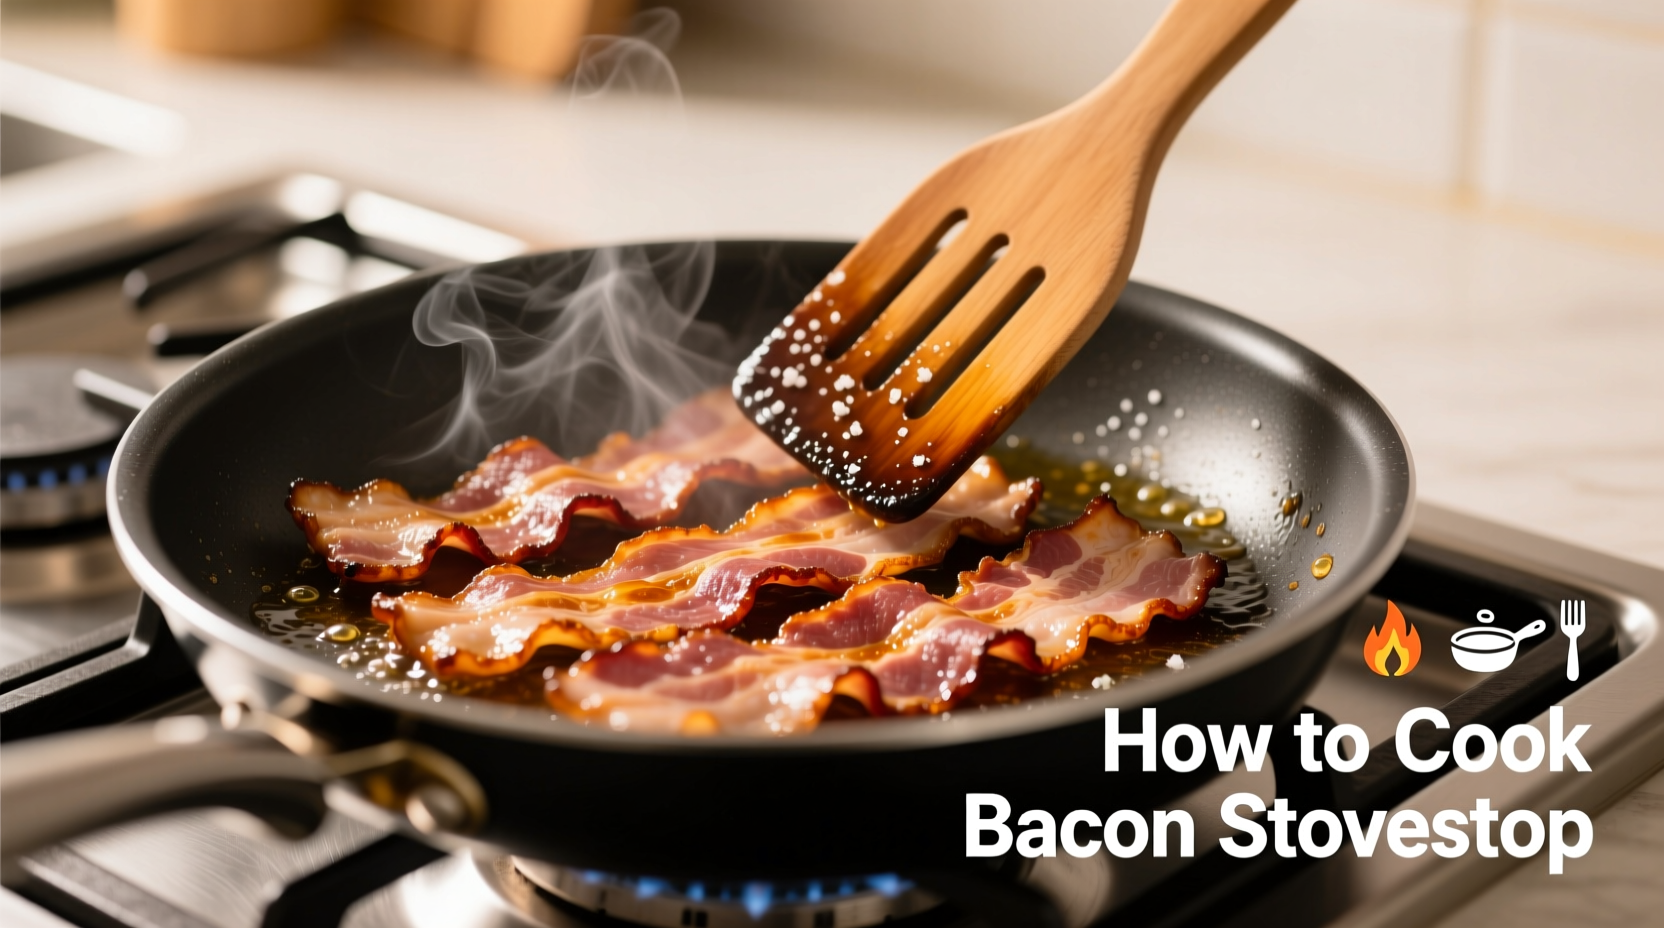
Step-by-Step Cooking Process
Preparation Phase: Setting Up for Success
Begin with bacon at refrigerator temperature—never frozen. Arrange strips in your cold skillet without overlapping. Pro tip: Place strips slightly curved upward; they'll naturally flatten as they cook. This cold-start method allows fat to render gradually, preventing burnt edges and chewy centers.
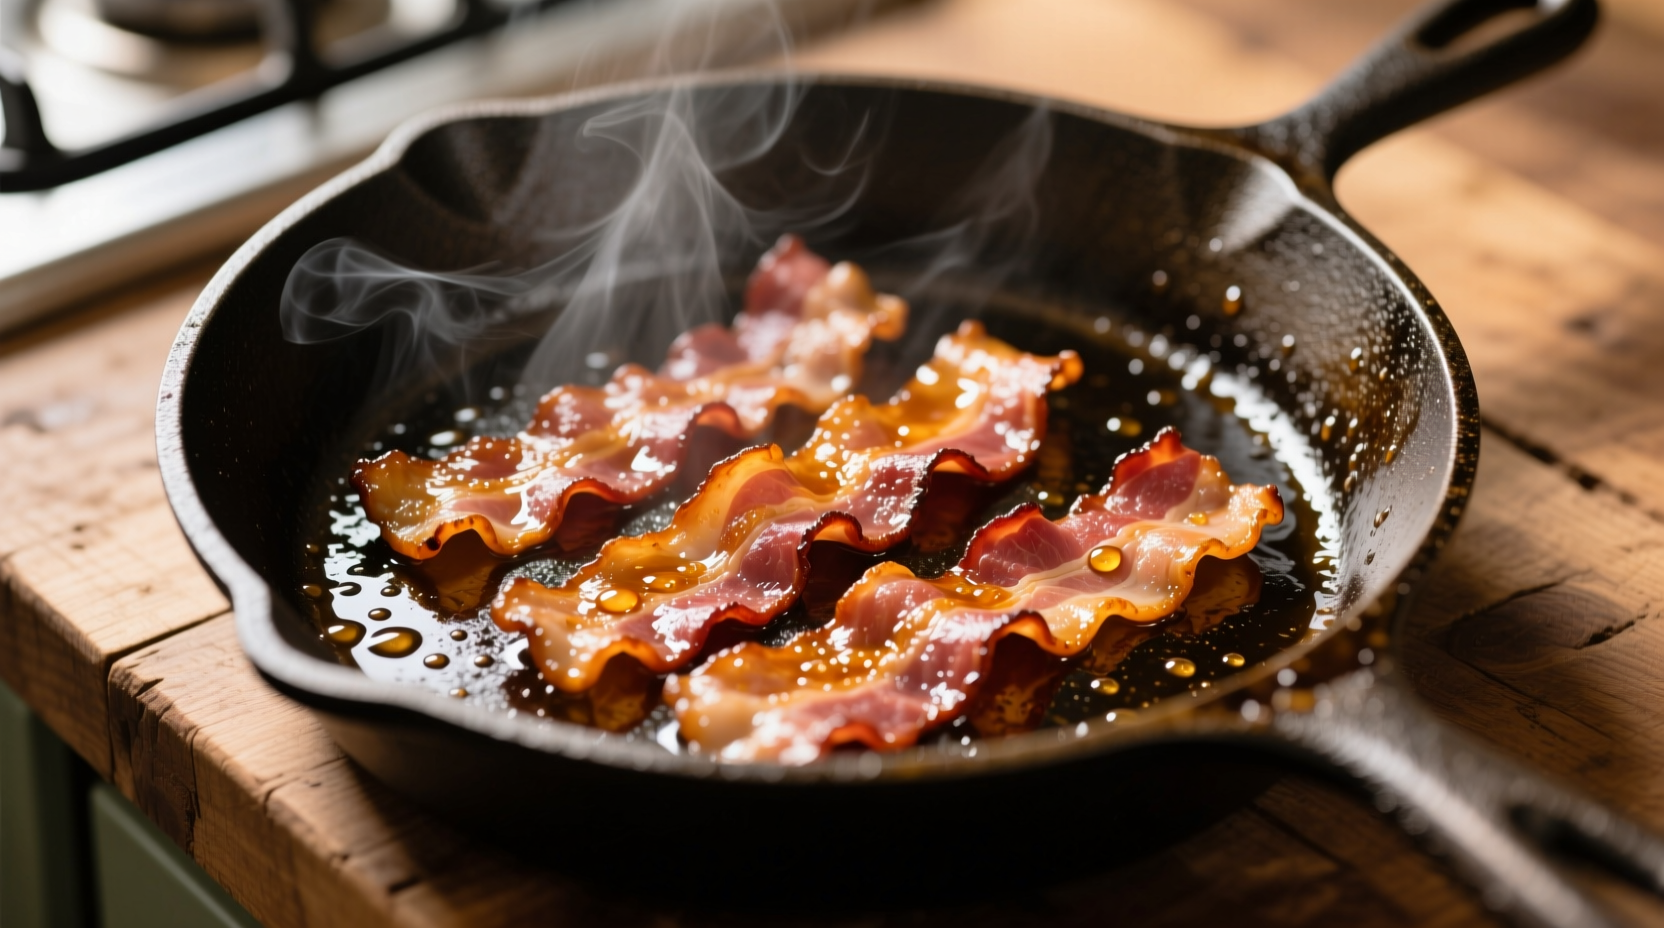
Cooking Phase: Mastering Heat Control
Set burner to medium-low (300-325°F). As the skillet warms:
- First 3-4 minutes: Bacon releases moisture, appearing limp
- Next 3-4 minutes: Fat begins rendering, strips curl slightly
- Final 2-4 minutes: Strips flatten and crisp (flip every 2-3 minutes)
Adjust heat if grease stops bubbling or smoke appears. The USDA recommends cooking pork products to an internal temperature of 145°F with a 3-minute rest, though bacon's thinness means visual cues are more practical—golden brown with minimal white fat remaining.
| Cooking Stage | Visual Cues | Texture Test |
|---|---|---|
| Undercooked | Translucent fat, pale meat | Bends easily without resistance |
| Perfectly Cooked | Golden brown, minimal white fat | Slight resistance when bent |
| Overcooked | Dark brown, shrunken | Snaps immediately when bent |
Finishing Phase: Draining and Storage
Transfer cooked bacon to your paper towel-lined plate using tongs. Let drain for 1-2 minutes—this removes excess grease without drying out the meat. For longer storage, place cooled bacon in an airtight container with paper towels between layers; the USDA Food Safety and Inspection Service confirms properly stored cooked bacon remains safe for 4-5 days in refrigeration.
Pro Techniques for Custom Results
For extra-crispy bacon: After initial cooking, increase heat to medium for the final minute while pressing strips gently with your spatula. The Culinary Institute of America notes this additional contact with the hot surface creates maximum crispness through enhanced Maillard reaction.
For chewier bacon: Reduce heat to low after the first flip and extend cooking time by 2-3 minutes. This slower rendering preserves more moisture in the meat fibers.
Grease management tip: As fat accumulates, carefully pour excess into a heatproof container—never down the drain. Save this valuable cooking fat for flavoring vegetables or eggs; the American Council on Science and Health confirms properly strained bacon grease remains stable for weeks when refrigerated.
Troubleshooting Common Issues
Bacon sticking to pan: This occurs when heat is too high initially. Always start with a cold pan and allow gradual warming. Cast iron requires proper seasoning—if using new cookware, lightly oil the surface before adding bacon.
Uneven cooking: Rotate strips during cooking. Thicker-cut bacon may need individual attention—move thinner pieces to cooler parts of the skillet as they approach doneness.
Excessive smoke: Lower heat immediately and ensure your range hood is operating at maximum suction. The National Fire Protection Association reports that cooking oil smoke points vary by type—bacon fat smokes around 375°F, so maintaining temperatures below this threshold prevents smoke issues.
Safety First: Preventing Kitchen Disasters
Bacon grease fires account for thousands of home incidents annually according to the U.S. Fire Administration. Never leave cooking bacon unattended, keep a lid nearby to smother potential flames, and never use water on grease fires. Proper grease disposal is equally critical—allow fat to cool completely before transferring to a sealed container for trash disposal. Pouring grease down drains causes expensive plumbing issues and contributes to municipal sewer blockages.
Frequently Asked Questions
How do I prevent bacon from curling while cooking?
Place strips with the slightly curved edge facing up—they'll naturally flatten as they cook. For stubborn curling, lay a wire cooling rack on top of the bacon during the first few minutes to weigh it down without restricting grease drainage.
Can I cook frozen bacon directly in the skillet?
Yes, but with adjustments. Start on the lowest heat setting and allow 50% more cooking time. The USDA Food Safety and Inspection Service confirms frozen bacon can be safely cooked without thawing, though results may be slightly less even than with thawed product.
What's the ideal thickness for stovetop bacon?
Regular-cut (1/16 inch) works best for stovetop cooking. Thick-cut bacon requires significantly longer rendering time that often leads to burnt edges before the fat fully renders. The National Pork Board recommends adjusting cooking times by 30-50% when using thick-cut varieties.
How can I reduce splatter without a splatter guard?
Maintain medium-low heat to prevent violent grease popping. As bacon cooks, the water content decreases, reducing splatter. The American Chemical Society explains that splatter occurs when water droplets hit hot oil—starting with cold bacon in a cold pan minimizes this reaction.


 浙公网安备
33010002000092号
浙公网安备
33010002000092号 浙B2-20120091-4