
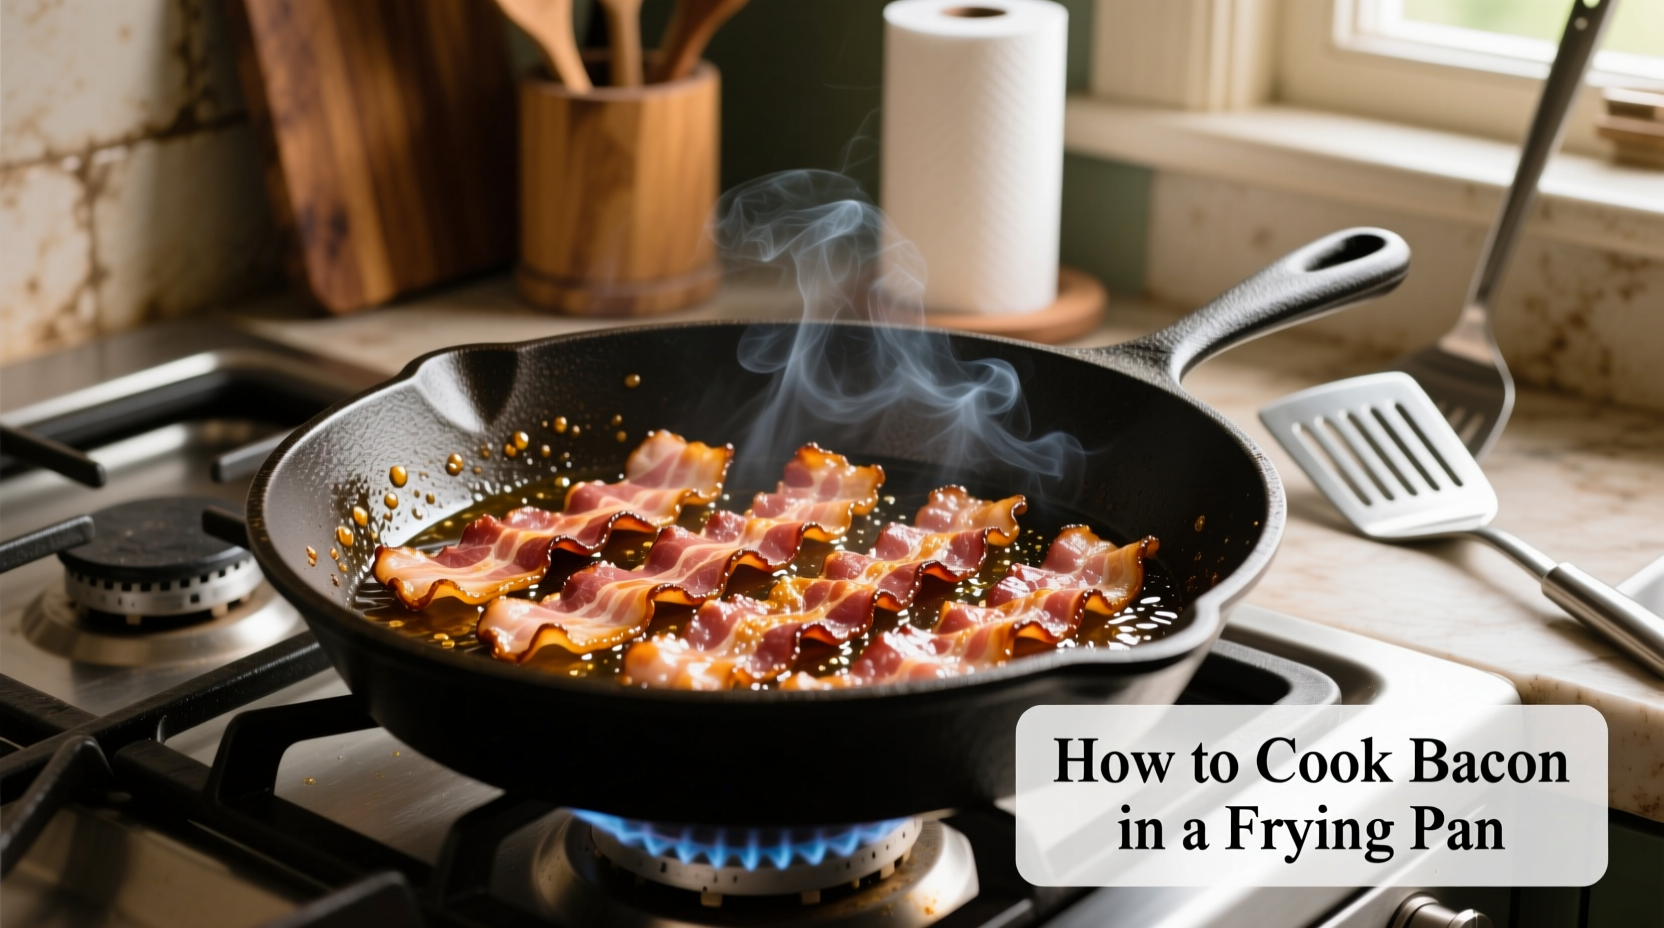
Place bacon strips in a cold skillet, cook over medium-low heat for 8-12 minutes, flipping occasionally, until golden brown and crispy. Drain on paper towels. This method ensures evenly cooked bacon with minimal splatter and maximum crispness.
Perfectly cooked bacon should be golden brown with crispy edges and tender centers - not burnt or overly greasy. The cold-pan method delivers consistent results by allowing fat to render slowly, creating that ideal balance of crunch and chewiness home cooks seek. According to USDA food safety guidelines, properly cooked bacon reaches an internal temperature of 145°F (63°C), though visual cues like color and texture are more practical indicators for this thin cut of meat.
What You'll Need Before You Start
Before heating your pan, gather these essentials for successful bacon cooking:
| Equipment | Why It Matters | Pro Tip |
|---|---|---|
| Heavy-bottomed skillet | Ensures even heat distribution | Cast iron retains heat best for consistent cooking |
| Metal tongs | Safely flips bacon without tearing | Skip forks which pierce bacon and release precious fat |
| Paper towels | Absorbs excess grease | Line a wire rack for even draining without soggy bottoms |
Choose your bacon wisely - thick-cut varieties require 2-3 extra minutes but deliver meatier texture, while standard cuts cook faster. Look for bacon with consistent marbling; uneven fat distribution causes warping and uneven cooking. The American Egg Board notes that bacon has been a breakfast staple since colonial times, originally cooked over open hearths before cast iron skillets became household essentials in the 19th century.
Your Step-by-Step Cooking Journey
Phase 1: The Perfect Setup (0-2 Minutes)
Arrange bacon strips in a single layer in your cold skillet without overlapping. This cold-start technique prevents the initial violent splattering that occurs when hot grease hits cold meat. The slow temperature increase allows fat to render gradually, creating that ideal crispy-yet-tender texture. Position strips so fat edges slightly overlap - this self-basting method ensures even cooking.
Phase 2: The Rendering Process (3-8 Minutes)
Set burner to medium-low heat - too high causes burning before fat renders, too low makes bacon tough. After 3 minutes, you'll see bubbles forming as fat begins liquefying. Use tongs to gently nudge bacon into optimal contact with the pan. Around minute 5, the white fat turns translucent and bacon starts curling. This is when most home cooks make the critical mistake of cranking up the heat - resist this urge! Patience creates perfect texture.
Phase 3: Achieving Your Desired Crispness (9-12 Minutes)
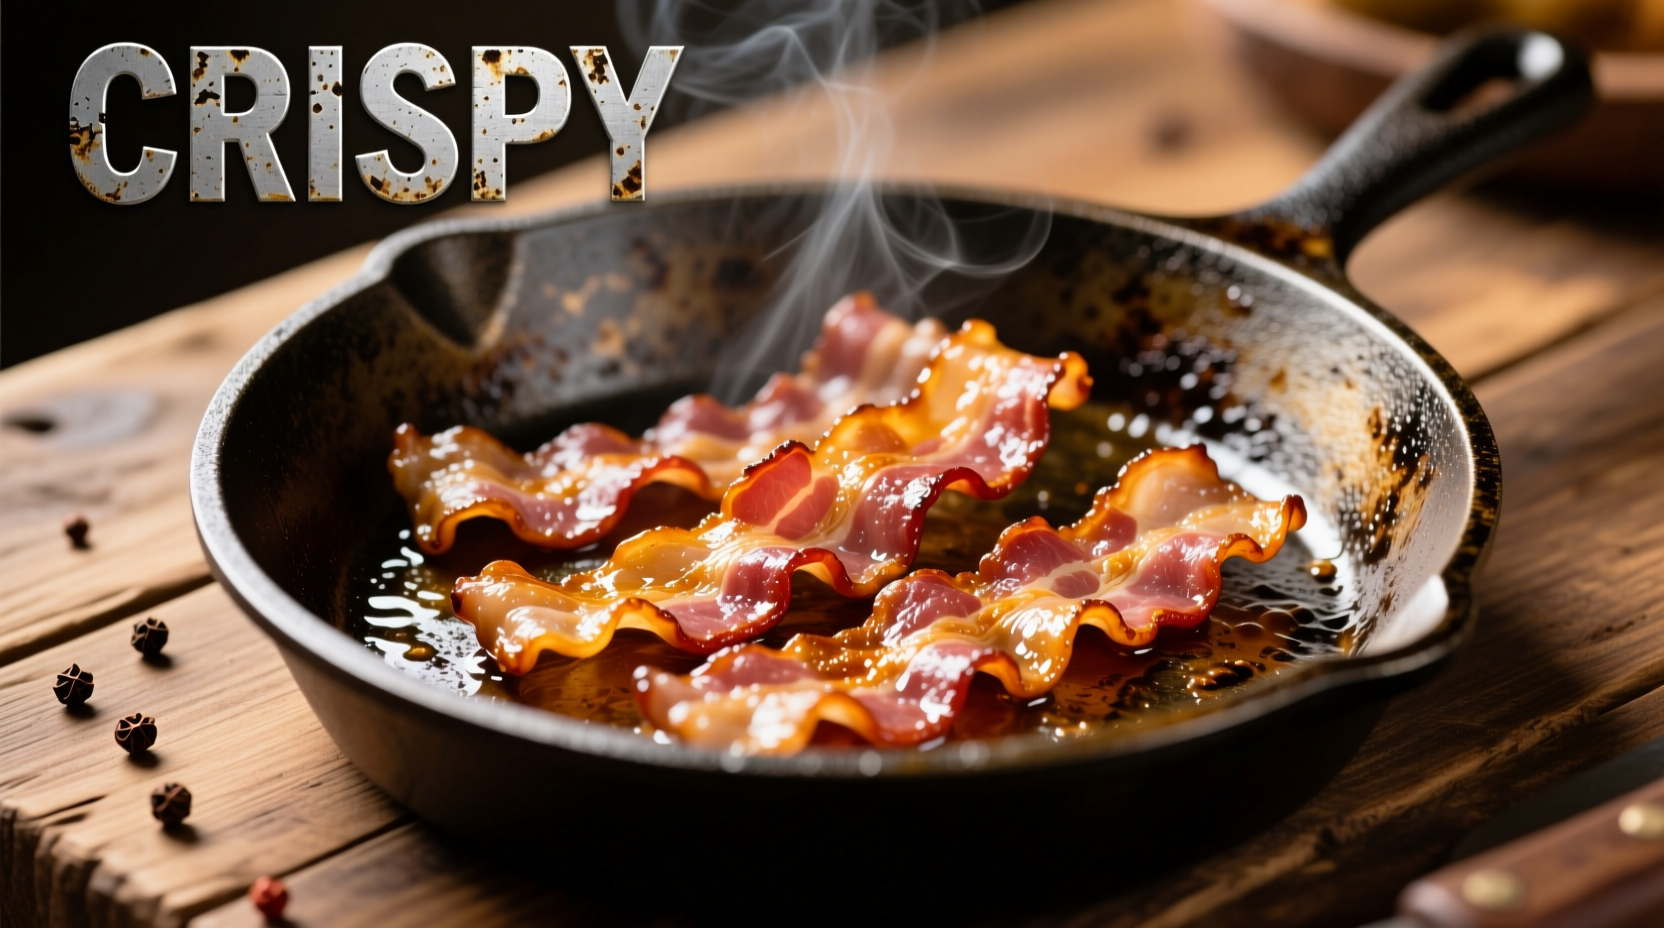
Flip bacon every 2-3 minutes using tongs. For chewier bacon, cook to golden yellow (about 9 minutes). For extra crispy results, continue until deep amber color (11-12 minutes). Watch for the 'shimmer test' - when the entire strip glistens with rendered fat, it's nearing completion. Remove pieces as they finish since thickness variations mean they won't all be done simultaneously.
Troubleshooting Common Bacon Problems
When Grease Starts Splattering Violently
This happens when water content in bacon hits hot oil. Immediately reduce heat and add 1-2 tablespoons of water to the pan - the steam created lowers the oil temperature momentarily. The FDA recommends never using water to extinguish grease fires, but this small amount safely controls splatter during normal cooking.
If Bacon Is Curling Excessively
Place a wire cooling rack upside down on top of the bacon while cooking. The gentle weight keeps strips flat without pressing out flavorful fat like a bacon press would. This professional technique from culinary institutes creates restaurant-quality presentation at home.
Pro Techniques for Next-Level Results
Temperature control mastery: Maintain 325-350°F (163-177°C) - use an infrared thermometer if unsure. This sweet spot renders fat without burning proteins.
Flavor infusion: During the last 2 minutes of cooking, add 1 teaspoon maple syrup or brown sugar for caramelized edges. The Maillard reaction creates complex flavors while maintaining crisp texture.
Grease management: Save rendered bacon fat in a glass container for future cooking. This 'liquid gold' adds incredible flavor to roasted vegetables and enhances scrambled eggs. Store in refrigerator for up to 3 months according to food safety experts at Clemson University Cooperative Extension.
Storing and Using Your Perfectly Cooked Bacon
Cool bacon completely on paper towels before storing. For same-day use, keep at room temperature covered with foil. For longer storage, refrigerate in airtight container for up to 5 days or freeze for 3 months. Re-crisp in a 400°F (204°C) oven for 5 minutes - never microwave, which creates uneven texture.
Leftover bacon elevates countless dishes: crumble over salads, incorporate into breakfast sandwiches, or add to pasta carbonara. Food historians note that during World War II, bacon grease collection was part of the American war effort, with citizens donating rendered fat for explosives production - a fascinating example of how this humble ingredient has shaped history.


 浙公网安备
33010002000092号
浙公网安备
33010002000092号 浙B2-20120091-4