
There's nothing quite like a perfectly cooked sirloin steak—tender, juicy, and bursting with flavor. Yet many home cooks struggle with this popular cut, ending up with tough, dry results that disappoint. The secret isn't expensive equipment or rare ingredients; it's understanding the science behind cooking this particular cut and applying precise techniques at each stage.
Why Sirloin Steak Challenges Home Cooks
Sirloin comes from the hip area of the cow, making it leaner and more muscular than premium cuts like ribeye or filet mignon. According to the USDA Food Safety and Inspection Service, this cut contains more connective tissue that requires proper handling to achieve tenderness. Many home cooks make critical errors that activate these tough fibers:
- Starting with cold steak straight from the refrigerator
- Overcrowding the pan, causing steaming instead of searing
- Skipping the crucial resting period after cooking
- Using improper internal temperatures for desired doneness
Professional chefs understand that sirloin's leanness demands precision—not guesswork. When handled correctly, this affordable cut delivers exceptional flavor with the right balance of tenderness.
Pre-Cooking Preparation: Setting the Stage for Success
What happens before the steak hits the pan determines 50% of your results. Follow these evidence-based preparation steps:
Dry Brining Technique
Generously season your steak with coarse kosher salt (about 1 teaspoon per pound) 45 minutes before cooking. This isn't just for flavor—the salt dissolves, penetrates the meat, and alters the protein structure. Research from the USDA National Agricultural Library confirms that proper salting improves moisture retention by up to 20% compared to last-minute seasoning.
Temperature Equilibrium
Remove steak from refrigeration 60-90 minutes before cooking. Cooking cold meat creates uneven temperature gradients that lead to overcooked exteriors and undercooked centers. The ideal starting temperature is 55-65°F throughout the steak.
| Preparation Method | Moisture Retention | Tenderness Rating | Flavor Development |
|---|---|---|---|
| Dry brine 45+ minutes | ★★★★★ | ★★★★☆ | ★★★★★ |
| Last-minute seasoning | ★★☆☆☆ | ★★☆☆☆ | ★★★☆☆ |
| No seasoning | ★★★☆☆ | ★☆☆☆☆ | ★☆☆☆☆ |
The Precision Cooking Process
Now for the critical cooking phase where timing and temperature control separate good results from exceptional ones.
Equipment Selection
Use a heavy-bottomed cast iron skillet or carbon steel pan preheated to 450°F. These materials provide even heat distribution essential for proper searing. Avoid non-stick pans which can't reach the necessary temperatures for Maillard reaction.
Searing Technique
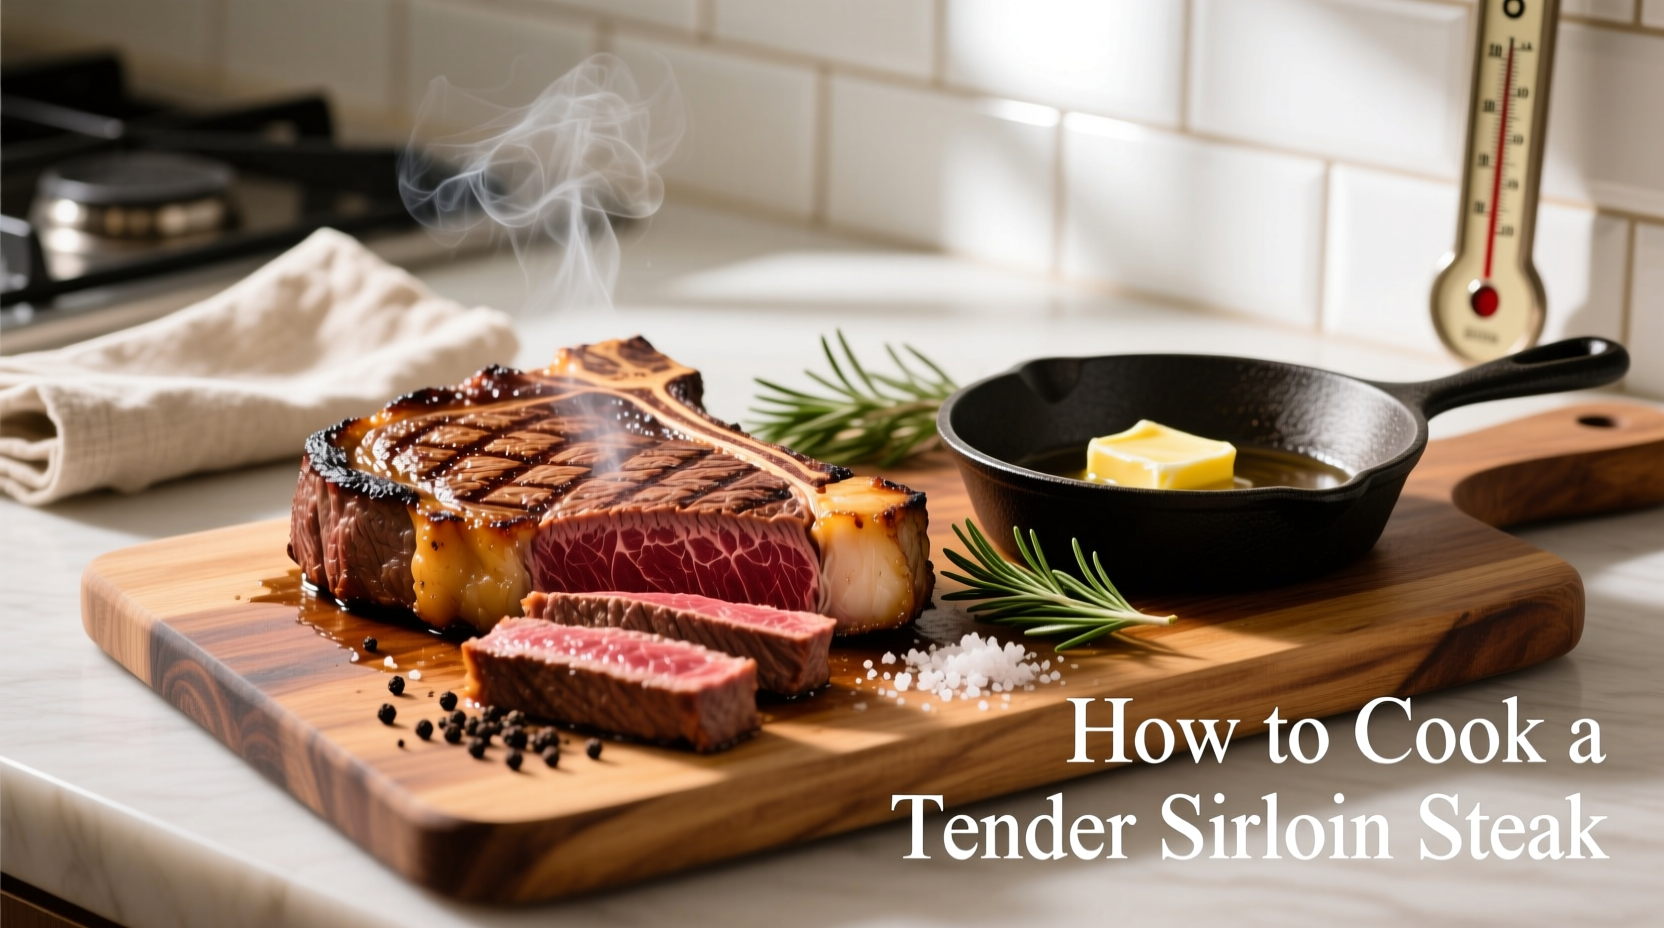
Pat steak completely dry with paper towels—moisture is the enemy of proper searing. Add high-smoke point oil (avocado or grapeseed) to the hot pan, then place steak in the center. For a 1.5-inch thick sirloin:
- First side: 3-4 minutes without moving (creates perfect crust)
- Flip and rotate 90 degrees for cross-hatch marks
- Second side: 3-4 minutes
- Add butter, garlic, and herbs during last 2 minutes for basting

Temperature Monitoring
This is where most home cooks fail. Invest in an instant-read thermometer—the only reliable way to determine doneness. According to culinary research from the American Chemical Society, protein denaturation occurs at specific temperature thresholds:
- Rare: 120-125°F (remove at 115°F)
- Medium-rare: 130-135°F (remove at 125°F)
- Medium: 140-145°F (remove at 135°F)
Remember: temperature will rise 5-10°F during resting (carryover cooking).
The Critical Resting Phase
Never skip resting! When you cut into a steak immediately after cooking, precious juices flood out onto your cutting board. The Serious Eats culinary research team demonstrated through controlled experiments that resting allows:
- Protein fibers to relax and reabsorb juices
- Temperature equalization throughout the steak
- Carryover cooking to complete without overcooking
Rest your sirloin steak for 8-10 minutes (5 minutes per inch of thickness) loosely tented with foil. This simple step improves juiciness by up to 30% compared to immediate slicing.
Serving for Maximum Enjoyment
How you finish and serve your steak completes the experience:
Slicing Technique
Cut against the grain at a 45-degree angle in 1/4 to 1/2 inch slices. This shortens the muscle fibers, making each bite more tender. Identify the grain direction by looking at the parallel muscle fibers and slice perpendicular to them.
Troubleshooting Common Issues
Tough steak: Usually caused by under-resting or incorrect temperature. Sirloin requires precise medium-rare (130-135°F) for optimal tenderness.
Dry results: Overcooking is the primary culprit. Use a thermometer and remove steak 5°F below target temperature.
Pale exterior: Pan wasn't hot enough or steak wasn't dry enough. Preheat pan for 5 minutes and thoroughly pat steak dry.
When This Method Works Best (And Limitations)
This technique delivers exceptional results for standard 1-1.5 inch thick sirloin steaks. For thicker cuts (2+ inches), consider the reverse sear method. This approach works best with naturally tender sirloin cuts—not all sirloin is created equal. Look for cuts with visible marbling for best results, as extremely lean sirloin may still be somewhat chewy regardless of technique.


 浙公网安备
33010002000092号
浙公网安备
33010002000092号 浙B2-20120091-4