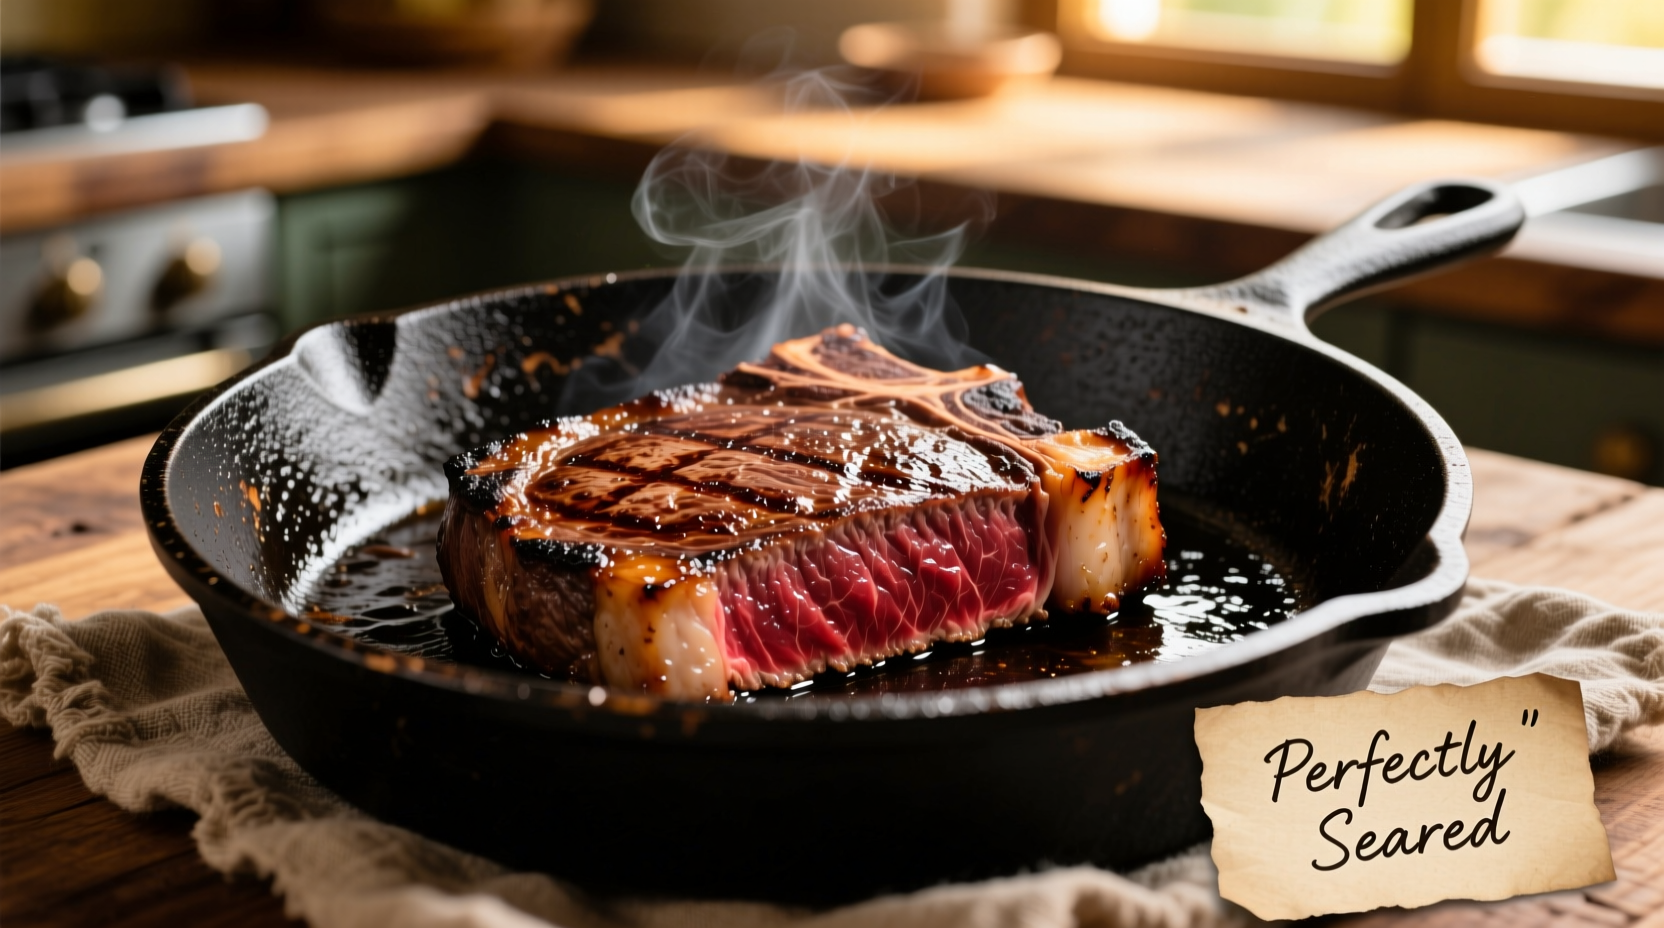
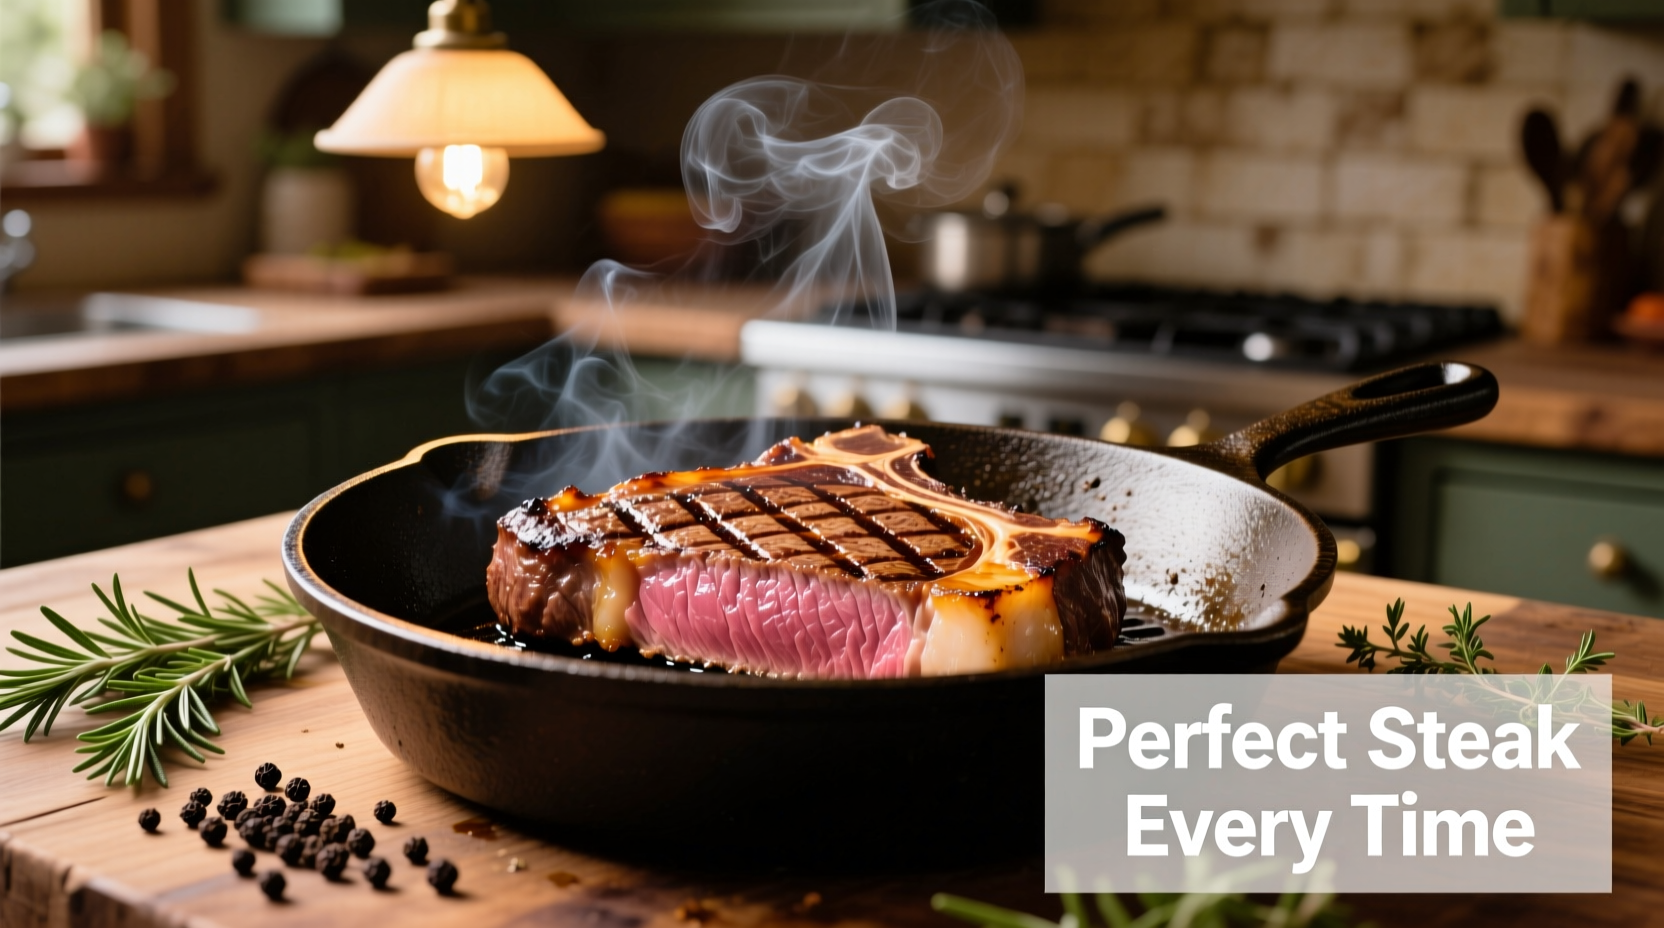
Why Cast Iron Makes the Perfect Steak
Cast iron's exceptional heat retention and distribution create the ideal environment for developing that coveted crust while maintaining perfect internal doneness. Unlike non-stick pans that can't reach high enough temperatures, or stainless steel that may create hot spots, cast iron delivers consistent, intense heat that triggers the Maillard reaction—the chemical process responsible for that rich, complex flavor and beautiful brown crust.
Essential Tools and Ingredients Checklist
| Item | Why It Matters | Pro Tip |
|---|---|---|
| 12-14 inch cast iron skillet | Larger surface area prevents overcrowding | Preheat empty pan 5-7 minutes for optimal sear |
| Thick-cut steak (1.5") | Allows proper searing without overcooking center | Ribeye or strip steak work best for beginners |
| High smoke point oil | Withstands extreme searing temperatures | Avocado oil (smoke point 520°F) outperforms canola |
| Digital thermometer | Ensures precise doneness without guesswork | Thermapen MK4 provides instant readings |
Step-by-Step Cooking Process
Preparation Phase: Setting Up for Success
Remove your steak from refrigeration 60-90 minutes before cooking. This crucial step ensures even cooking—cold meat straight from the fridge creates temperature gradients that lead to gray bands. Pat the steak completely dry with paper towels; moisture is the enemy of a proper sear. Season generously with coarse kosher salt and freshly ground black pepper on all sides. For best results, avoid marinades or wet rubs that prevent proper browning.

Searing Phase: Creating the Flavor Foundation
Place your empty cast iron skillet on medium-high heat for 5-7 minutes until it reaches 450-500°F. Test readiness by flicking a few water droplets into the pan—if they dance and evaporate instantly, you're ready. Add 1-2 teaspoons of high smoke point oil and immediately place the steak in the pan, positioning it away from you to avoid oil splatter. Press gently for full contact but don't move it for 3-4 minutes to develop an even crust. Flip once using tongs and repeat on the second side.
Finishing Phase: Achieving Perfect Doneness
For steaks thicker than 1.5 inches, finish in a 400°F oven until reaching your desired internal temperature. The USDA Food Safety and Inspection Service recommends these minimum internal temperatures for food safety:
| Doneness | Internal Temperature | Visual Characteristics |
|---|---|---|
| Rare | 120-125°F (49-52°C) | Deep red center, cool |
| Medium Rare | 130-135°F (54-57°C) | Warm red center (ideal for most cuts) |
| Medium | 140-145°F (60-63°C) | Pink center |
| Medium Well | 150-155°F (66-68°C) | Slightly pink center |
| Well Done | 160°F+ (71°C+) | Little to no pink |
Remember that carryover cooking will raise the internal temperature 5-10 degrees after removal from heat. For thicker cuts, consider the reverse sear method: start in a low oven (275°F) until the steak reaches 10-15 degrees below target temperature, then sear in the cast iron for the perfect crust.
Resting Phase: Locking in Juices
Transfer your steak to a wire rack (not a plate, which traps steam) and let rest for 5-10 minutes—1 minute per 1/2 inch of thickness. This critical step allows the muscle fibers to relax and reabsorb juices. Cutting too soon releases those precious juices onto your cutting board rather than staying in the meat. During this time, the internal temperature will continue to rise slightly (carryover cooking).
Common Mistakes and How to Avoid Them
Mistake: Using thin steaks that overcook before developing a proper crust
Solution: Choose steaks at least 1.25 inches thick for proper searing without overcooking
Mistake: Moving the steak too soon, preventing crust formation
Solution: Let the steak sear undisturbed for the full 3-4 minutes—it will release naturally when ready
Mistake: Overcrowding the pan
Solution: Cook one steak at a time in a large skillet to maintain proper temperature
Mistake: Using the wrong oil
Solution: Stick with high smoke point oils like avocado (520°F) or refined peanut oil (450°F)
Cast Iron Care After Cooking
Proper maintenance ensures your skillet performs optimally for decades. After cooking, while the pan is still warm (not hot), add a tablespoon of coarse salt and use a folded paper towel to scrub off any stuck bits. Rinse with hot water (no soap needed for well-seasoned pans), dry thoroughly on the stove over low heat, then apply a thin layer of oil while still warm. The American Home Economics Association confirms that proper seasoning creates a natural non-stick surface through polymerized oil layers that protect against rust and enhance cooking performance.
Troubleshooting Guide
Problem: Steak sticks to the pan
Fix: Ensure proper preheating and that the steak is completely dry before searing
Problem: Uneven browning
Fix: Check that your burner provides even heat distribution or rotate the steak slightly during searing
Problem: Excessive smoke
Fix: Turn on your exhaust fan, open windows, and consider lowering the heat slightly while maintaining at least 400°F
Problem: Burnt exterior but raw interior
Fix: For thicker cuts, use the reverse sear method or finish in the oven after initial sear


 浙公网安备
33010002000092号
 浙B2-20120091-4