
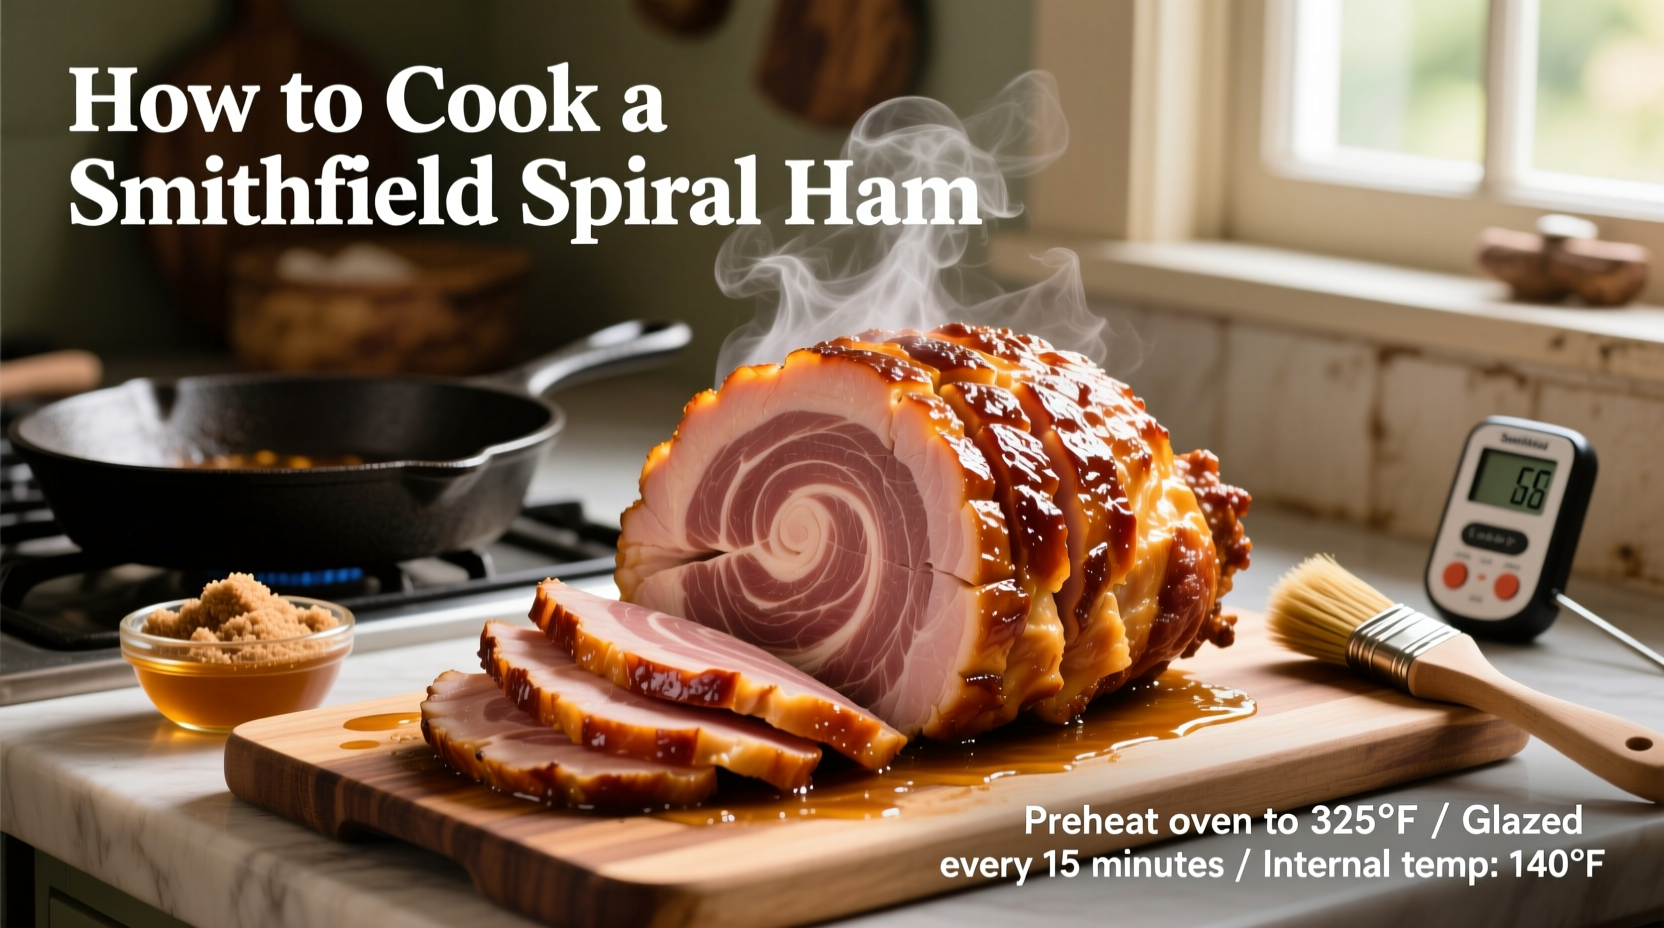
The Foolproof Method for Cooking Smithfield Spiral Ham
Smithfield spiral hams are a holiday favorite for good reason - they're beautifully marbled, expertly cured, and pre-sliced for effortless serving. But many home cooks make critical mistakes that turn this premium product into dry, disappointing meat. The secret? Understanding that spiral hams require different handling than whole hams because the pre-cut slices expose more surface area to drying heat.
Why Standard Ham Instructions Don't Work for Spiral Cuts
Most generic "how to cook ham" guides fail spiral cuts because they don't account for the increased surface area from pre-slicing. According to USDA Food Safety and Inspection Service guidelines, fully cooked hams like Smithfield's should only be reheated, not cooked from raw. The spiral slicing creates channels that allow moisture to escape rapidly if not properly managed.
| Ham Weight | Recommended Cooking Time | Internal Temperature |
|---|---|---|
| 5-7 lbs | 50-85 minutes | 140°F |
| 7-9 lbs | 70-110 minutes | 140°F |
| 9-12 lbs | 90-145 minutes | 140°F |
Your Step-by-Step Cooking Process
Preparation: Setting Up for Success
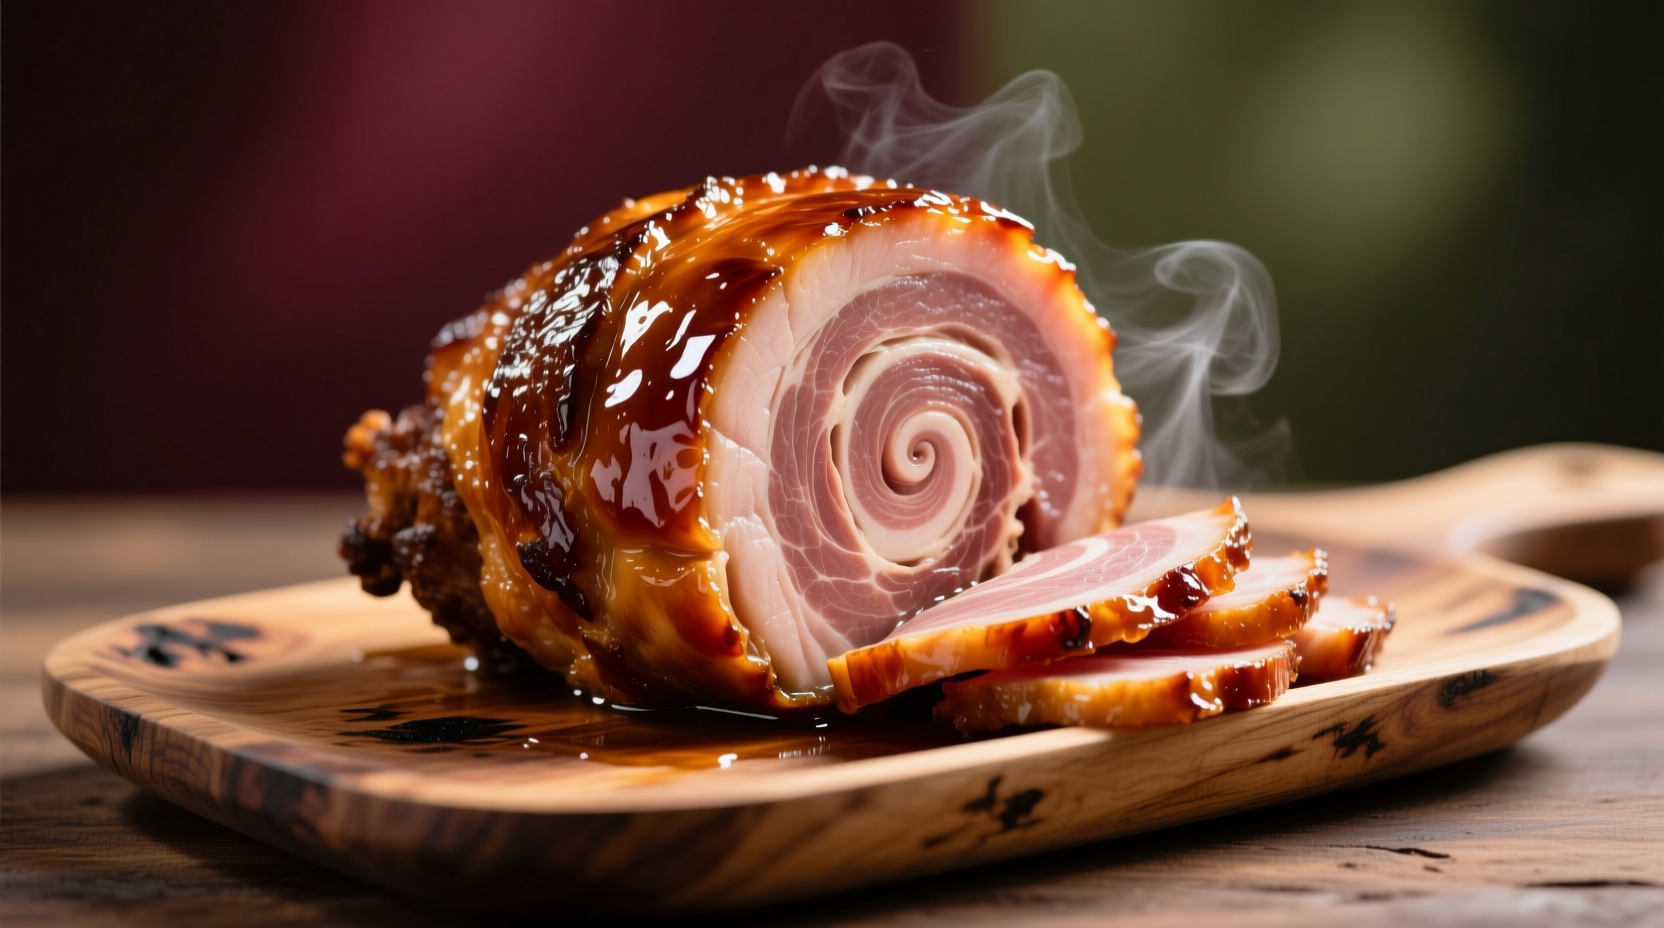
Remove your Smithfield spiral ham from packaging and place it on a clean surface. Note the natural spiral pattern - this determines your placement in the pan. Place the ham cut-side down in your roasting pan. This positioning allows juices to flow into the meat rather than out. Add 1 cup of liquid (apple juice, broth, or water) to the bottom of the pan - this creates steam that prevents drying. Never skip this moisture step.
Cooking: The Low-and-Slow Method
Preheat your oven to 275°F - not 325°F or higher as some outdated guides suggest. Higher temperatures cause the exposed meat to dry before the center warms through. Cover the ham tightly with heavy-duty aluminum foil, creating a sealed environment. Cook for 10-12 minutes per pound. For a 10-pound ham, that's approximately 100-120 minutes.
Glazing: Timing Is Everything
Remove the foil during the last 20-30 minutes of cooking. This is the critical window when you should apply your glaze. Applying glaze too early causes sugar to burn; too late prevents proper caramelization. Use a pastry brush to apply 1/2 cup of glaze, then return to oven uncovered. Baste once more with remaining glaze 10 minutes before finishing.
Doneness Testing: Beyond the Timer
Never rely solely on cooking time. Insert a digital thermometer into the thickest part of the meat, avoiding the bone. The USDA requires reheated fully cooked hams to reach 140°F for food safety, but many chefs prefer 135°F for optimal texture. The meat should feel warm throughout but not hot when tested with your finger on the exterior.
Avoiding Common Spiral Ham Disasters
Dry edges: This happens when the foil isn't sealed properly. Create a complete seal by crimping the foil tightly around the pan edges. Burnt glaze: If your glaze contains sugar, apply it no earlier than 30 minutes before finishing. Uneven heating: Rotate the pan halfway through cooking for even exposure to oven heat.
Serving Like a Pro
Let your ham rest for 15-20 minutes before serving. This allows juices to redistribute throughout the meat. When serving, follow the natural spiral pattern - no carving required! For clean slices, use a sharp knife to separate along the pre-cut lines. Leftovers should be refrigerated within 2 hours and will keep for 3-5 days.
Expert Troubleshooting Guide
If your ham is slightly dry: Create a quick pan sauce with the cooking juices, 1/4 cup broth, and 1 tablespoon butter to drizzle over slices. If glaze didn't caramelize: Place under the broiler for 2-3 minutes, watching constantly. If ham seems underheated: Return to 275°F oven for 15-minute increments until reaching 140°F internally.


 浙公网安备
33010002000092号
浙公网安备
33010002000092号 浙B2-20120091-4