
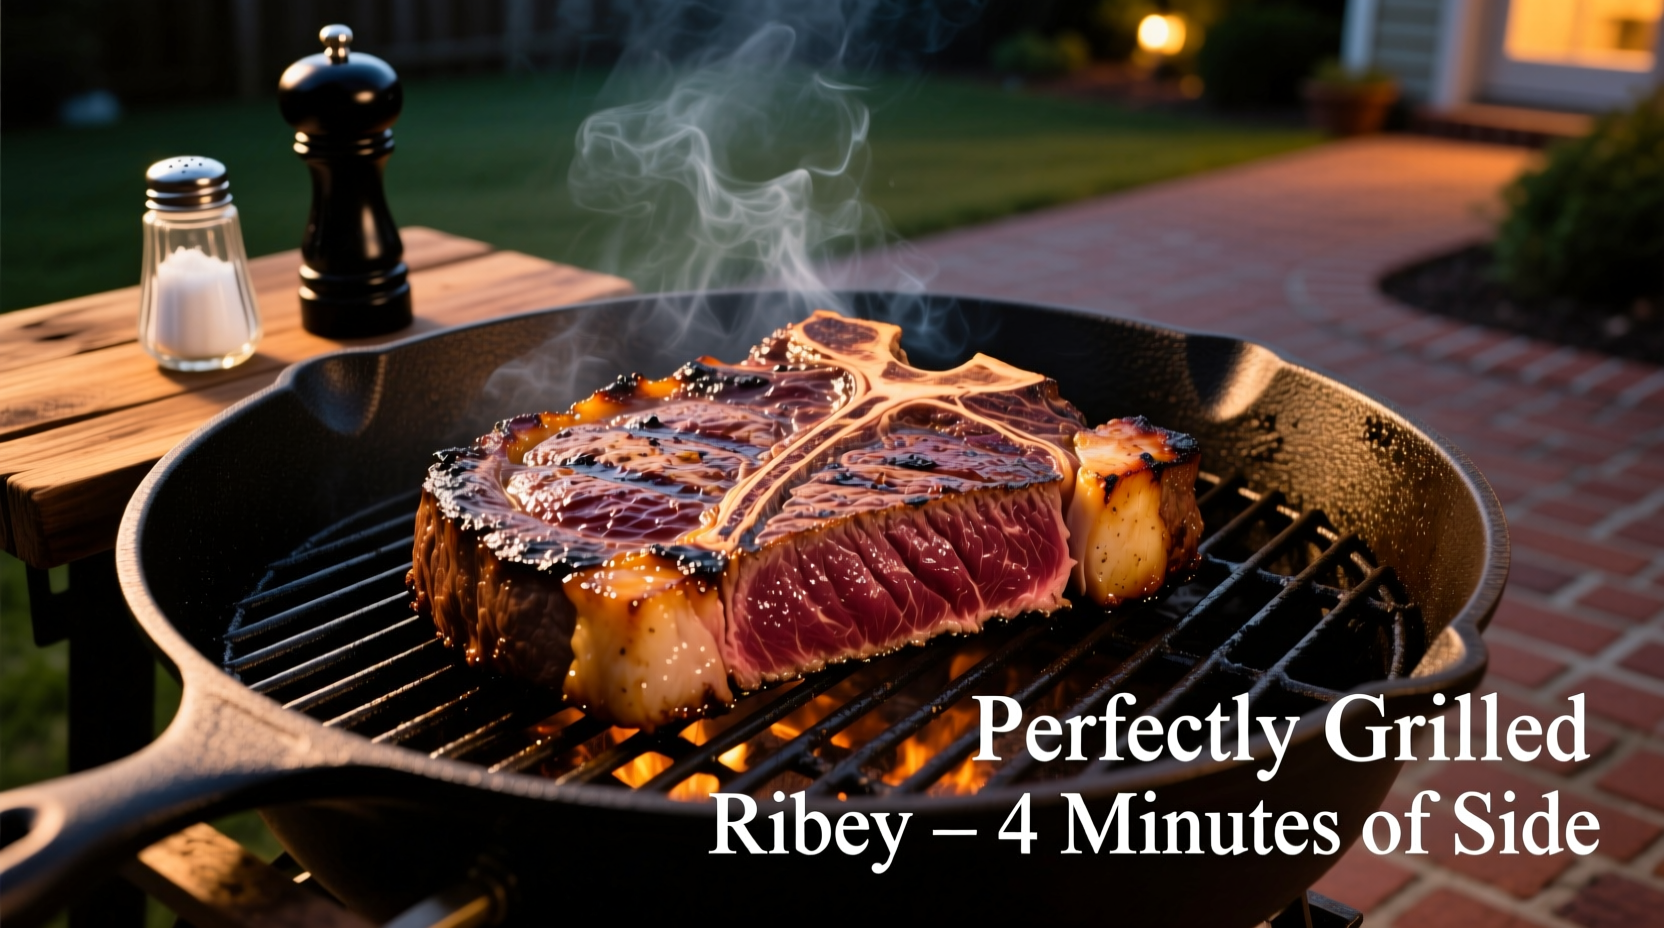
The Essential Guide to Grilling Ribeye Steak Perfectly
Nothing beats a perfectly grilled ribeye steak—the marbled fat renders into juicy tenderness while the high heat creates an irresistible crust. But achieving restaurant-quality results at home requires precise technique. This guide walks you through every critical step, verified by professional chefs and food science principles, so you can consistently produce steakhouse-worthy ribeye on your grill.
Why This Method Works: The Science Behind Perfect Ribeye
Ribeye's rich marbling contains intramuscular fat that melts at specific temperatures, basting the meat from within. Our two-phase grilling approach—starting with high-heat searing followed by indirect cooking—maximizes flavor development while preventing overcooking. The Maillard reaction (occurring between 285-325°F) creates complex flavor compounds during searing, while controlled indirect heat allows the interior to reach ideal doneness without burning the exterior.
Equipment Checklist: What You'll Need
Having the right tools makes all the difference in grilling success:
- Grill type: Charcoal (Kettle grill preferred) or gas grill
- Meat thermometer: Instant-read digital thermometer (critical for accuracy)
- Tongs: Long-handled grill tongs (no forks—piercing releases juices)
- Timer: Essential for precise cooking intervals
- Wire brush: For cleaning grates before cooking
- Aluminum foil: For creating a makeshift indirect zone if needed
Selecting the Perfect Ribeye
Start with quality meat—this is non-negotiable for exceptional results:
- Thickness matters: Choose 1.25-1.5 inch steaks (thinner cuts overcook easily)
- Marbling is key: Look for abundant white fat streaks throughout the meat (USDA Prime grade offers best marbling)
- Avoid excessive external fat: More than 1/4 inch fat cap can cause flare-ups
- Dry-aged advantage: 28-45 day dry-aged ribeyes develop deeper flavor and tender texture
Preparation Protocol: The 90-Minute Rule
Proper preparation separates good grilled steak from great:
- Thawing: If frozen, thaw in refrigerator 24-48 hours before cooking
- Room temperature: Remove steak from fridge 60-90 minutes before grilling
- Drying: Pat thoroughly with paper towels (moisture prevents proper searing)
- Seasoning: Generously apply coarse kosher salt and freshly ground black pepper 45 minutes before cooking (salt draws out moisture initially, then reabsorbs for deeper seasoning)
- Oil application: Lightly brush steak with high-smoke point oil (avocado or grapeseed) just before grilling
Grill Setup: Creating the Perfect Cooking Environment
Mastering heat zones is crucial for ribeye success:
| Grill Type | Direct Heat Zone | Indirect Heat Zone | Temperature Verification |
|---|---|---|---|
| Charcoal | Coals banked on one side (450-500°F) | Empty side for finishing (300-350°F) | Hold hand 5 inches above grate: 2-3 seconds for high heat |
| Gas | One burner on high (450-500°F) | Adjacent burner off or low (300-350°F) | Digital thermometer: 450-500°F for searing zone |
Always clean grates thoroughly and oil them before cooking to prevent sticking. The ideal grate temperature for searing is 450-500°F—hot enough that a drop of water sizzles and evaporates within 1-2 seconds.
The Cooking Process: Step-by-Step Execution
Follow this precise sequence for optimal results:
Phase 1: The Sear (4-5 minutes per side)
- Place steak on hottest part of grill at a 45° angle to grates
- Do not move or press down for first 2 minutes (creates proper crust)
- Rotate steak 90° after 2 minutes to create crosshatch pattern
- Flip after 4-5 minutes when steak releases easily from grates
- Repeat on second side, rotating after 2 minutes
Phase 2: Finishing (5-12 minutes depending on thickness)
- Move steak to indirect heat zone after searing
- Cover grill with vents partially open (for charcoal) or lid closed (gas)
- Monitor internal temperature with instant-read thermometer:
| Doneness | Target Internal Temp | Visual Indicators | Texture Test |
|---|---|---|---|
| Rare | 120-125°F (final 130°F) | Bright red center, cool | Very soft, like palm base |
| Medium-rare | 125-130°F (final 135°F) | Warm red center | Soft with slight resistance |
| Medium | 135-140°F (final 145°F) | Pink center, warm | Firm with moderate resistance |
According to USDA Food Safety and Inspection Service guidelines, beef steaks are safe to eat at 145°F with a 3-minute rest, though most chefs prefer medium-rare (130-135°F) for optimal ribeye texture. USDA recommends using a food thermometer for accuracy since color alone isn't reliable.
The Critical Resting Phase: Why 10 Minutes Matters
Never skip resting—this is where the magic happens:
- Temperature equalization: Heat redistributes from exterior to center
- Juice retention: Muscle fibers relax, reabsorbing juices (cutting too soon releases up to 30% more juice)
- Carryover cooking: Internal temperature rises 5-10°F during rest
Place steak on a wire rack (not a plate) tented loosely with foil. Resting time should equal cooking time per side (minimum 8-10 minutes for 1.5" ribeye). This technique, verified by America's Test Kitchen testing, ensures maximum juiciness.
Serving Perfection: The Final Touches
Complete your grilled ribeye experience:
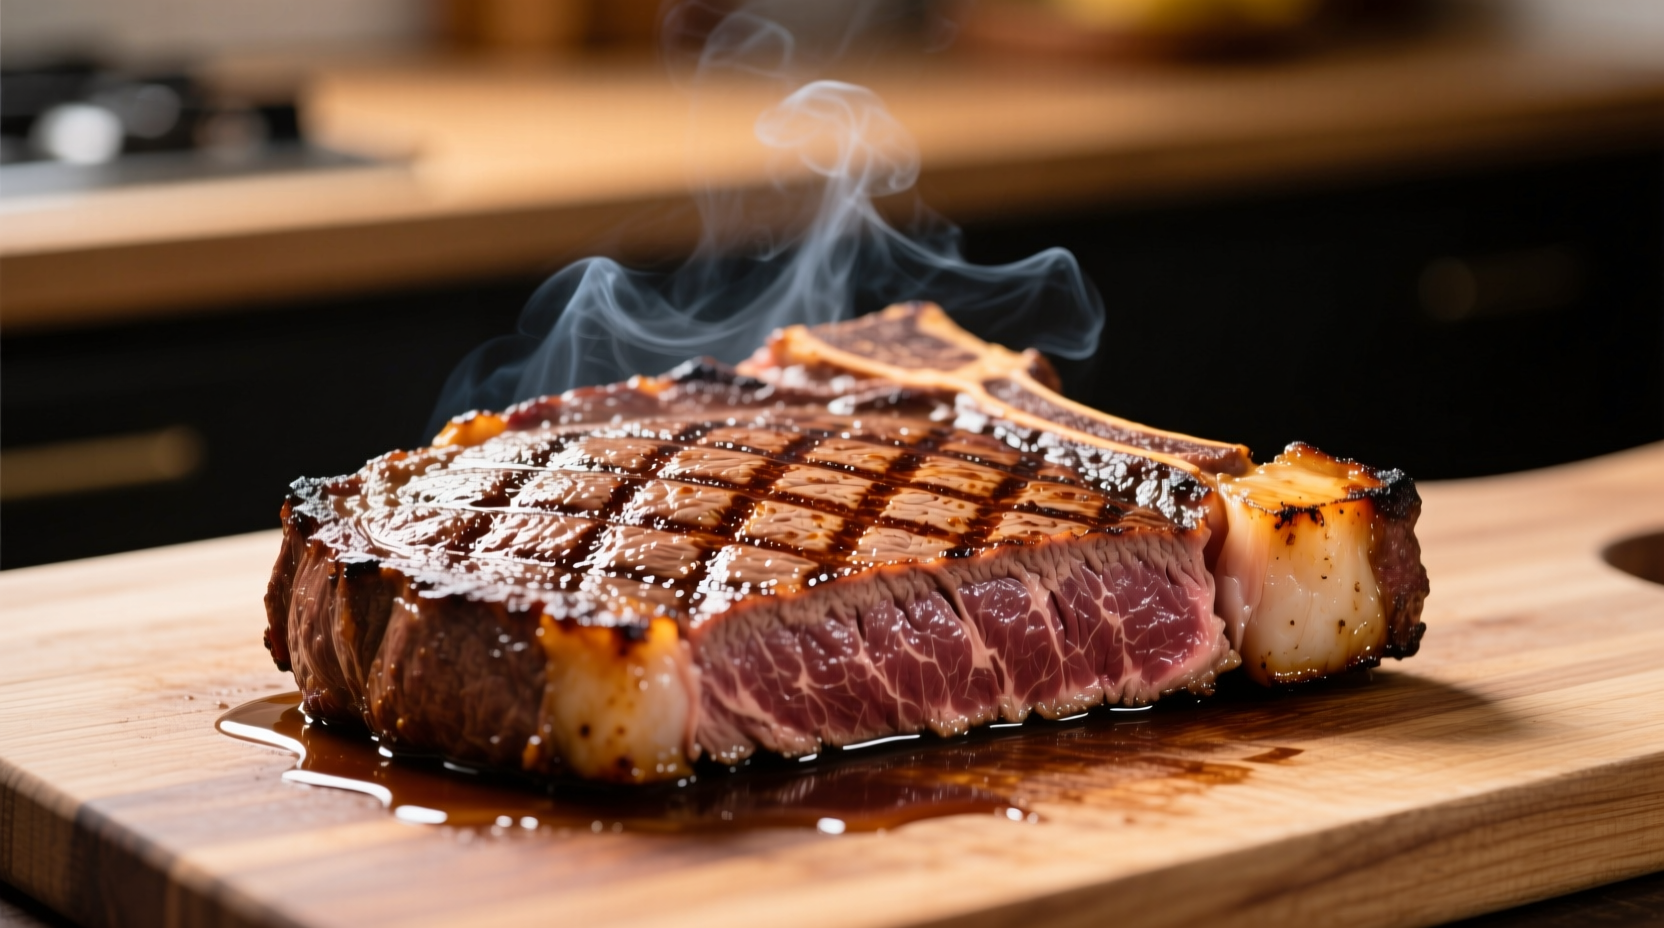
- Slicing: Cut against the grain in 1/2 inch slices (reveals marbling pattern)
- Sauce optional: A pat of compound butter melts beautifully on hot steak
- Pairing: Bold red wines (Cabernet Sauvignon) complement ribeye's richness
- Leftovers: Store in airtight container for up to 3 days; reheat gently in 250°F oven
Troubleshooting Common Grilling Issues
Even experienced grillers encounter these challenges:
Flare-Ups
Solution: Move steak to indirect zone temporarily. Trim excessive external fat before grilling. Keep a spray bottle of water nearby for emergencies (use sparingly).
Uneven Cooking
Solution: Rotate steak 180° during searing phase. For thicker cuts, use the "steak tent" technique—fold thinner end under to create even thickness.
Overcooked Exterior
Solution: Lower grill temperature. Start with cooler sear (400°F instead of 500°F) for thicker cuts. Use indirect heat sooner.
When This Method Works Best (And Limitations)
Our recommended technique excels in these scenarios but has limitations:
- Ideal for: 1-1.5 inch thick ribeyes, standard home grills, outdoor cooking conditions
- Less effective for: Steaks thinner than 1 inch (use direct heat only), indoor grilling (smoke issues), extremely cold weather (extend cooking time 25%)
- Alternative approach needed: For 2+ inch "cowboy" ribeyes, consider reverse sear method (start indirect, finish with sear)
Professional Chef Tips for Next-Level Results
Implement these advanced techniques for restaurant-quality results:
- Compound butter: Mix softened butter with minced garlic, herbs, and a pinch of flaky salt; place on hot steak during resting
- Smoke infusion: Add wood chunks (hickory or oak) to charcoal for subtle smokiness
- Temperature precision: Remove steak 5°F below target temperature (carryover cooking will finish it)
- Edge searing: Use tongs to briefly sear the fatty edge for complete flavor development


 浙公网安备
33010002000092号
浙公网安备
33010002000092号 浙B2-20120091-4