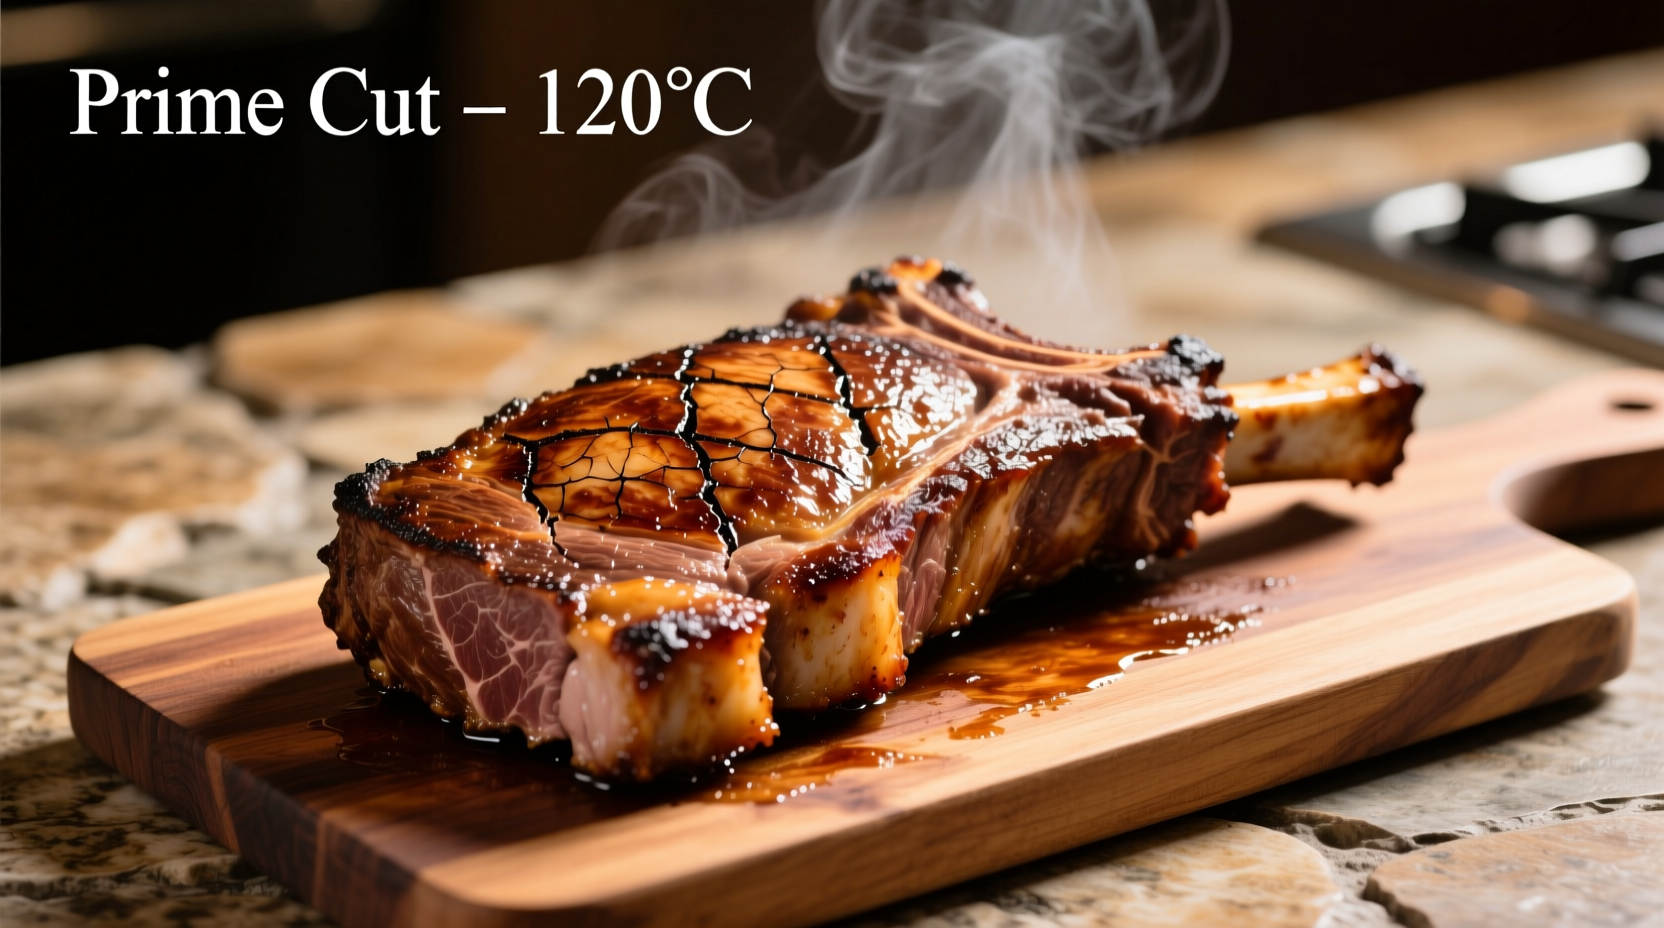
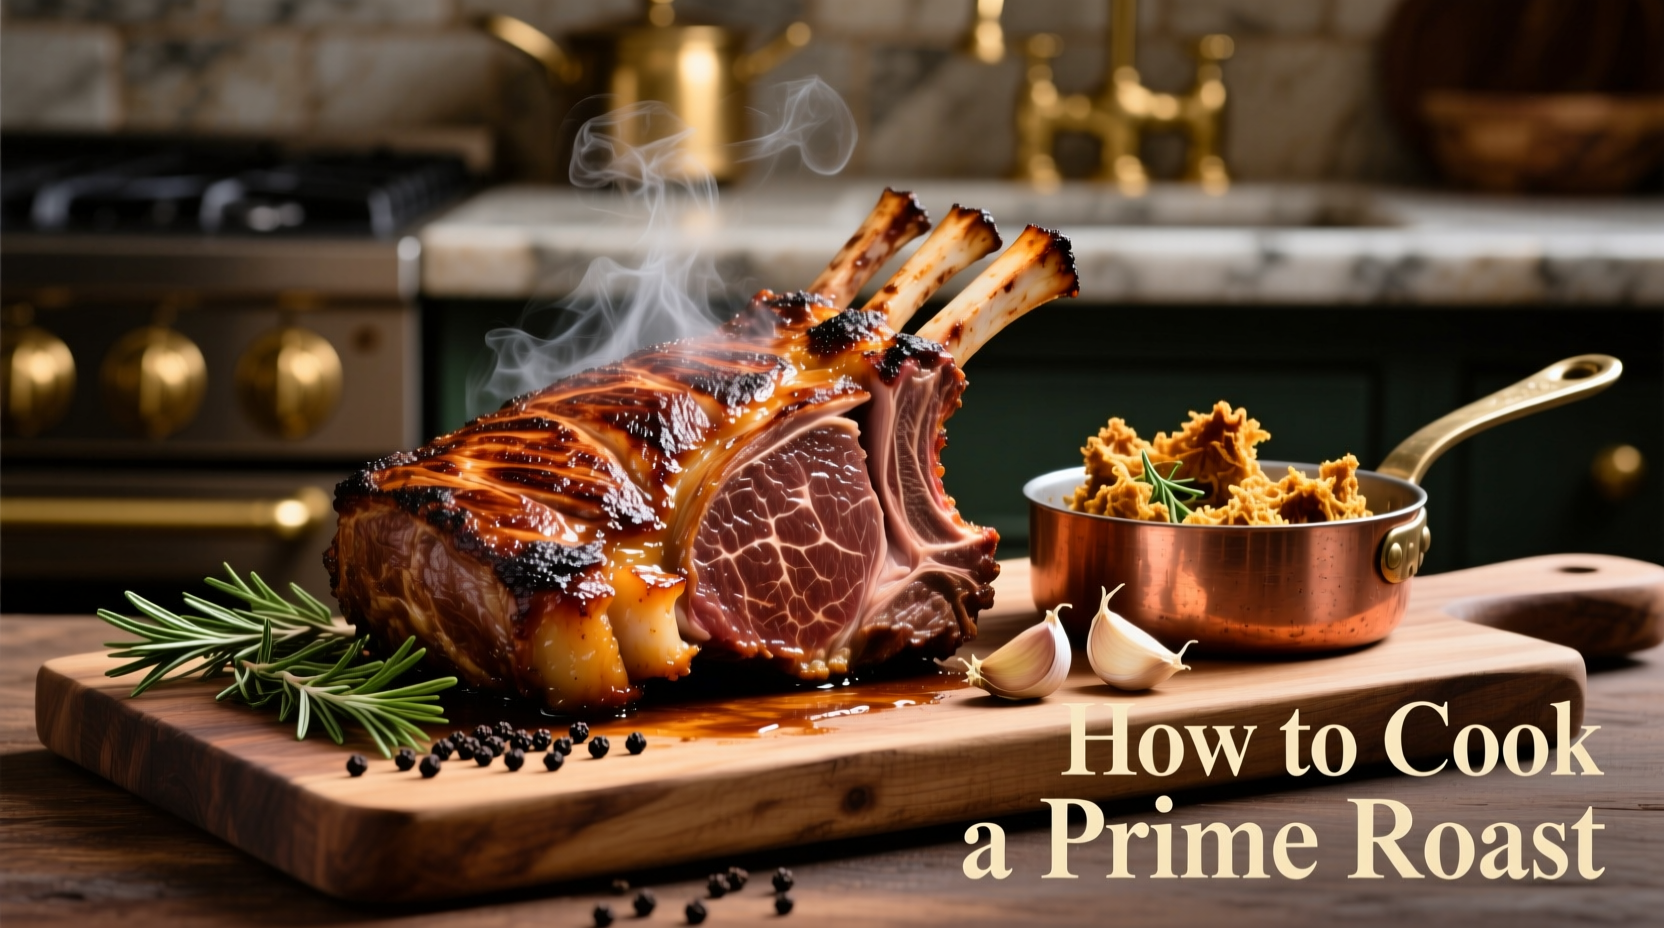
Follow this precise method for perfect prime roast: Select USDA Prime grade beef, season 24 hours ahead with coarse salt and fresh herbs, roast at 250°F until internal temperature reaches 115°F for medium-rare, then rest 45-60 minutes before carving. This technique yields evenly cooked, juicy meat with a flavorful crust every time.
Mastering the perfect prime roast isn't about complicated techniques—it's about understanding the science of meat and heat. Whether you're preparing Sunday dinner or hosting a holiday celebration, this guide delivers restaurant-quality results in your home kitchen. Forget dry, overcooked meat; our method ensures tender, flavorful prime roast with a beautiful crust and perfect pink center.
Selecting Your Prime Roast: Quality Matters Most
The foundation of exceptional prime roast begins at the butcher counter. Not all "prime" labels are equal—USDA Prime grade represents the top 2% of beef with superior marbling, while "choice" grade lacks the fat distribution needed for optimal flavor and tenderness.
| Beef Grade | Marbling Score | Recommended For Prime Roast? | Price Difference |
|---|---|---|---|
| USDA Prime | 8-10 | Yes – ideal | Base price |
| USDA Choice | 5-7 | Limited use | 15-20% less |
| USDA Select | 3-4 | No – avoid | 30-40% less |
According to the USDA's Food Safety and Inspection Service, proper grading ensures consistent quality and safety standards (USDA.gov). When selecting your roast, look for bright red color, firm texture, and abundant marbling throughout the meat—not just on the edges.
Preparation: The 24-Hour Secret to Flavor Perfection
Professional chefs universally agree: dry brining overnight transforms your prime roast. Skip liquid marinades that create steam and prevent proper browning.
Dry brine method:
- Pat roast completely dry with paper towels
- Apply 1 teaspoon coarse kosher salt per pound of meat
- Add freshly cracked black pepper and 2 teaspoons dried thyme per 5 pounds
- Place uncovered on a wire rack in refrigerator for 12-24 hours
This process draws out surface moisture, allowing the salt to penetrate while concentrating flavors. The result? Enhanced seasoning throughout the meat and superior crust formation during cooking.

Cooking Method: Low and Slow for Even Doneness
Traditional high-heat roasting creates a gray band of overcooked meat beneath the crust. Instead, use the reverse sear method preferred by culinary professionals:
- Remove roast from refrigerator 2 hours before cooking
- Preheat oven to 250°F (121°C)
- Place roast fat-side up on wire rack in roasting pan
- Cook until internal temperature reaches 115°F (46°C) for medium-rare
- For 8-10 lb roast, expect 20-25 minutes per pound
- Use an instant-read thermometer in the thickest part
Research from the Culinary Institute of America confirms that low-temperature cooking preserves moisture and creates more even doneness throughout the roast. This method eliminates the common problem of overcooked edges and undercooked center.
Precision Temperature Guide: Your Doneness Roadmap
Don't guess—measure. Internal temperature determines your final result. Remember that temperature will rise 5-10°F during resting.
| Doneness Level | Final Serving Temp | Target Oven Temp | Color Description |
|---|---|---|---|
| Rare | 120-125°F | 110-115°F | Bright red center |
| Medium-rare | 130-135°F | 115-120°F | Warm red center |
| Medium | 140-145°F | 125-130°F | Pink center |
The USDA Food Safety and Inspection Service recommends a minimum internal temperature of 145°F for whole cuts of beef, followed by a three-minute rest time (FSIS.usda.gov). For prime roast, many chefs prefer medium-rare (130-135°F) as the optimal balance of safety and quality.
The Critical Resting Period: Why Patience Pays Off
Slicing immediately after cooking releases precious juices onto your cutting board. Proper resting allows proteins to reabsorb moisture:
- Remove roast from oven at target temperature
- Transfer to carving board, tent loosely with foil
- Rest for 45-60 minutes for 8-10 lb roast
- During resting, temperature will rise 5-10°F
This often-overlooked step makes the difference between juicy and dry meat. As the muscle fibers relax, they reabsorb juices that would otherwise escape during carving.
Carving Technique: Presentation Matters
Proper carving maximizes tenderness and presentation:
- Remove bones if present (they make excellent gravy)
- Identify the grain direction by looking at muscle fibers
- Cut perpendicular to the grain in 1/2-inch slices
- Use a long, sharp carving knife with smooth strokes
- Serve immediately while warm
Cutting against the grain shortens muscle fibers, making each slice more tender. For best results, sharpen your knife before carving—dull blades crush rather than slice the meat.
Common Prime Roast Mistakes to Avoid
Even experienced cooks make these critical errors:
- Mistake: Not bringing meat to room temperature before cooking Solution: Allow 2 hours for even cooking
- Mistake: Using the wrong thermometer Solution: Invest in an instant-read digital thermometer
- Mistake: Skipping the resting period Solution: Set a timer for minimum 45 minutes
- Mistake: Overcrowding the roasting pan Solution: Use a pan at least 2 inches larger than the roast
Perfect Prime Roast: Your Path to Culinary Success
Cooking prime roast successfully combines science and technique. By selecting quality meat, using the dry brine method, cooking low and slow, monitoring temperature precisely, and allowing proper resting time, you'll achieve restaurant-quality results consistently. Remember that patience with the resting period makes all the difference—rushing this step sacrifices juiciness for immediate gratification. With these techniques mastered, your prime roast will become the centerpiece of memorable meals for years to come.


 浙公网安备
33010002000092号
 浙B2-20120091-4