
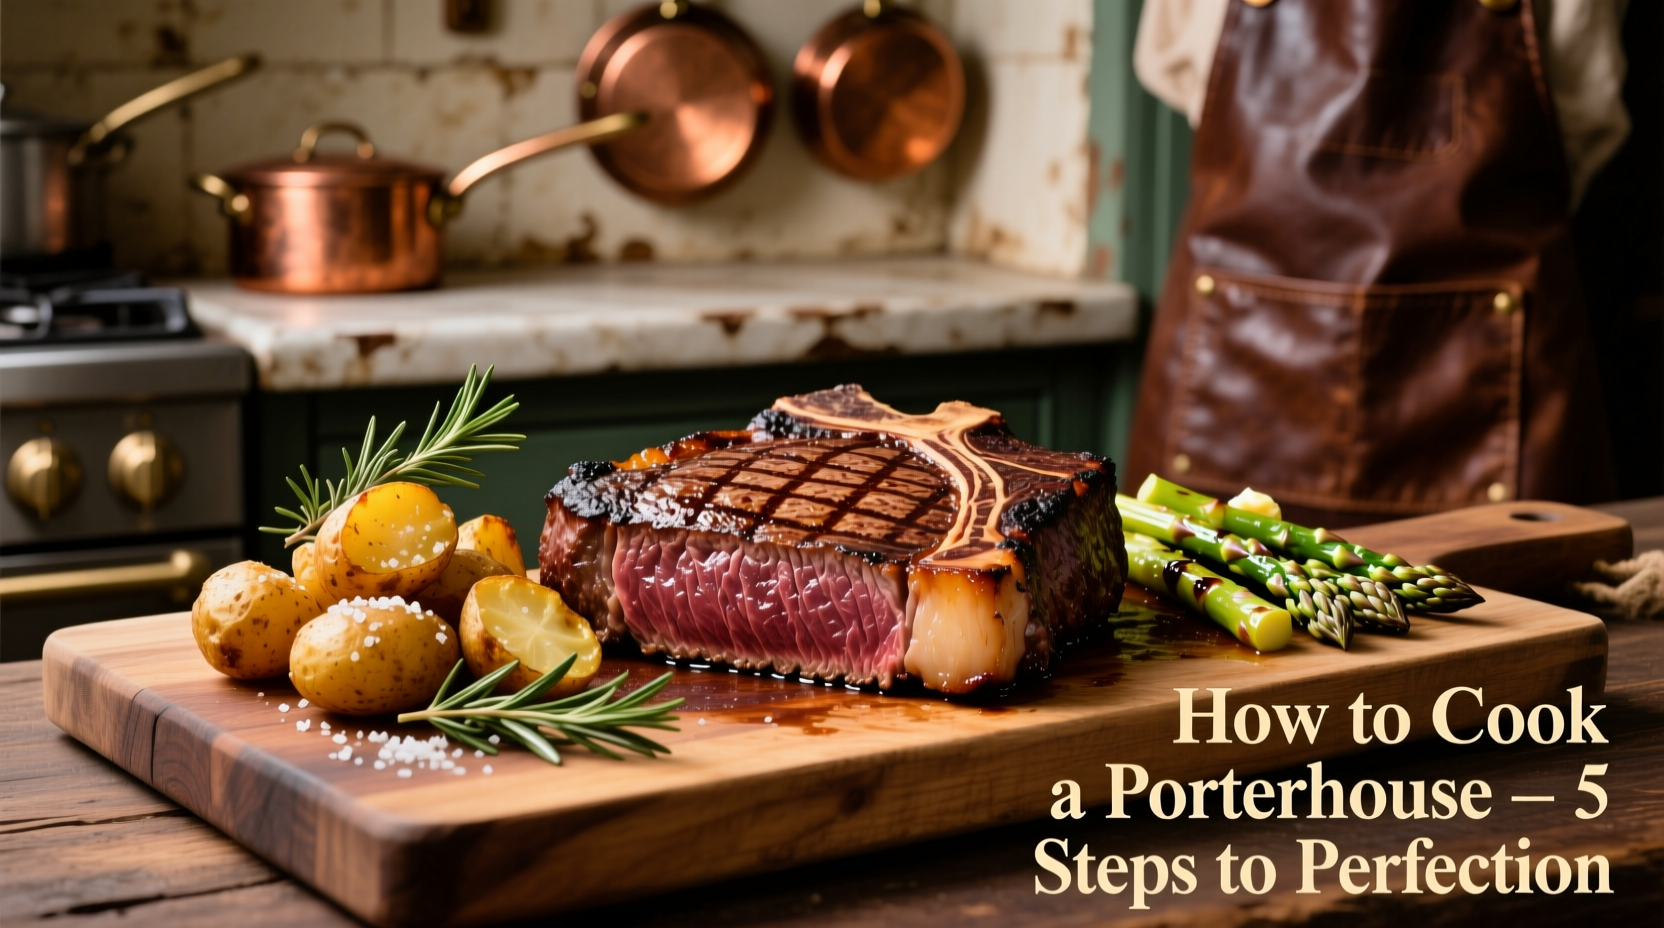
Mastering the art of cooking a porterhouse steak separates casual grillers from true steak connoisseurs. This substantial cut—featuring both the tenderloin and strip steak divided by a T-bone—demands precise technique to handle its dual-muscle composition. Follow this professional guide to achieve restaurant-quality results in your own kitchen, whether you're preparing a special occasion dinner or elevating your weekend grilling routine.
Why Porterhouse Requires Special Attention
Unlike uniform cuts, the porterhouse presents a unique challenge: the tenderloin cooks faster than the strip steak portion. This anatomical difference means standard steak cooking methods often leave one side overcooked while the other remains underdone. Understanding this fundamental characteristic is the first step toward perfect preparation.
| Doneness Level | Internal Temperature | Visual Characteristics | Resting Time |
|---|---|---|---|
| Medium-Rare | 125-130°F (51-54°C) | Warm red center, firm but yielding texture | 10 minutes |
| Medium | 135-140°F (57-60°C) | Pink center, slightly firmer texture | 12 minutes |
| Medium-Well | 145-150°F (63-66°C) | Small pink center, firm texture | 15 minutes |
Essential Preparation Timeline
Timing is everything when cooking porterhouse. Follow this sequence for optimal results:
- 45-60 minutes before cooking: Remove steak from refrigerator and place on wire rack
- 30 minutes before cooking: Season generously with 1 tsp coarse salt and ½ tsp freshly ground black pepper per pound
- 15 minutes before cooking: Preheat cooking surface to 450-500°F
- Cooking phase: Sear 4-5 minutes per side, then finish to target temperature
- Resting phase: Tent loosely with foil and rest 10-15 minutes before slicing
This USDA-recommended timeline ensures proper temperature stabilization and seasoning absorption, critical for even cooking and flavor development (USDA Food Safety and Inspection Service).
Equipment Checklist for Success
Having the right tools makes a significant difference in your porterhouse cooking experience:
- Instant-read thermometer (Thermapen recommended)
- Cast-iron skillet or heavy grill grate
- Wire rack for resting
- Long-handled tongs (never pierce the steak)
- Meat carrier for safe transport
Grilling vs. Pan-Searing: Context Matters
The cooking method you choose depends on your equipment and environment:
- Outdoor grilling: Ideal for 1.5-inch+ thick cuts; provides superior char and smoky flavor; best when ambient temperature exceeds 50°F
- Cast-iron skillet: Better for thinner cuts or cold weather; creates exceptional crust; requires proper ventilation
- Avoid: Non-stick pans (can't achieve proper sear temperature), gas grills with inadequate BTU output
Professional chefs at the Culinary Institute of America emphasize that "the critical factor isn't the cooking method itself, but maintaining consistent high heat throughout the searing phase" (Culinary Institute of America Resources).
Avoid These Common Porterhouse Mistakes
Even experienced cooks make these critical errors when preparing porterhouse:
- Skipping the temperature check: Visual cues alone can't accurately determine doneness in thick cuts
- Insufficient resting time: Cutting too soon releases precious juices onto the cutting board
- Overcomplicating seasoning: Porterhouse shines with simple salt and pepper; complex rubs overwhelm its natural flavor
- Flipping too frequently: Allow proper crust formation by limiting flips to once per side during initial sear
Serving Like a Professional
Maximize your perfectly cooked porterhouse with these finishing touches:
- Slice against the grain at a 45-degree angle for optimal tenderness
- Separate the tenderloin from the strip steak before serving (they have different textures)
- Drizzle with herb-infused finishing oil rather than heavy sauces
- Pair with simple sides that won't compete with the steak's rich flavor
Remember that the American Meat Science Association confirms proper resting time allows juices to redistribute throughout the meat, resulting in up to 40% less moisture loss when slicing (American Meat Science Association).
Advanced Technique: Reverse Searing for Thick Cuts
For porterhouse steaks thicker than 2 inches, consider the reverse sear method:
- Preheat oven to 275°F
- Place seasoned steak on wire rack in roasting pan
- Cook until internal temperature reaches 115°F (about 45-60 minutes)
- Remove and increase cooking surface temperature to maximum
- Sear 90 seconds per side for perfect crust
This technique, validated by modernist cuisine research, ensures perfectly even doneness through the entire thickness of the steak while achieving an exceptional crust.


 浙公网安备
33010002000092号
浙公网安备
33010002000092号 浙B2-20120091-4