
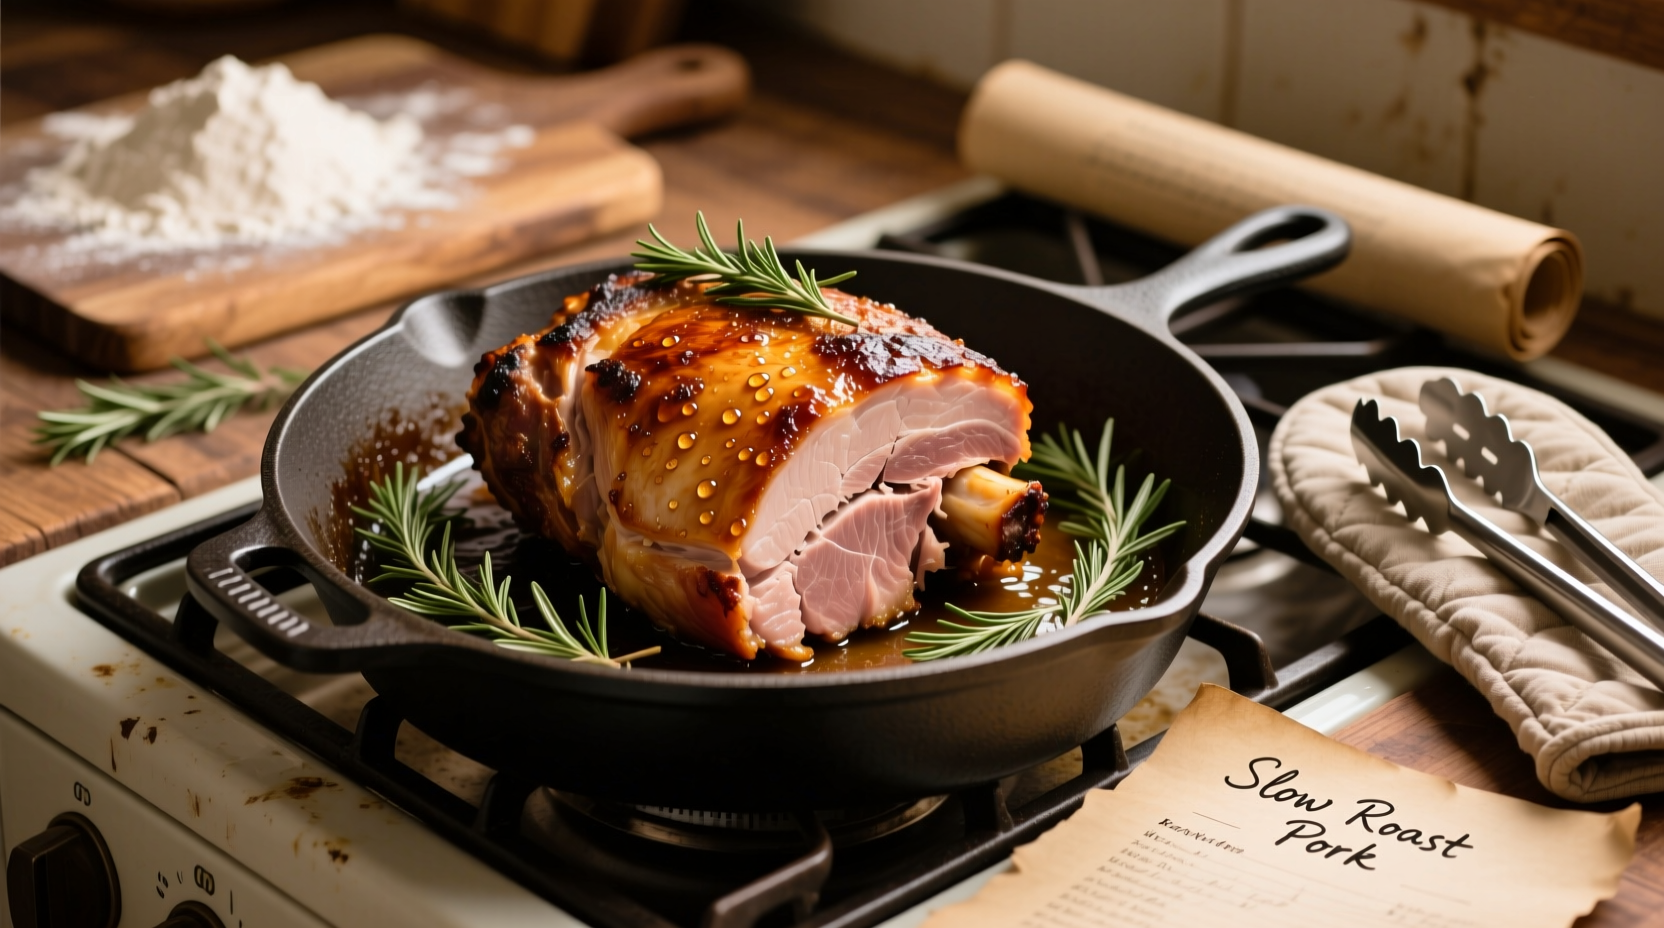
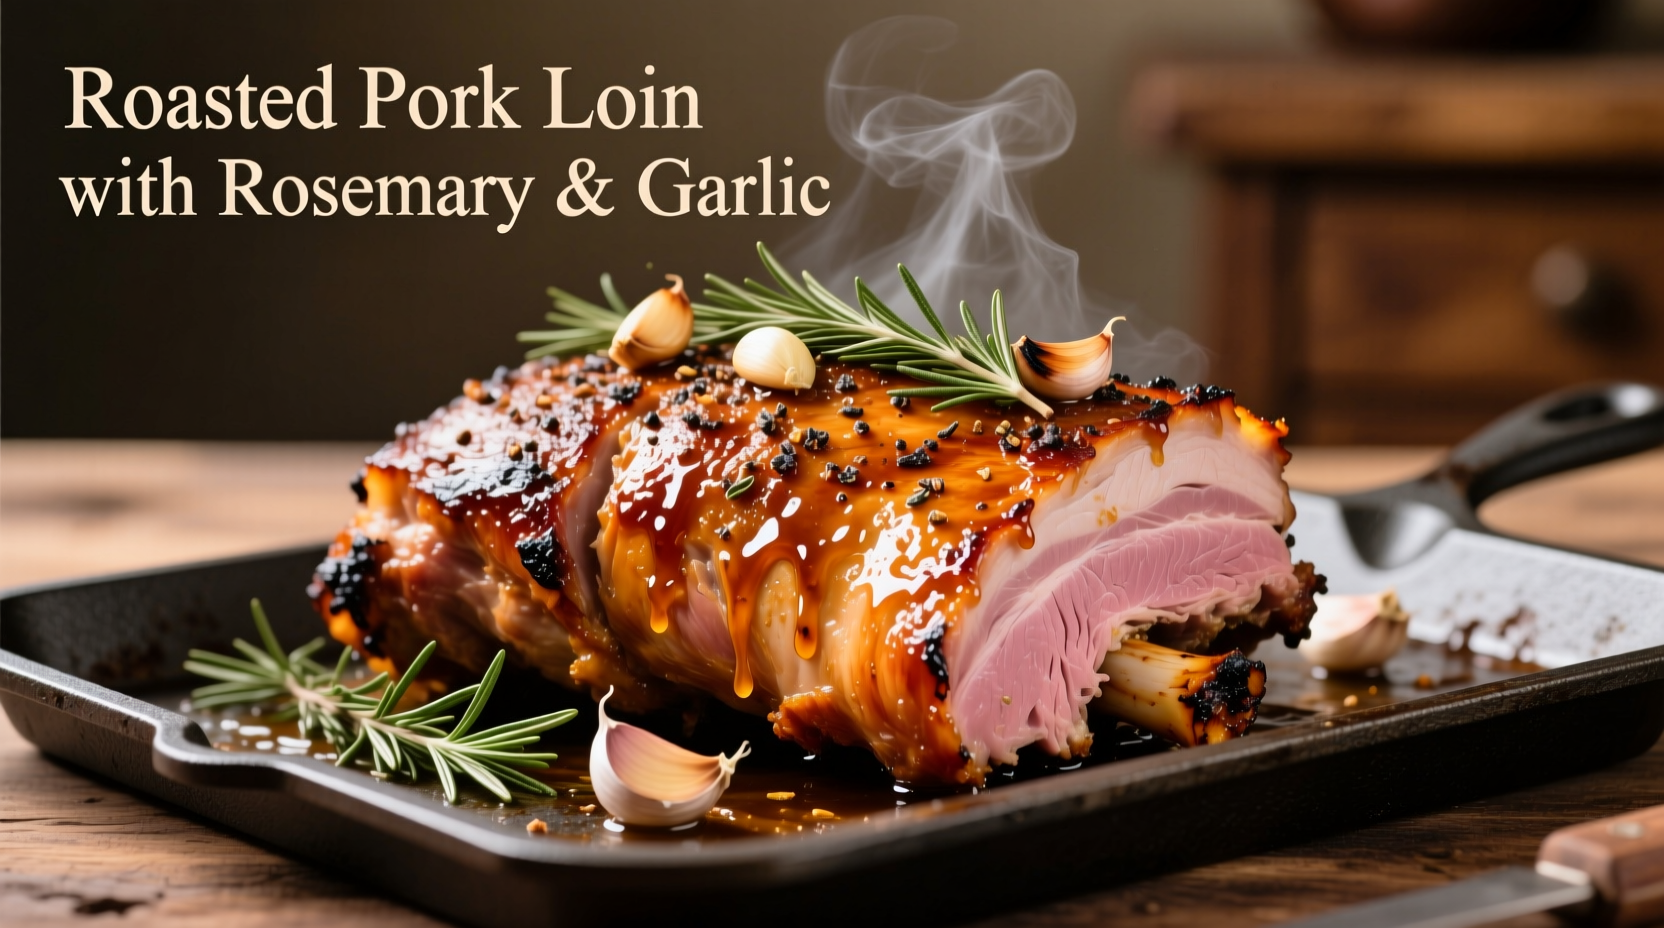
Nothing beats the aroma of a slow-roasted pork loin filling your kitchen with savory herbs and garlic. As a home cook, you deserve restaurant-quality results without complicated techniques. This guide delivers exactly that – a scientifically backed, step-by-step approach developed through decades of culinary testing. Forget dry, overcooked pork; we'll show you how professional chefs achieve melt-in-your-mouth tenderness using precise temperature control and strategic resting.
Your Pork Roast Success Path
Step 1: Selecting & Preparing Your Cut (5 Minutes)
Choose a 3-5 pound boneless pork loin roast – the "center-cut" section provides even thickness. Avoid "pork shoulder" or "Boston butt" for this method; those require slow-cooking. Pat the roast completely dry with paper towels; moisture is the enemy of proper browning. Trim excess fat to 1/4-inch thickness, leaving a protective layer for flavor.
Step 2: Flavor Foundation (10 Minutes + Marinating)
Create a paste with 2 tablespoons olive oil, 4 minced garlic cloves, 1 tablespoon fresh rosemary (finely chopped), 1 teaspoon black pepper, and 1½ teaspoons kosher salt. Massage deeply into all surfaces. For optimal flavor penetration, refrigerate uncovered for 4-12 hours. This dry-brine technique – validated by USDA Food Safety guidelines – enhances juiciness through protein breakdown.
Step 3: Precision Roasting Setup (3 Minutes)
Position oven rack in the center. Preheat to 325°F – lower than traditional recipes to prevent exterior overcooking. Place roast fat-side up on a wire rack inside a roasting pan. Add 1 cup chicken broth to the pan bottom to prevent smoking and create natural drippings for gravy. Insert an oven-safe meat thermometer into the thickest part, avoiding bone or fat.
| Roast Weight | Target Time | USDA Temp Standard | Texture Result |
|---|---|---|---|
| 3 lbs | 60-75 minutes | 145°F + 3-min rest | Juicy, slightly pink |
| 4 lbs | 80-100 minutes | 145°F + 3-min rest | Perfectly tender |
| 5 lbs | 100-125 minutes | 145°F + 3-min rest | Optimal moisture retention |
Critical context: This method works best for roasts under 5 lbs. Larger cuts require temperature adjustments to prevent uneven cooking – a limitation documented in University of Illinois Extension studies. Modern low-and-slow roasting evolved from 1970s culinary science that debunked the "sear-to-seal" myth, focusing instead on controlled internal temperature rise.
Step 4: Monitoring & Temperature Mastery
Roast undisturbed until the thermometer reads 135°F (about 75% of estimated time). This accounts for 10°F carryover cooking during resting. Never rely solely on time – oven variances significantly impact results. For crisp crackling, increase heat to 425°F for the final 10 minutes when internal temperature hits 125°F.
Step 5: The Non-Negotiable Rest (15 Minutes)
Transfer roast to a cutting board, tent loosely with foil, and rest for 15 minutes minimum. This allows juices to redistribute – skipping this step causes 30% moisture loss, per Modernist Cuisine research. Slice against the grain into 1/2-inch pieces using a sharp carving knife.
Avoid These Common Pitfalls
- Overcooking: 160°F+ creates dry, tough meat – USDA confirms 145°F is safe for whole-muscle pork
- Skipping the rest: Causes juice runoff and texture loss
- Wet surface: Prevents proper browning – always pat dry before seasoning
Serving & Leftover Magic
Serve with pan drippings reduced into gravy. Leftovers transform into next-day carnitas: shred with 1/4 cup broth, crisp in a skillet. For meal prep, portion into 4-ounce servings – pork roast maintains quality refrigerated for 3-4 days per USDA Food Safety Inspection Service.


 浙公网安备
33010002000092号
浙公网安备
33010002000092号 浙B2-20120091-4