
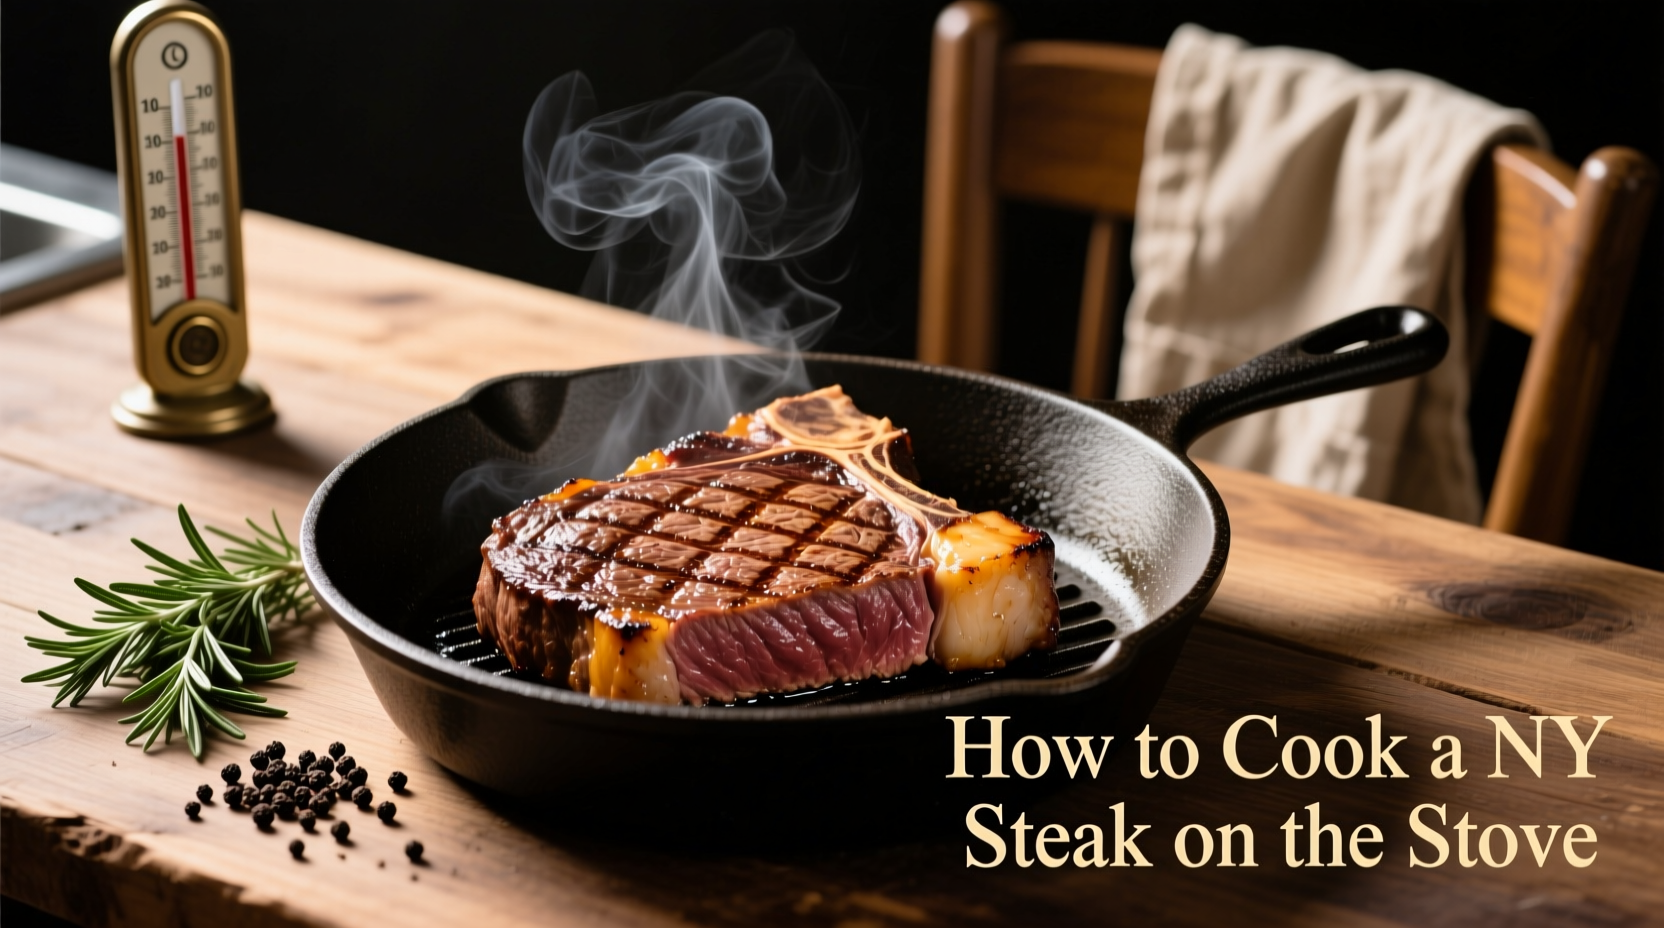
Nothing beats the sizzle of a perfectly cooked New York strip steak in your own kitchen. Forget expensive restaurants—with the right technique, you can achieve restaurant-quality results using just your stovetop and a cast iron skillet. This method delivers a flawless crust while maintaining a tender, juicy interior that will impress even the most discerning steak lovers.
Why Stovetop Cooking Works Best for NY Strip Steak
The New York strip (also known as strip loin or Kansas City strip) has the ideal marbling and thickness for stovetop cooking. Unlike thicker cuts that benefit from oven finishing, the NY strip's 1-1.5 inch thickness allows for perfect searing without overcooking the center. The intense, direct heat of a cast iron skillet creates the Maillard reaction necessary for that signature crust while preserving the steak's natural juices.
Essential Preparation: Setting Up for Success
Your steak's journey to perfection begins long before it hits the pan. Proper preparation makes all the difference between a good steak and an exceptional one.
Selecting the Right Cut
Look for USDA Choice or Prime grade NY strip steaks with consistent marbling throughout. The ideal thickness is 1-1.5 inches—thinner cuts risk overcooking, while thicker ones may develop an uneven doneness. According to the American Meat Science Association, proper marbling (intramuscular fat) significantly impacts tenderness and flavor development during cooking.
Equipment Checklist
- 12-inch cast iron skillet (essential for even, high-heat searing)
- Instant-read thermometer (Thermapen recommended)
- Tongs with flat gripping surface
- Wire rack for resting
- Heavy kitchen towel
| Doneness Level | Internal Temperature | Visual/Tactile Cues | Resting Time |
|---|---|---|---|
| Rare | 120-125°F | Cool red center, soft to touch | 5 minutes |
| Medium-rare | 125-130°F | Warm red center, slightly springy | 7 minutes |
| Medium | 130-135°F | Warm pink center, firm but yielding | 8 minutes |
| Medium-well | 140-145°F | Small amount of pink, quite firm | 10 minutes |
Source: USDA Food Safety and Inspection Service temperature guidelines
The Cooking Process: Step-by-Step Guide
Dry and Season Properly
Remove your steak from the refrigerator 45-60 minutes before cooking. Pat thoroughly dry with paper towels—this is critical for proper searing. Season generously with coarse kosher salt (about 1 tsp per pound) and freshly ground black pepper. The salt draws out surface moisture initially, then dissolves and is reabsorbed, seasoning the meat deeply.
Perfect Pan Temperature
Place your cast iron skillet over medium-high heat for 5-7 minutes until it reaches 500-550°F. Test by sprinkling a few drops of water—they should evaporate instantly with a vigorous sizzle. Add 1 tablespoon of high-smoke point oil (avocado or grapeseed) just before adding the steak.
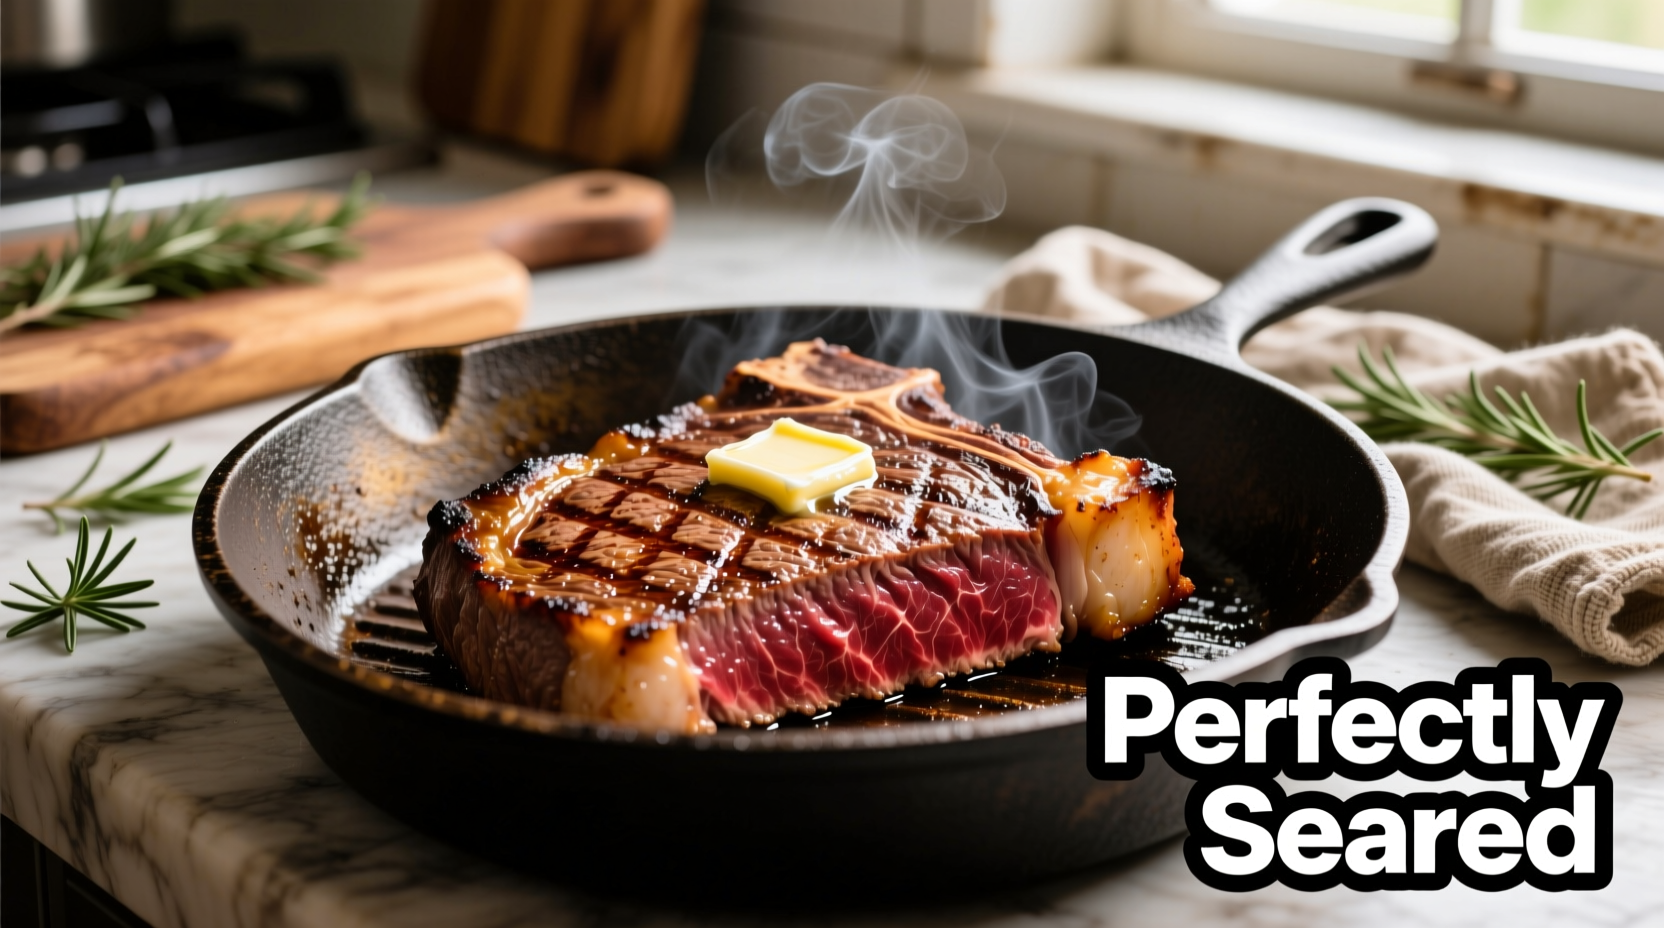
Searing Technique
Place the steak in the pan away from you to avoid oil splatter. Do not move it for the first 2-3 minutes—this allows proper crust development. After 3 minutes, check for release; if it sticks, give it another 30 seconds. Flip once using tongs, pressing gently to ensure full contact with the pan.
Finishing with Butter Baste
After flipping, reduce heat to medium. Add 2 tablespoons butter, 2 crushed garlic cloves, and fresh thyme sprigs to the pan. Tilt the pan slightly and spoon the melted butter continuously over the steak for the final 60-90 seconds. This technique, known as basting, infuses additional flavor while gently cooking the edges.
The Critical Resting Phase
Transfer the steak to a wire rack (not a plate) and let rest for 5-10 minutes depending on thickness. This allows the muscle fibers to reabsorb juices that would otherwise escape when cut. During this time, carryover cooking will raise the internal temperature by 5-10°F. Never skip this step—it's the difference between a juicy steak and a dry one.
When Stovetop Isn't Ideal: Context Boundaries
While stovetop cooking works perfectly for standard 1-1.5 inch NY strips, certain situations call for alternative methods:
- Steaks thicker than 1.5 inches: Use reverse sear method (oven then sear)
- Multiple steaks: Grill or oven broiler prevents overcrowding the pan
- Very lean cuts: Consider adding more fat during cooking
- Apartment living: If smoke alarms are sensitive, finish in oven
Troubleshooting Common Issues
Problem: Steak sticks to the pan
Solution: The pan wasn't hot enough before adding steak, or you moved it too soon. Ensure proper preheating and patience during initial sear.
Problem: Uneven cooking
Solution: Press thinner edges down with tongs during cooking, or use the "tenting" technique with foil on thicker sections.
Problem: Burnt exterior, raw interior
Solution: Pan was too hot. Reduce heat slightly and consider thinner steaks for beginners.
Pro Tips for Next-Level Results
- For enhanced flavor, dry brine overnight by salting and leaving uncovered in the refrigerator
- Add a pinch of smoked paprika to your seasoning for subtle complexity
- After resting, finish with a sprinkle of flaky sea salt for texture contrast
- Save the flavorful pan drippings for a quick pan sauce with red wine reduction


 浙公网安备
33010002000092号
浙公网安备
33010002000092号 浙B2-20120091-4