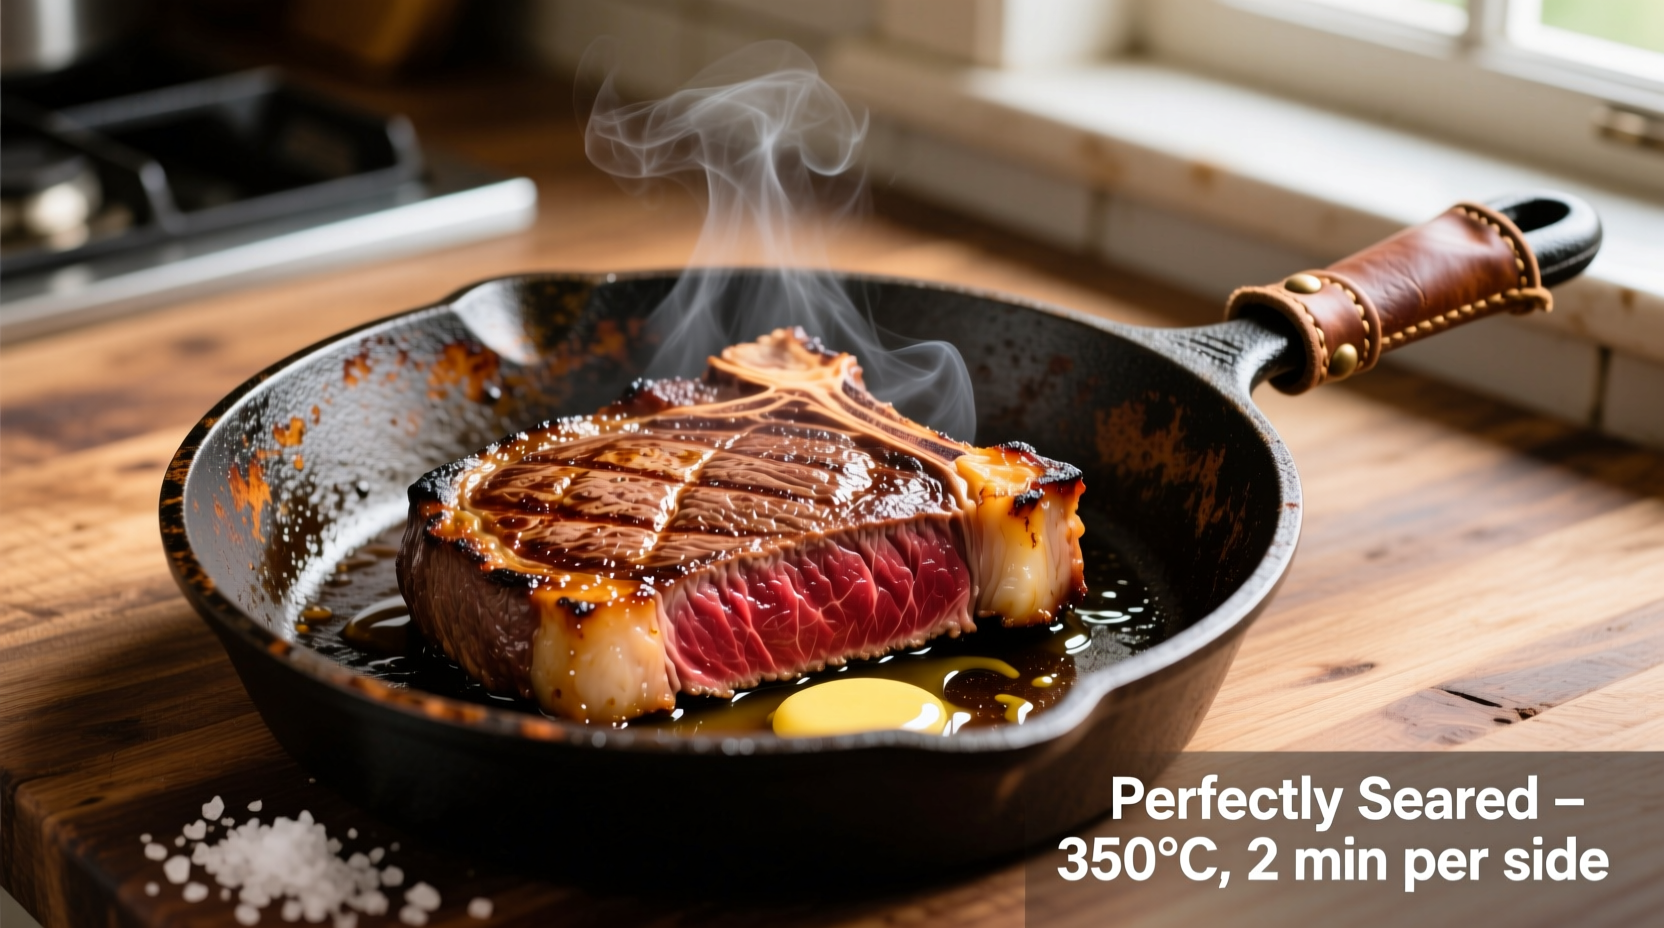
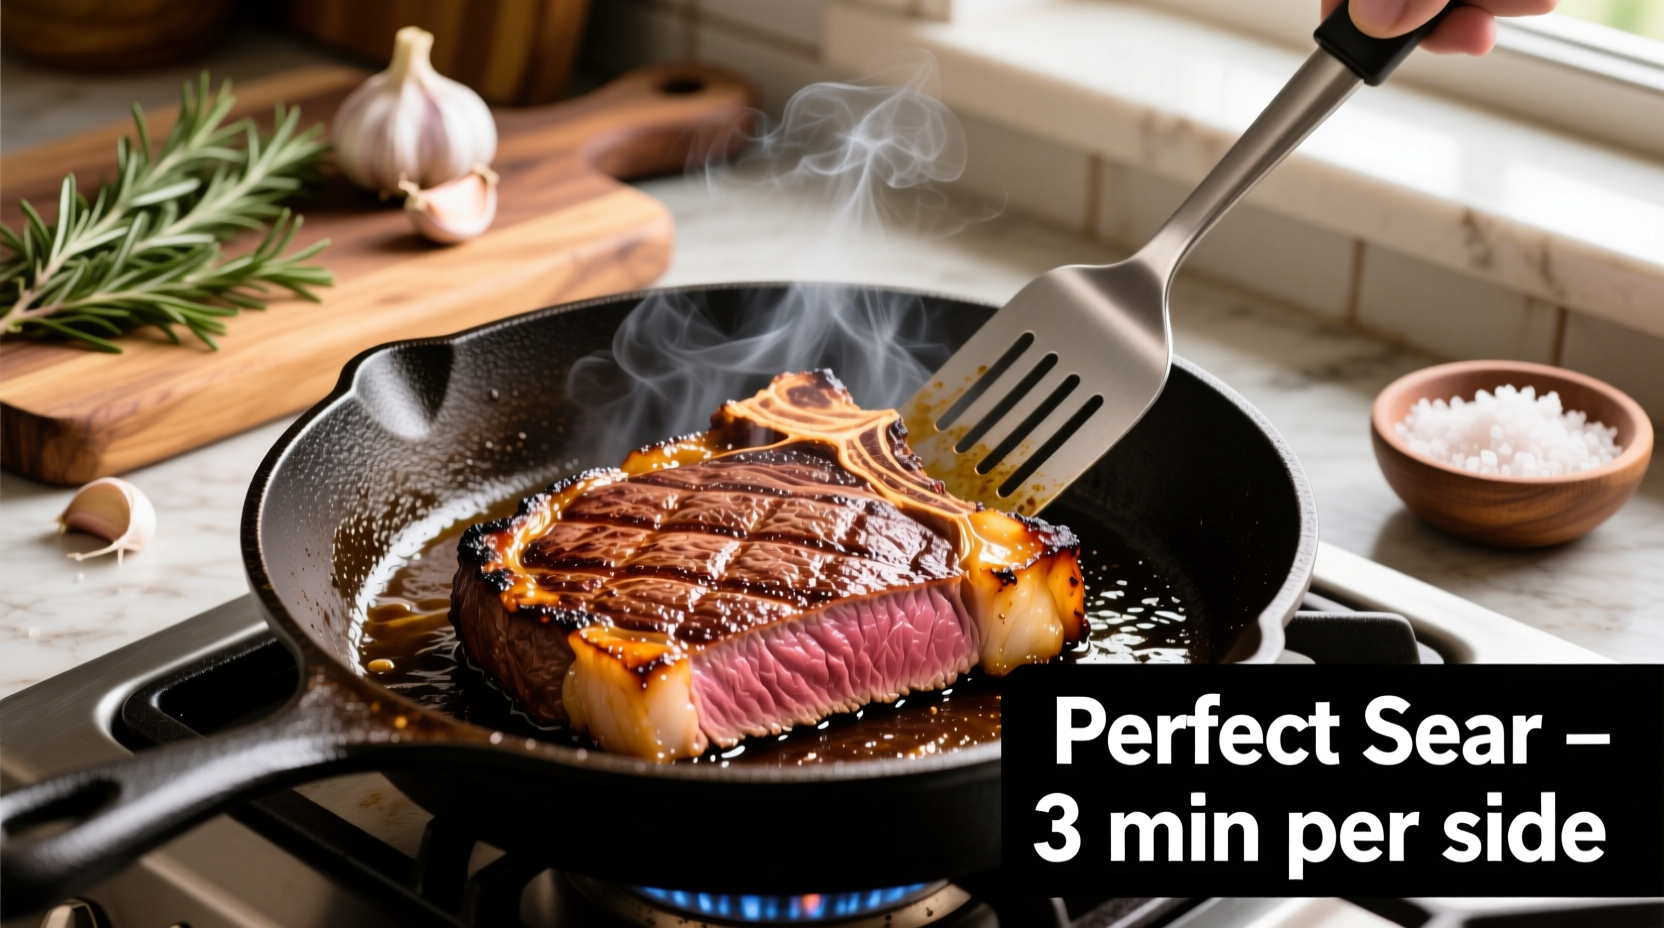
To cook a perfect New York steak on stove: Pat steak dry, season generously, heat cast iron skillet to smoking point, sear 3-4 minutes per side, finish in oven if needed, rest 10 minutes. This method delivers a restaurant-quality crust while maintaining ideal medium-rare doneness throughout the 1-1.5 inch thick cut. The key is proper temperature control and resting time.
The Ultimate Guide to Perfect Stove-Top New York Steak
Cooking a New York strip steak on your stove might seem intimidating, but mastering this technique unlocks restaurant-quality results in your own kitchen. Unlike grill cooking where heat distribution can be uneven, the controlled environment of your stovetop allows for precise searing and doneness control. In just 20 minutes, you can transform a simple cut of beef into a culinary masterpiece with a caramelized crust and tender, juicy interior.Why Stove Cooking Beats Other Methods
While grilling has its merits, stove-top cooking provides consistent, direct heat that's crucial for developing the Maillard reaction—the chemical process that creates that irresistible browned crust. Professional chefs prefer this method for New York strips because it offers complete control over the cooking environment, eliminating variables like wind or fluctuating grill temperatures. The intense, even heat of a properly preheated cast iron skillet creates superior browning while locking in juices.Preparation: Setting Up for Success
Choosing Your SteakSelect a New York strip that's 1-1.5 inches thick with even marbling throughout. Thinner cuts risk overcooking before achieving proper crust development. USDA Prime grade offers the best marbling, but Choice grade works well with proper technique. Temperature Matters
Remove steak from refrigerator 45-60 minutes before cooking. This critical step ensures even cooking—cold meat seizes when hitting hot pans, leading to uneven doneness. Never skip this step for perfect results. Drying Technique
Pat steak thoroughly with paper towels, then let sit uncovered for 10 minutes. Surface moisture is the enemy of proper searing; drier meat creates dramatically better crust formation. This simple step makes the difference between steamed and seared meat.

Equipment Essentials
| Equipment | Why It Matters | Alternative |
|---|---|---|
| Cast Iron Skillet | Retains heat evenly, reaches high temperatures for optimal searing | Carbon steel pan |
| Instant-Read Thermometer | Prevents guesswork for perfect doneness (125°F for medium-rare) | Touch test (less reliable) |
| Tongs | Prevents piercing meat and juice loss | Spatula (less ideal) |
| Heavy-Duty Oven Mitts | Safely handle smoking-hot skillet | Not optional |
Use high smoke point oils: avocado (520°F), refined canola (400°F), or clarified butter (450°F). Avoid extra virgin olive oil (320°F smoke point) which burns easily and creates bitter flavors. The USDA Food Safety and Inspection Service recommends maintaining oil temperatures below smoke point to prevent harmful compounds formation (USDA FSIS).
The Cooking Process: Step-by-Step
Step 1: Preheat Your SkilletPlace empty cast iron skillet on medium-high heat for 5-7 minutes until smoking slightly. Test readiness by flicking water droplets—immediate sizzle indicates proper temperature. This preheating phase is non-negotiable for proper sear development. Step 2: Season and Sear
Season steak generously with coarse salt and freshly ground pepper just before cooking. Place steak in skillet away from you to avoid oil splatter. Press gently for full contact, then don't move for 3-4 minutes. Proper searing creates the foundation for flavor development through the Maillard reaction. Step 3: Flip and Baste
Flip steak using tongs and add aromatics: 2 tbsp butter, 2 crushed garlic cloves, and fresh thyme or rosemary. Tilt pan and spoon melted butter continuously over steak for 2-3 minutes. This basting technique infuses flavor while gently cooking the top surface. Step 4: Check Temperature
Insert thermometer horizontally into thickest part. For medium-rare, remove at 120-125°F (final temp will rise 5 degrees during resting). The American Meat Science Association confirms that proper resting allows juices to redistribute, preventing dryness (AMSA).
Resting: The Critical Final Step
Transfer steak to cutting board and tent loosely with foil for 8-10 minutes. This resting period allows muscle fibers to relax and reabsorb juices. Cutting too soon releases precious juices onto your plate rather than staying in the meat. For best results, place steak on a wire rack rather than a plate to prevent steaming the bottom surface.Troubleshooting Common Issues
Problem: Burnt exterior, raw interiorSolution: Your pan was too hot. Next time, reduce heat slightly and consider finishing thicker cuts (over 1.5 inches) in a 400°F oven after initial sear. Problem: Steak sticks to pan
Solution: Pan wasn't hot enough before adding steak. Properly preheated cast iron creates an instant sear that prevents sticking. Never force stuck meat—wait until it releases naturally. Problem: Uneven cooking
Solution: Press thinner edges against the pan with tongs during cooking to ensure even contact. Rotate steak 90 degrees halfway through each side for attractive cross-hatch marks.
Pro Tips for Restaurant-Quality Results
- Reverse Sear Method: For thicker cuts (1.75+ inches), bake at 275°F until internal temperature reaches 110°F, then sear for 60-90 seconds per side
- Edge Fat Rendering: Hold steak upright with tongs to render fat cap for 60 seconds before final sear
- Flavor Boost: Add 1 tbsp soy sauce to butter baste for umami enhancement without noticeable soy flavor
- Smoke Management: Turn on exhaust fan, open windows, and have a spray bottle of water nearby for flare-ups
When Stove Cooking Isn't Ideal
While stove-top excels for standard 1-1.5 inch New York strips, consider alternative methods in these scenarios:- Steaks thicker than 2 inches: Reverse sear in oven first
- Multiple steaks needed: Grill maintains consistent temperature better
- Humid environments: Grill prevents excessive moisture buildup


 浙公网安备
33010002000092号
 浙B2-20120091-4