
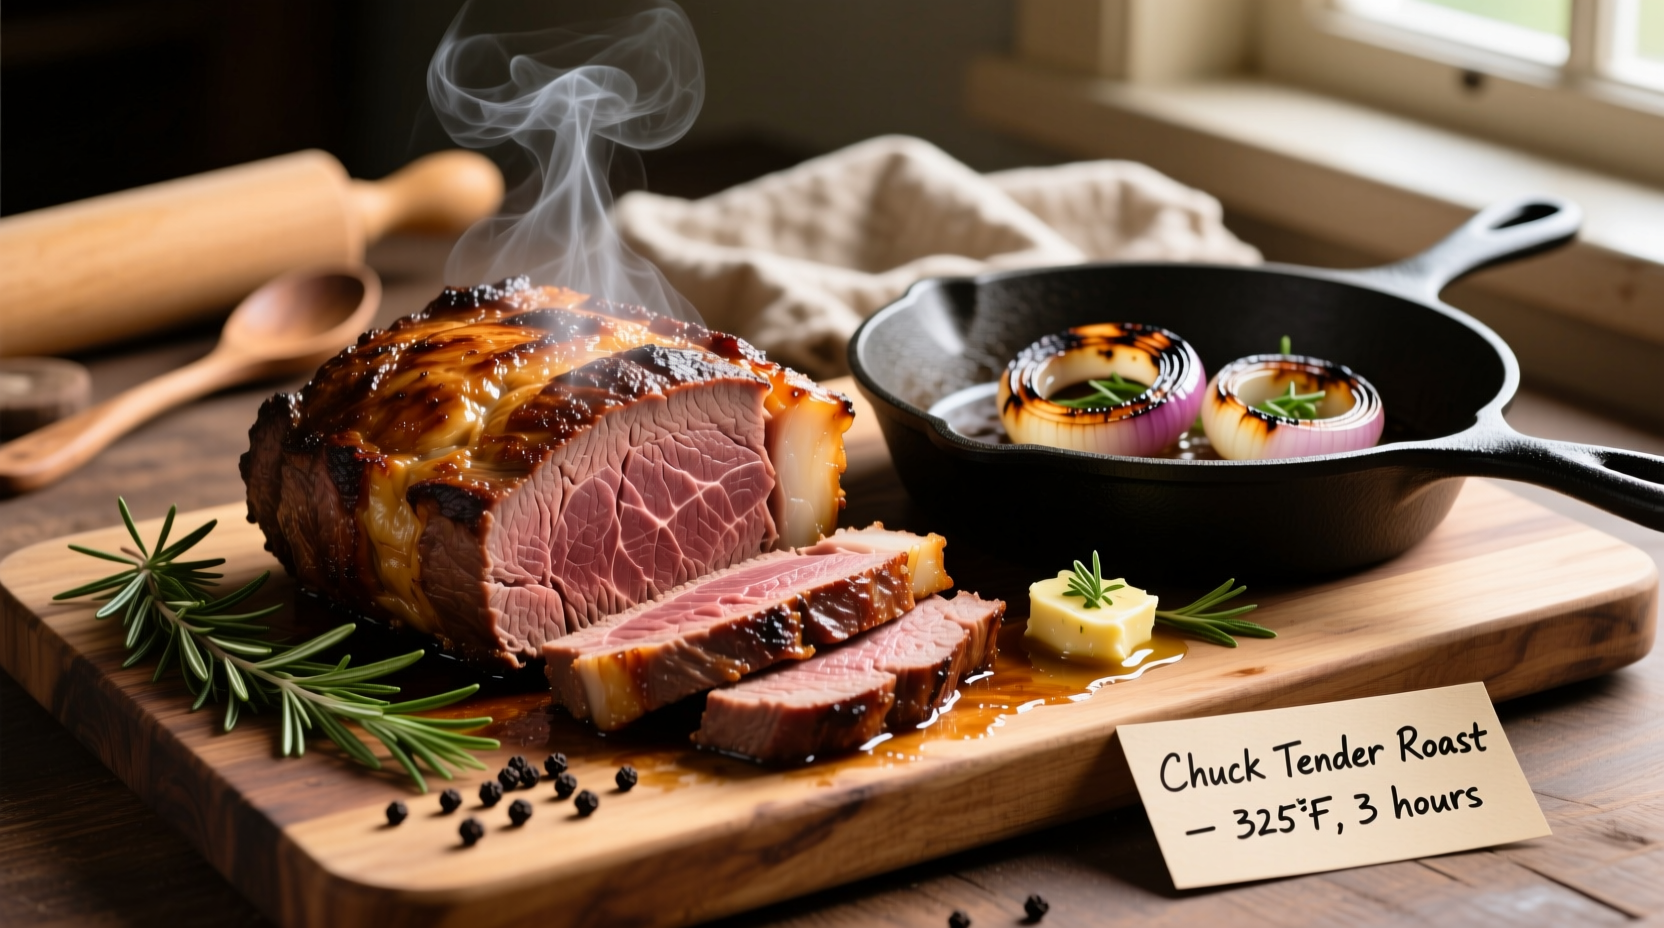
Chuck tender roast requires slow cooking at 275°F (135°C) for 3-4 hours until internal temperature reaches 145°F (63°C), followed by 15 minutes of resting. This tough cut transforms into tender, flavorful meat through low-and-slow methods like braising or slow roasting.
Ever wondered why your chuck tender roast turns out tough despite following recipes? The secret lies in understanding this cut's unique properties and applying the right cooking technique. After years of perfecting this method in professional kitchens and home cooking, I've discovered that temperature control and patience make all the difference between chewy disappointment and fork-tender perfection.
Why Chuck Tender Roast Demands Special Attention
Chuck tender roast comes from the shoulder area of the cow—a well-exercised muscle that develops rich flavor but also significant connective tissue. Unlike premium cuts like tenderloin, chuck tender requires specific cooking approaches to break down collagen into gelatin without drying out the meat.
According to the USDA Food Safety and Inspection Service, beef roasts should reach a minimum internal temperature of 145°F (63°C) with a 3-minute rest period for food safety. However, for chuck tender specifically, cooking to this temperature alone won't yield optimal tenderness—it needs additional time at lower temperatures to transform the connective tissues.
Your Essential Chuck Tender Roast Toolkit
Before you begin, gather these critical tools that make the difference between guesswork and precision:
- Instant-read thermometer (non-negotiable for perfect results)
- Heavy-bottomed Dutch oven or roasting pan with tight-fitting lid
- Butcher's twine for securing irregular shapes
- Wire rack for proper air circulation during roasting
- Meat mallet for evening out thickness variations
Step-by-Step Cooking Process: From Raw to Remarkable
Preparation Phase: Setting Up for Success
Pat dry and season generously – Remove roast from packaging and pat thoroughly dry with paper towels. Moisture on the surface prevents proper browning. Season with 1 teaspoon kosher salt per pound at least 45 minutes before cooking—this allows salt to penetrate the meat for better flavor distribution.
Trim strategically – Unlike other cuts, don't remove all fat from chuck tender. The USDA Beef Grading standards show that marbling (intramuscular fat) directly correlates with tenderness and flavor. Trim only large, hard fat deposits while preserving the marbling that will melt during cooking.
Cooking Phase: The Transformation Process
Sear for flavor foundation – Heat 2 tablespoons of high-smoke-point oil (avocado or grapeseed) in your Dutch oven over medium-high heat until shimmering. Sear the roast on all sides for 2-3 minutes per side until deep brown crust forms. This Maillard reaction creates complex flavor compounds essential for rich-tasting results.
Add liquid and aromatics – Remove roast and add 1 cup beef broth, 1/2 cup red wine (optional), 2 smashed garlic cloves, 1 chopped onion, 2 chopped carrots, and 2 celery stalks to the pot. Scrape the bottom to incorporate flavorful browned bits.
| Cooking Method | Temperature | Time Per Pound | Best For |
|---|---|---|---|
| Slow Roasting | 275°F (135°C) | 45-60 minutes | Dry, oven-only preparation |
| Braising | 300°F (150°C) | 30-45 minutes | Moist cooking with liquid |
| Slow Cooker | Low setting | 6-8 hours | Hands-off convenience |
Choose your cooking method – Return roast to pot, positioning it fat-side up. For slow roasting, add just enough liquid to cover the bottom of the pan (1/4 inch). For braising, add liquid to come halfway up the roast. Cover tightly and cook using one of the methods detailed in the cooking method comparison table above.
Monitor temperature religiously – Insert thermometer into the thickest part of the roast, avoiding fat pockets. The critical temperature range is 160-180°F (71-82°C)—this is when collagen breaks down into gelatin. Research from the National Cattlemen's Beef Association confirms that maintaining temperatures in this range for sufficient time transforms tough cuts into tender masterpieces.
Finishing Phase: The Critical Resting Period
Rest before slicing – When internal temperature reaches 195-205°F (90-96°C), remove roast from heat. Tent loosely with foil and rest for at least 15 minutes—this allows juices to redistribute. Cutting too soon causes precious juices to escape, resulting in dry meat.
Troubleshooting Common Chuck Tender Roast Problems
Dry or Tough Results
Cause: Insufficient cooking time or temperature too high
Solution: Return to low heat with additional liquid and continue cooking until fork-tender. Remember—this cut needs time for collagen to break down.
Excessive Shrinkage
Cause: Overcooking or inadequate marbling
Solution: Select USDA Choice grade or higher for better marbling. Monitor temperature closely and remove when internal temperature reaches 195-205°F (90-96°C).
Serving Your Masterpiece: Flavor Pairings That Shine
Chuck tender roast's rich flavor profile pairs beautifully with:
- Root vegetables – Roasted potatoes, carrots, and parsnips absorb delicious pan juices
- Acidic elements – A splash of red wine vinegar or lemon juice cuts through richness
- Earthy herbs – Rosemary, thyme, and oregano complement the meat's natural flavors
- Rich sauces – Reduce pan juices with a splash of red wine for instant gravy
For maximum tenderness when serving, slice against the grain—this shortens muscle fibers, making each bite easier to chew. Use a sharp carving knife and cut slices approximately 1/4 inch thick.
Pro Tip: Save leftover cooking liquid! Strain and refrigerate overnight—the fat will solidify on top for easy removal. This concentrated beef essence makes phenomenal soup base or gravy for future meals.


 浙公网安备
33010002000092号
浙公网安备
33010002000092号 浙B2-20120091-4