
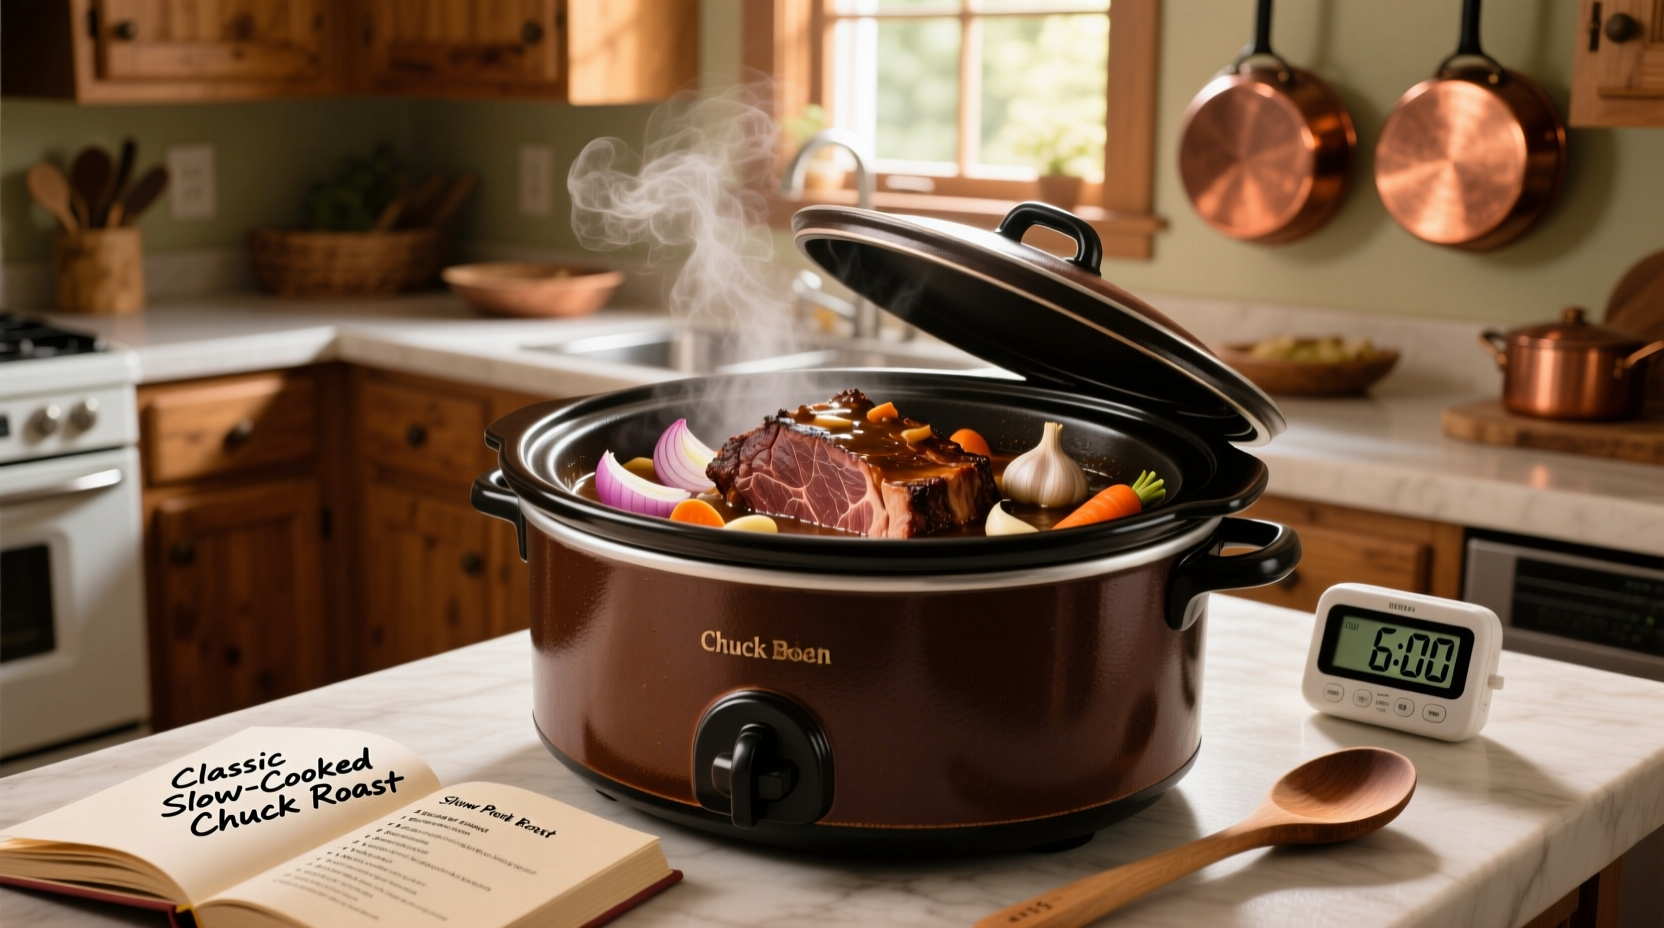
Perfectly tender chuck roast ready in 8 hours with just 20 minutes of prep time. This foolproof slow cooker method transforms tough connective tissue into melt-in-your-mouth goodness at 195°F (90°C), requiring only 6 simple ingredients and one essential searing step.
Nothing beats the rich, beefy aroma of chuck roast simmering all day in your slow cooker. This cut, often overlooked for its tough reputation, becomes incredibly tender when cooked low and slow—the perfect solution for busy home cooks wanting restaurant-quality results with minimal effort. By following these science-backed steps, you'll achieve fall-apart tenderness without drying out the meat, creating a versatile centerpiece for sandwiches, tacos, or classic Sunday dinners.
The Science Behind Slow Cooking Chuck Roast
Chuck roast contains abundant collagen—the connective tissue that makes it tough when cooked quickly. According to USDA Food Safety guidelines, collagen begins converting to gelatin at 160°F (71°C), but reaches optimal tenderness between 190-205°F (88-96°C). The slow cooker's gentle heat maintains this critical temperature range for hours, transforming tough fibers into succulent, flavorful meat.
| Temperature Range | Collagen Transformation | Texture Result |
|---|---|---|
| 140-160°F (60-71°C) | Minimal breakdown | Tough, chewy |
| 160-190°F (71-88°C) | Gradual conversion | Firm but tender |
| 190-205°F (88-96°C) | Complete gelatinization | Melt-in-your-mouth |
Harold McGee's On Food and Cooking confirms that maintaining this temperature for 6-8 hours allows complete collagen conversion while preserving moisture—something high-heat methods can't achieve without drying the meat.
Essential Equipment & Ingredients
You'll need:
- 5-6 lb (2.3-2.7 kg) boneless chuck roast
- 2 tbsp olive oil (for searing)
- 1 cup beef broth (low sodium)
- 1 large onion, sliced
- 4 garlic cloves, minced
- 2 tbsp Worcestershire sauce
- Salt and freshly ground black pepper
A 6-quart or larger slow cooker works best—crowding prevents proper steam circulation. The American Institute of Culinary Education recommends against trimming all fat, as it bastes the meat during cooking. Leave about 1/4 inch (6 mm) for optimal flavor and moisture retention.
Your Step-by-Step Cooking Process
Preparation Phase (20 minutes)
- Pat the roast dry with paper towels—moisture prevents proper searing
- Season generously with salt and pepper on all sides
- Preheat slow cooker on HIGH while searing
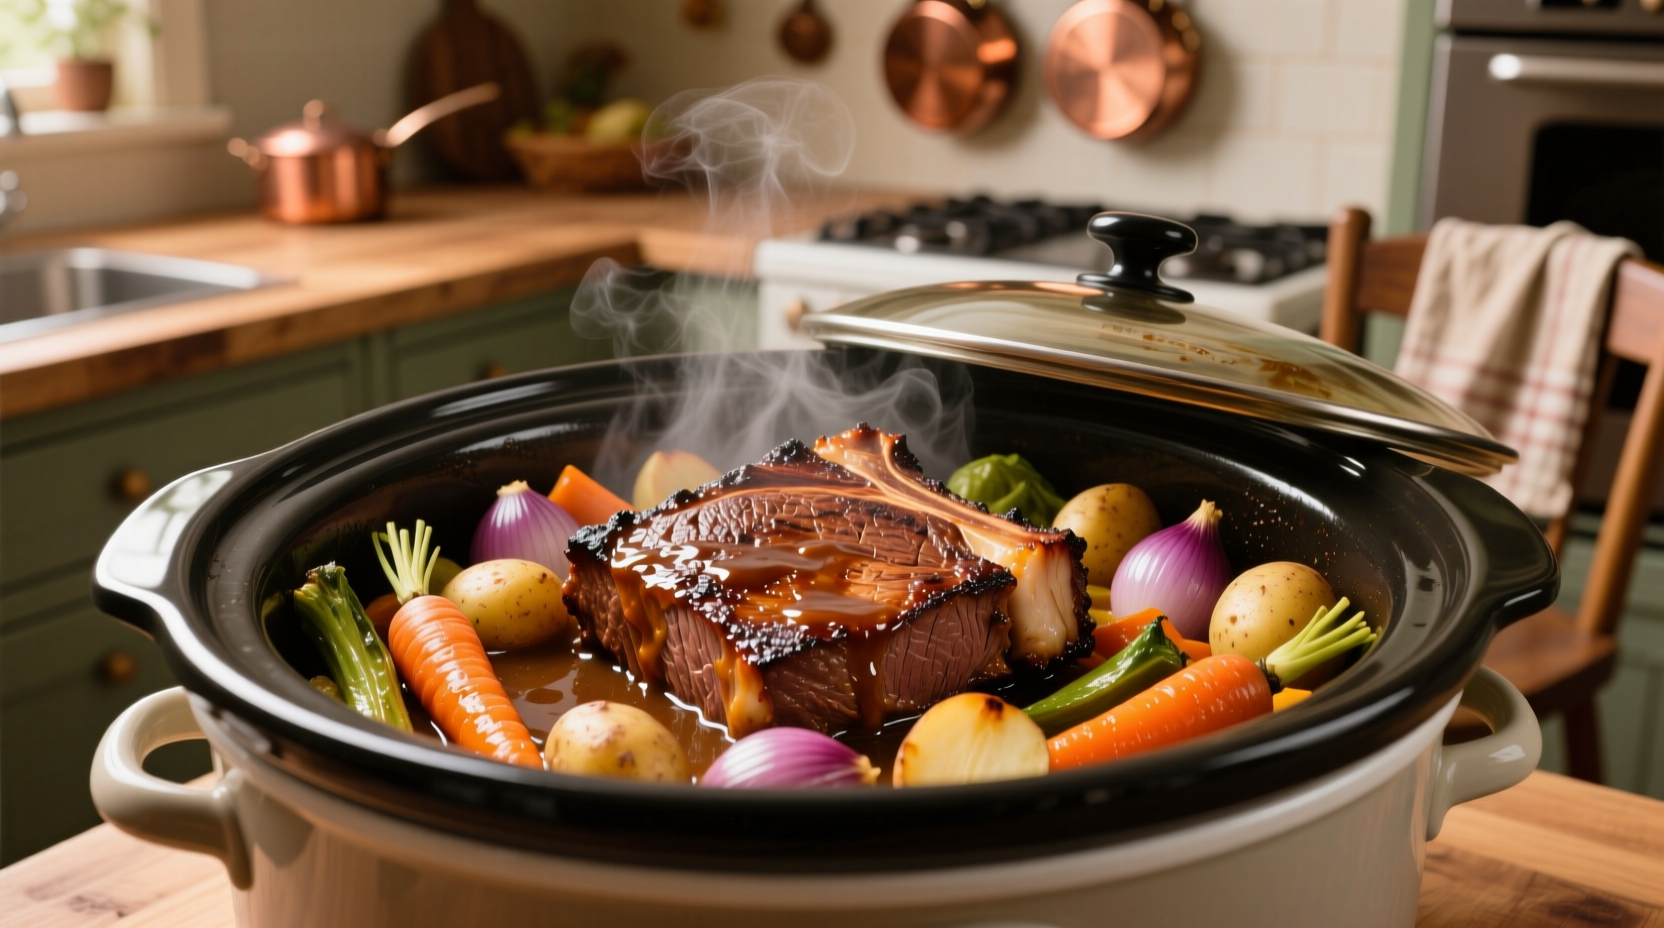
Searing for Flavor Development (Critical Step!)
Heat olive oil until shimmering (about 350°F/177°C). Sear roast on all sides for 3-4 minutes per side until deep brown crust forms. This Maillard reaction creates over 600 flavor compounds according to the Journal of Agricultural and Food Chemistry. Skipping this step results in boiled meat flavor rather than rich, complex notes.
Slow Cooking Timeline
- Place sliced onions in slow cooker bottom
- Add seared roast on top of onions
- Pour broth and Worcestershire around (not over) roast
- Cook on LOW for 8-10 hours or HIGH for 5-6 hours
- Check tenderness at 8 hours—fork should slide in easily
- Rest 20 minutes before slicing against the grain
The National Center for Home Food Preservation confirms that cooking on LOW maintains more stable temperatures for even collagen breakdown. HIGH setting risks drying edges while center remains tough.
Troubleshooting Common Issues
Dry or Stringy Results
This usually happens when cooking time exceeds 10 hours or liquid evaporates. Always check liquid levels at 6 hours—add 1/2 cup broth if bottom appears dry. The roast should never be fully submerged, but should sit in at least 1 inch (2.5 cm) of liquid.
Insufficient Tenderness
If after 10 hours the meat remains tough, return to cooker for additional 1-2 hours. Some chuck roasts contain more connective tissue depending on the animal's age and diet—USDA data shows grass-fed beef often requires 15-20% more cooking time due to leaner composition.
Serving Suggestions & Leftover Magic
For classic presentation, slice against the grain into 1/4-inch thick pieces. The natural gelatin creates a luxurious sauce—skim excess fat before serving. Leftovers transform beautifully:
- Tacos: Shred with cooking juices, add pickled onions
- Shepherd's pie: Top with mashed potatoes, bake 20 minutes
- Sandwiches: Serve on ciabatta with horseradish mayo
Store leftovers in cooking liquid for maximum moisture retention. The USDA FoodKeeper app recommends consuming within 3-4 days or freezing up to 3 months.


 浙公网安备
33010002000092号
浙公网安备
33010002000092号 浙B2-20120091-4