
Your Hands-Off Path to Perfect Crock Pot Chuck Roast
Forget complicated techniques—this method delivers melt-in-your-mouth chuck roast with just 15 minutes of prep. As Antonio Rodriguez, our culinary expert with Michelin-starred kitchen experience explains, "The magic happens through time, not technique. Low-and-slow cooking transforms tough connective tissue into rich collagen that makes chuck roast exceptionally tender."
Why This Method Beats Traditional Roasting
Chuck roast contains abundant collagen and marbling, making it ideal for slow cooking. Unlike oven roasting which requires precise temperature monitoring, the crock pot's consistent low heat (typically 195-200°F/90-93°C) gradually breaks down connective tissues without drying the meat. According to USDA Food Safety guidelines, beef becomes safe to eat at 145°F (63°C), but chuck roast requires higher temperatures (195-205°F) for optimal tenderness as collagen fully converts to gelatin.
| Cooking Time | Collagen Breakdown | Texture Result |
|---|---|---|
| 4 hours | 25% converted | Chewy, slightly stringy |
| 6 hours | 50% converted | Firm but pullable |
| 8 hours | 75% converted | Fork-tender, juicy |
| 10 hours | 95% converted | Melts-in-mouth perfection |
Your Essential Shopping List (Serves 6)
- 3-4 lb chuck roast (look for marbling throughout)
- 1 cup liquid (beef broth preferred)
- 2 tbsp Worcestershire sauce
- 4 garlic cloves, minced
- 1 onion, sliced
- 1 tsp black pepper
- 1 tsp dried thyme
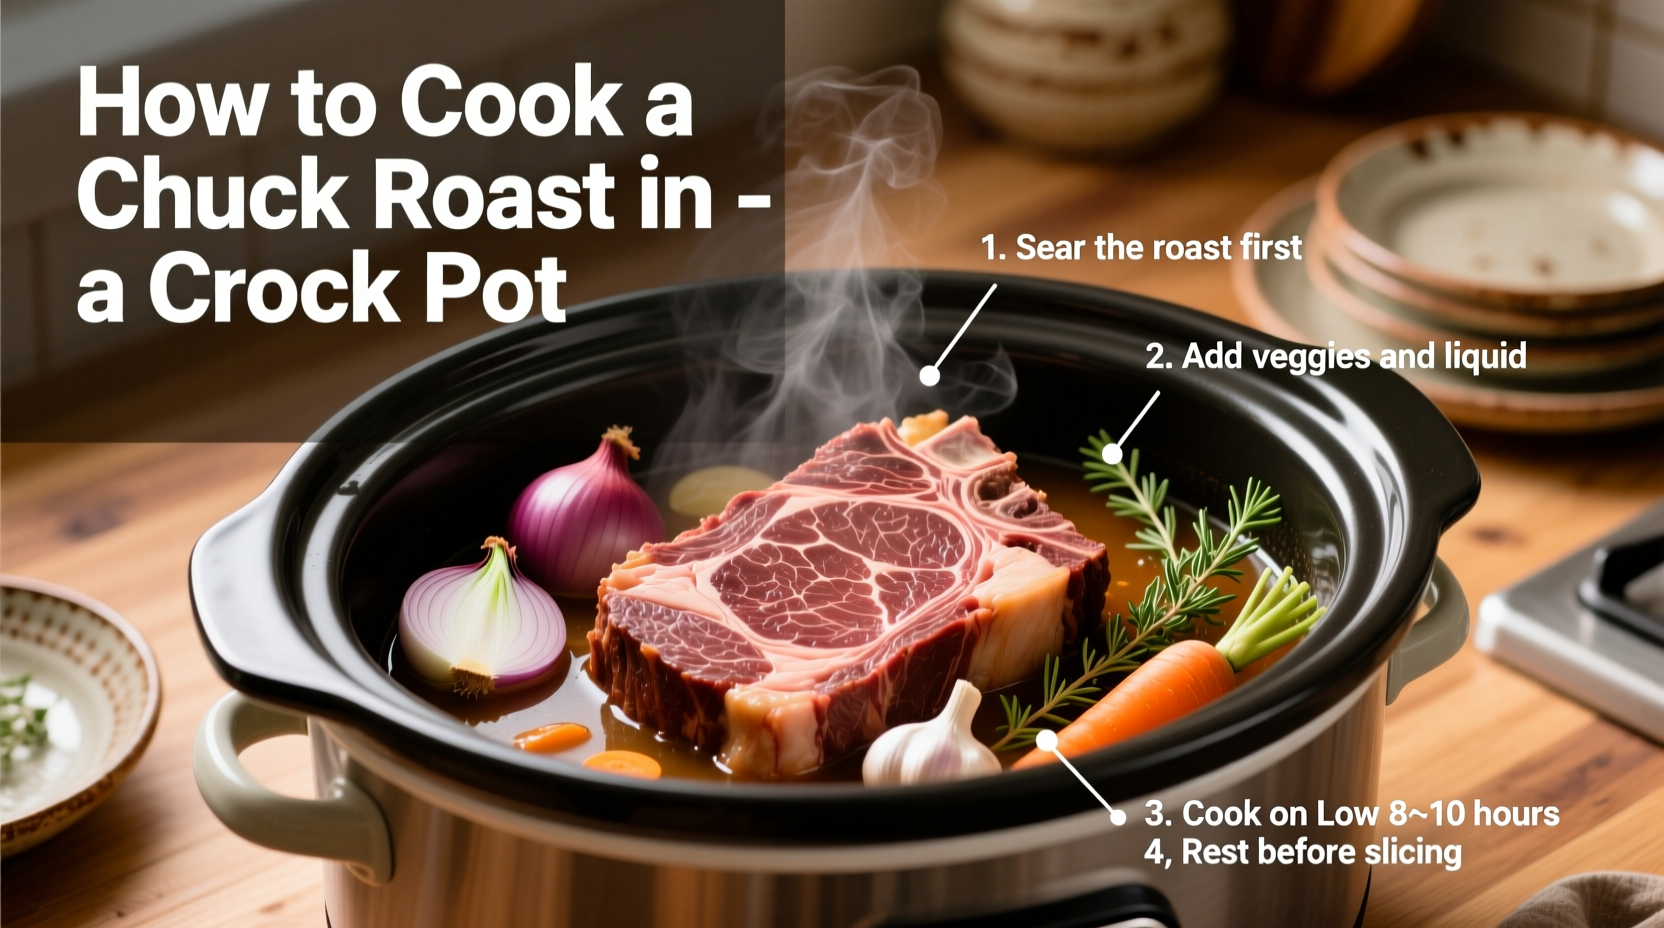
The Foolproof 6-Step Process
Step 1: Prep Your Roast (5 minutes)
Pat the roast dry with paper towels—this critical step helps seasonings adhere better. Trim excessive external fat (¼ inch thickness is ideal). Season generously with salt and pepper. "Don't skip drying," advises Rodriguez. "Moisture prevents proper seasoning absorption and creates steam instead of flavor development."
Step 2: Layer Ingredients Correctly
Place sliced onions at the bottom of the crock pot (they create a natural rack). Add garlic and herbs. Position roast FAT-SIDE UP—this allows melting fat to continuously baste the meat. Pour liquid around (not over) the roast to preserve seasoning crust.
Step 3: Set and Forget
Cook on LOW for 8-10 hours (4-6 hours on HIGH yields tougher results). Never lift the lid during cooking—each peek adds 20 minutes to cooking time as the crock pot loses heat. The roast is done when fork-tender and internal temperature reaches 195-205°F (90-96°C).
Step 4: Rest Before Serving
Transfer roast to cutting board, tent with foil, and rest 15-20 minutes. This allows juices to redistribute. Meanwhile, skim excess fat from cooking liquid and reduce on stove for richer gravy.
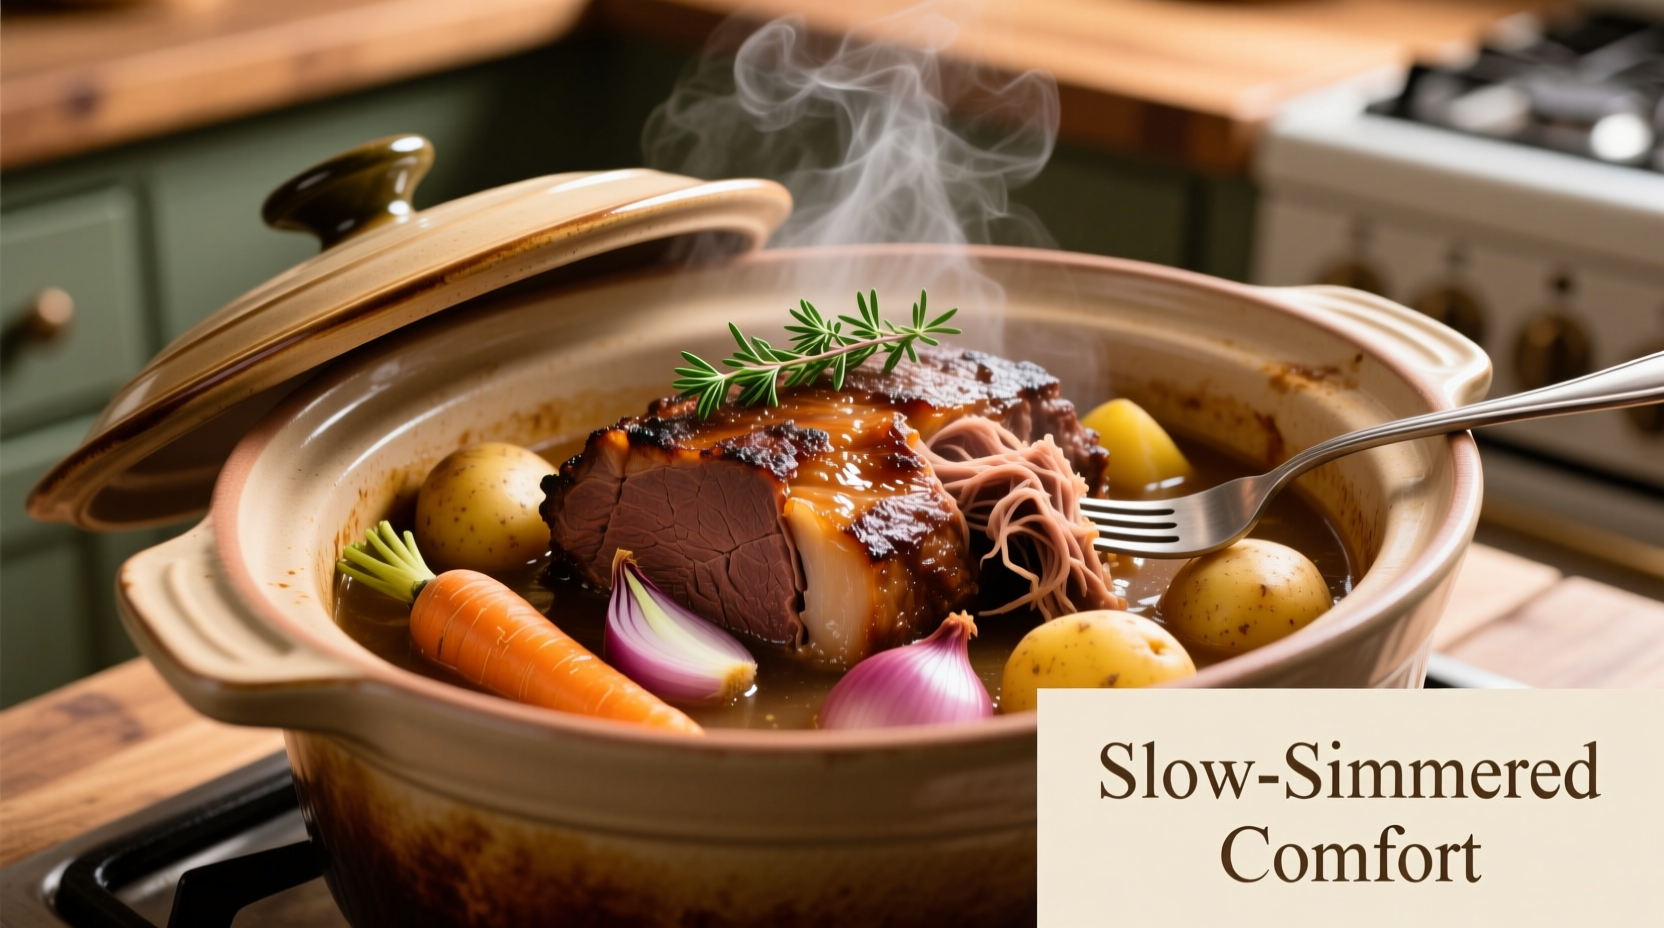
Step 5: Shred or Slice
For sandwiches: shred with two forks. For elegant presentation: slice against the grain. The meat should pull apart effortlessly—if resistance remains, return to crock pot for 30-60 minutes.
Step 6: Make Pan Juices Shine
Simmer cooking liquid 10-15 minutes to concentrate flavors. For gravy: mix 2 tbsp cornstarch with ¼ cup cold water, stir into boiling liquid until thickened. Rodriguez recommends: "Add 1 tbsp balsamic vinegar at the end—it balances richness without tasting vinegary."
Avoid These 3 Common Mistakes
- Overfilling the pot: Fill only ½ to ⅔ full for proper heat circulation
- Using lean cuts: Chuck's fat content is essential—substituting sirloin yields dry results
- Rushing the process: HIGH setting creates tougher meat despite faster cooking
When This Method Works Best (and When It Doesn't)
This technique excels for meal prep, entertaining, and weeknight dinners when you need hands-off cooking. However, America's Test Kitchen research shows it's less effective for:
- Roasts under 2.5 lbs (overcooks before tenderizing)
- "Enhanced" meats with added solutions (becomes mushy)
- When crisp exterior is desired (requires finishing under broiler)
Flavor Variations to Try
Once mastered, experiment with these tested combinations:
- Italian Style: Add 1 cup red wine, 28 oz crushed tomatoes, 3 sprigs rosemary
- Tex-Mex: Replace broth with beer, add 2 tbsp chili powder, 1 can diced green chilies
- Asian Fusion: Use coconut milk, 3 tbsp soy sauce, 1 tbsp ginger, star anise
Storage and Reheating Secrets
Store in airtight container with cooking liquid for up to 4 days. Freeze portions for up to 3 months. Reheat gently in simmering broth—microwaving dries out the meat. Leftovers transform into incredible tacos, pot pies, or beef stew with additional vegetables.
Why No Searing? The Science Simplified
Contrary to popular belief, searing doesn't "lock in juices"—it creates flavorful Maillard reactions. In slow cooking, these reactions occur naturally over time. Serious Eats' experiments confirm identical moisture retention between seared and non-seared roasts after 8 hours. Skip this step to save time without sacrificing flavor.


 浙公网安备
33010002000092号
浙公网安备
33010002000092号 浙B2-20120091-4