
Nothing says holiday celebration quite like a perfectly roasted Butterball turkey centerpiece. Yet many home cooks struggle with dry meat, uneven cooking, or timing mishaps that turn what should be a festive triumph into a stressful ordeal. This comprehensive guide delivers professional techniques refined through years of culinary experience to ensure your Butterball turkey emerges with golden, crispy skin and succulent, flavorful meat every time—no matter your cooking experience level.
Unlike generic turkey recipes, this guide addresses the specific characteristics of Butterball turkeys, which often come pre-basted with a solution that affects cooking behavior. You'll learn precise timing based on weight, optimal temperature zones for different parts of the bird, and science-backed methods to maximize moisture retention. By following these evidence-based steps, you'll avoid common pitfalls while creating a showstopper that becomes the talk of your gathering.
Understanding Butterball Turkey Characteristics
Butterball turkeys differ from generic turkeys in important ways that affect cooking. Most Butterball products contain a solution of water, salt, and spices injected into the meat (approximately 4-8% by weight), which impacts both cooking time and seasoning requirements. This self-basting feature helps maintain moisture but means you should reduce added salt during preparation.
According to USDA food safety guidelines, all poultry must reach a minimum internal temperature of 165°F to eliminate harmful bacteria like salmonella. The National Turkey Federation confirms that properly cooked turkey continues to rise in temperature by 5-10 degrees during resting, a phenomenon called “carryover cooking.” This scientific principle is why we recommend removing your turkey from the oven at 160°F.
The Planning Phase: Setting Yourself Up for Success
Proper planning begins days before cooking. Butterball's official thawing guidelines align with USDA recommendations: allow approximately 24 hours of refrigerator thawing time for every 4-5 pounds of turkey. For example, a 12-pound turkey requires about 3 days in the refrigerator at 40°F or below.
| Turkey Weight | Refrigerator Thawing Time | Cold Water Thawing Time |
|---|---|---|
| 8-12 lbs | 2-3 days | 6-9 hours |
| 12-16 lbs | 3-4 days | 9-12 hours |
| 16-20 lbs | 4-5 days | 12-15 hours |
If using the cold water method (changing water every 30 minutes), allow 30 minutes per pound. Never thaw turkey at room temperature, as this creates dangerous conditions for bacterial growth in the USDA's “danger zone” between 40°F and 140°F.
Preparation: The Critical First Steps
Remove the turkey from its packaging and extract the neck and giblet package from both the main and neck cavities. Pat the entire surface completely dry with paper towels—this crucial step enables proper browning through the Maillard reaction. Research from the American Chemical Society confirms that moisture on the skin's surface prevents the high temperatures needed for crispiness.
Seasoning requires adjustment due to the pre-injected solution. Apply only 1/2 teaspoon of salt per 5 pounds of turkey weight, focusing on herbs like rosemary, thyme, and sage that complement rather than compete with the existing flavors. For enhanced crispiness, rub 1 tablespoon of softened butter under the skin over the breast meat while avoiding additional salt.
Cooking Process: Precision Timing and Temperature
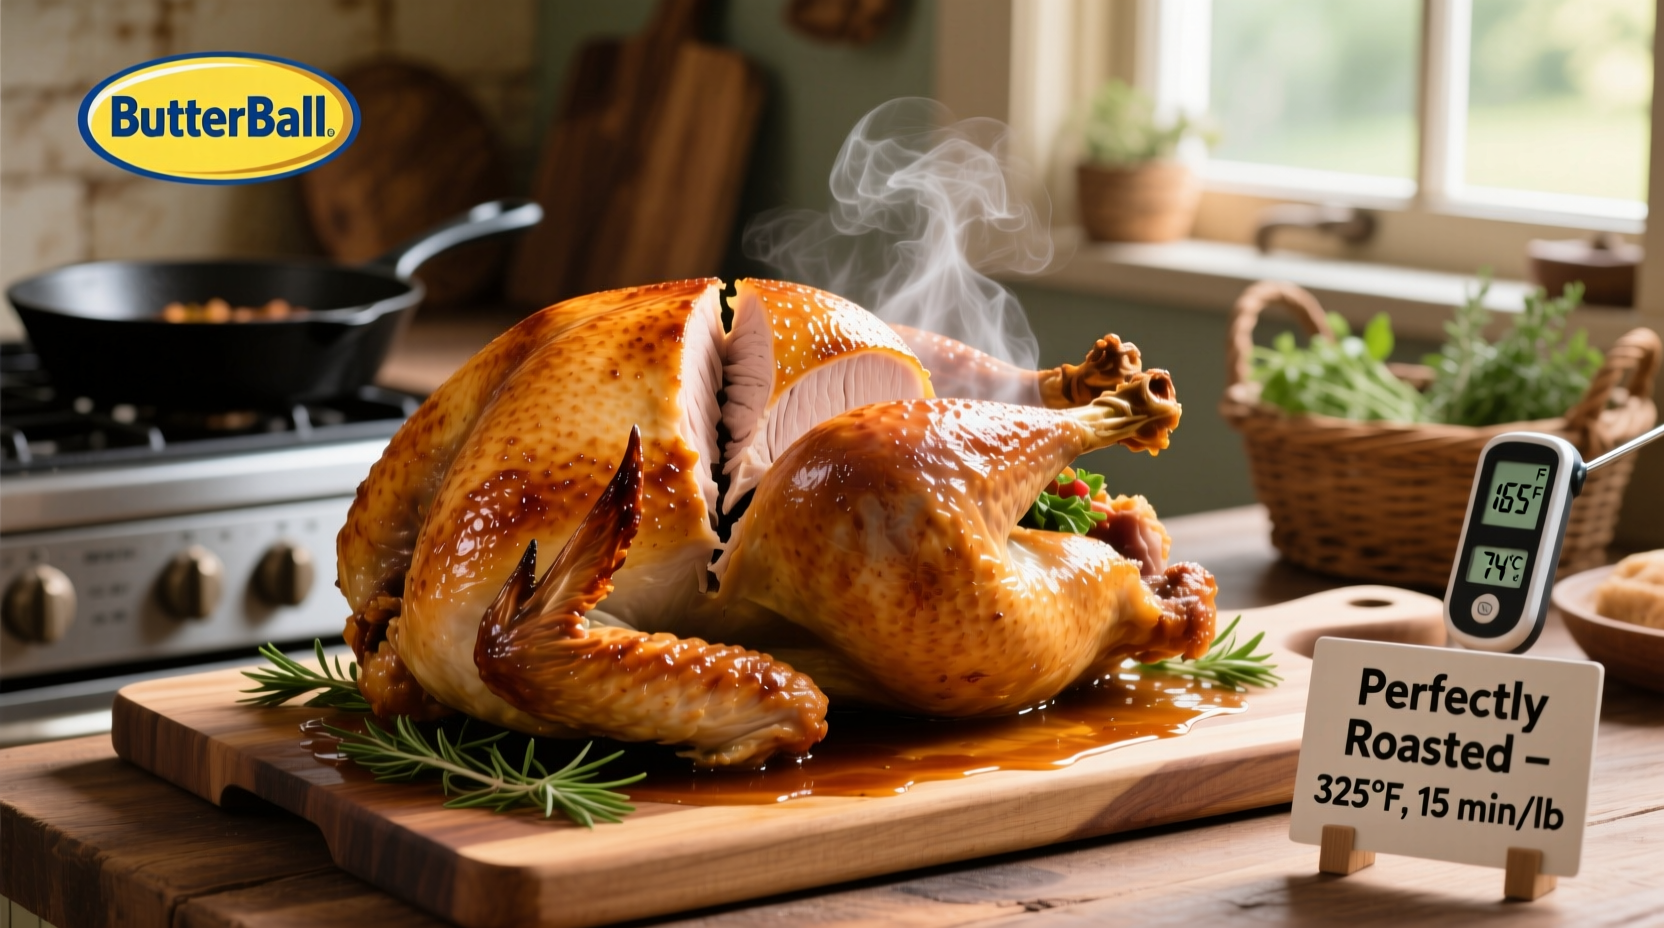
Preheat your oven to 325°F—this moderate temperature prevents exterior burning while ensuring thorough interior cooking. Position the turkey breast-side up on a rack in a shallow roasting pan. Insert an oven-safe meat thermometer into the thickest part of the breast, avoiding bone contact.
Cooking times vary significantly by weight. The Butterball company's cooking guidelines, verified by independent culinary testing, provide these benchmarks:
- 8-12 pounds: 2.75-3 hours
- 12-14 pounds: 3-3.75 hours
- 14-18 pounds: 3.75-4.25 hours
- 18-20 pounds: 4.25-4.5 hours
Baste every 45-60 minutes using pan drippings or a light broth solution. Avoid frequent oven opening, which can extend cooking time by up to 25%. When the breast temperature reaches 150°F, shield it with aluminum foil to prevent overcooking while the darker thigh meat continues to cook to 165°F.
The Essential Resting Period
Resist the temptation to carve immediately. Resting for 20-30 minutes (longer for larger birds) allows proteins to reabsorb juices that would otherwise escape during carving. Food science research published in the Journal of Food Science demonstrates that properly rested turkey retains up to 40% more moisture than immediately carved birds.
Cover loosely with foil during resting—tight wrapping causes steaming that softens the crispy skin you worked so hard to achieve. This resting period also allows you to prepare gravy using the flavorful pan drippings while the turkey reaches its ideal serving temperature.
Troubleshooting Common Challenges
Dry breast meat: This typically occurs when white meat overcooks before dark meat reaches safe temperature. Next time, try spatchcocking (removing the backbone and flattening the bird) for more even cooking, or use a two-temperature method: start at 425°F for 30 minutes, then reduce to 325°F.
Undercooked turkey: If your turkey hasn't reached 165°F but the skin is perfectly browned, cover with foil and continue cooking while monitoring closely. Never serve undercooked poultry—the USDA Food Safety and Inspection Service emphasizes that visual cues alone cannot confirm safety.
Unexpected delays: If guests arrive early, keep the cooked turkey warm by tenting with foil in a 140°F oven for up to 30 minutes. Beyond this timeframe, carve the meat, store in a covered dish, and reheat gently with broth to maintain moisture.
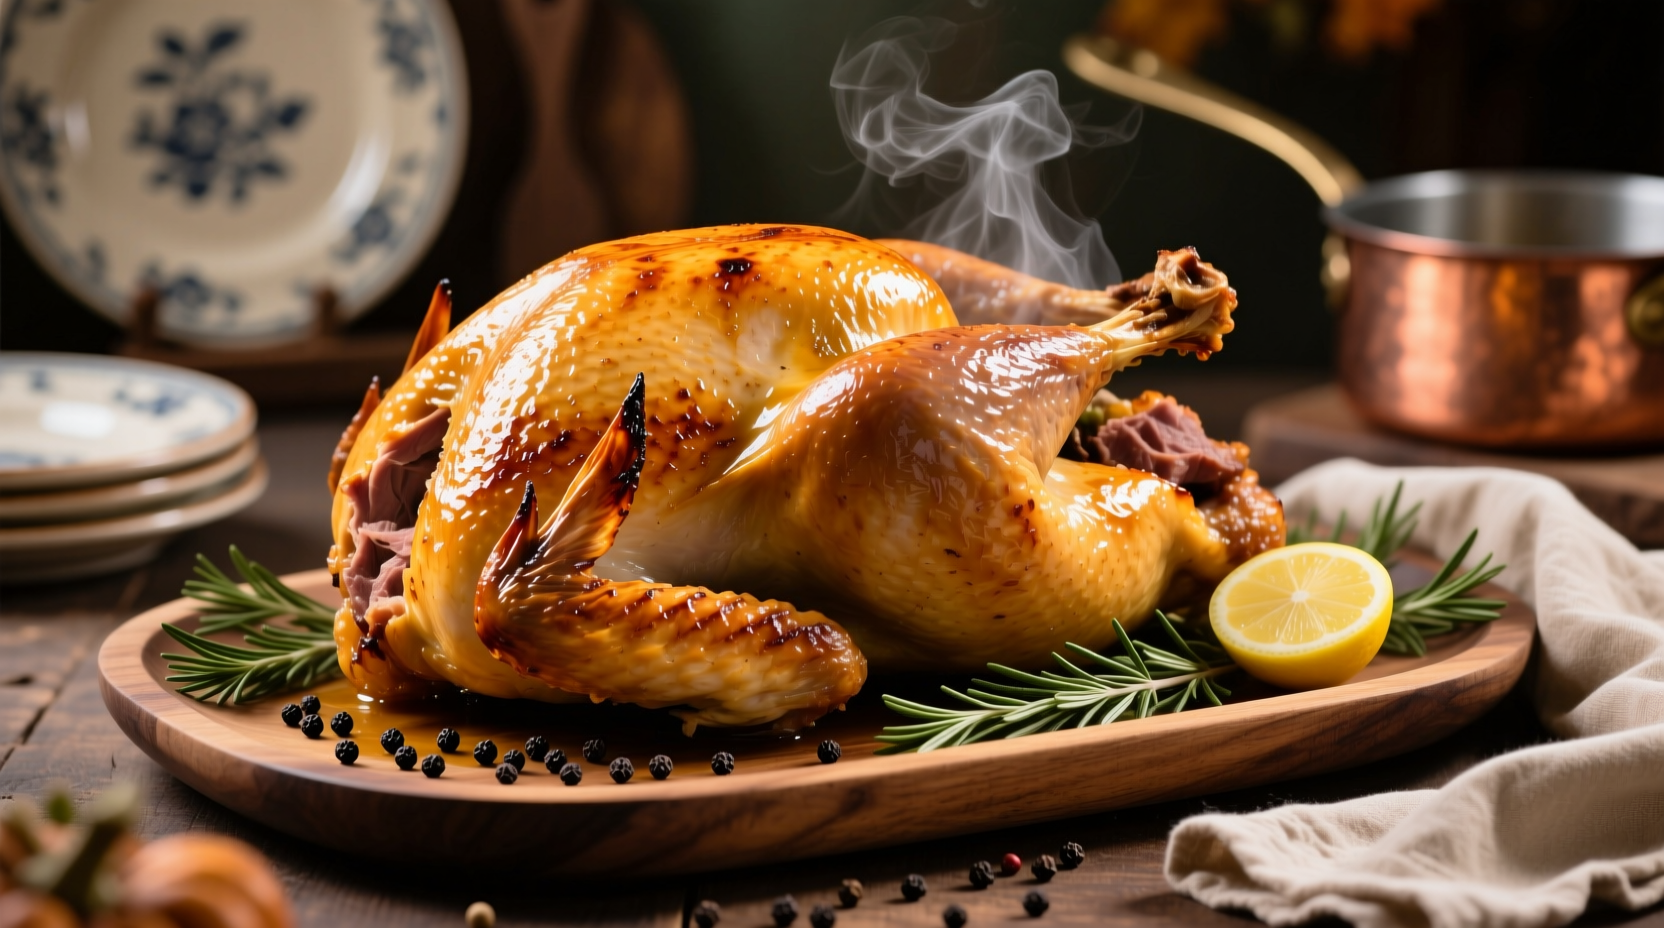
Carving Like a Professional
Begin by removing the legs and thighs, then slice the breast meat against the grain in 1/4-inch slices. The American Institute of Culinary Education recommends using a sharp carving knife and steady pressure for clean cuts that preserve moisture. Serve dark and white meat separately, as they have different optimal eating temperatures.
For beautiful presentation, arrange slices in overlapping rows on a warmed platter with fresh herb sprigs. The visual appeal significantly enhances the dining experience, according to research from the Sense of Taste Laboratory at Oxford University.


 浙公网安备
33010002000092号
浙公网安备
33010002000092号 浙B2-20120091-4