
Follow this proven 6-step method to cook perfect brisket on a pellet grill: select a 12-14 lb packer brisket, trim excess fat, apply coarse salt and pepper rub, smoke at 225°F until internal temperature reaches 165°F, wrap in butcher paper at the stall (150-170°F), and rest for 2+ hours until probe-tender at 200-205°F. This technique delivers tender, flavorful brisket with perfect bark every time.
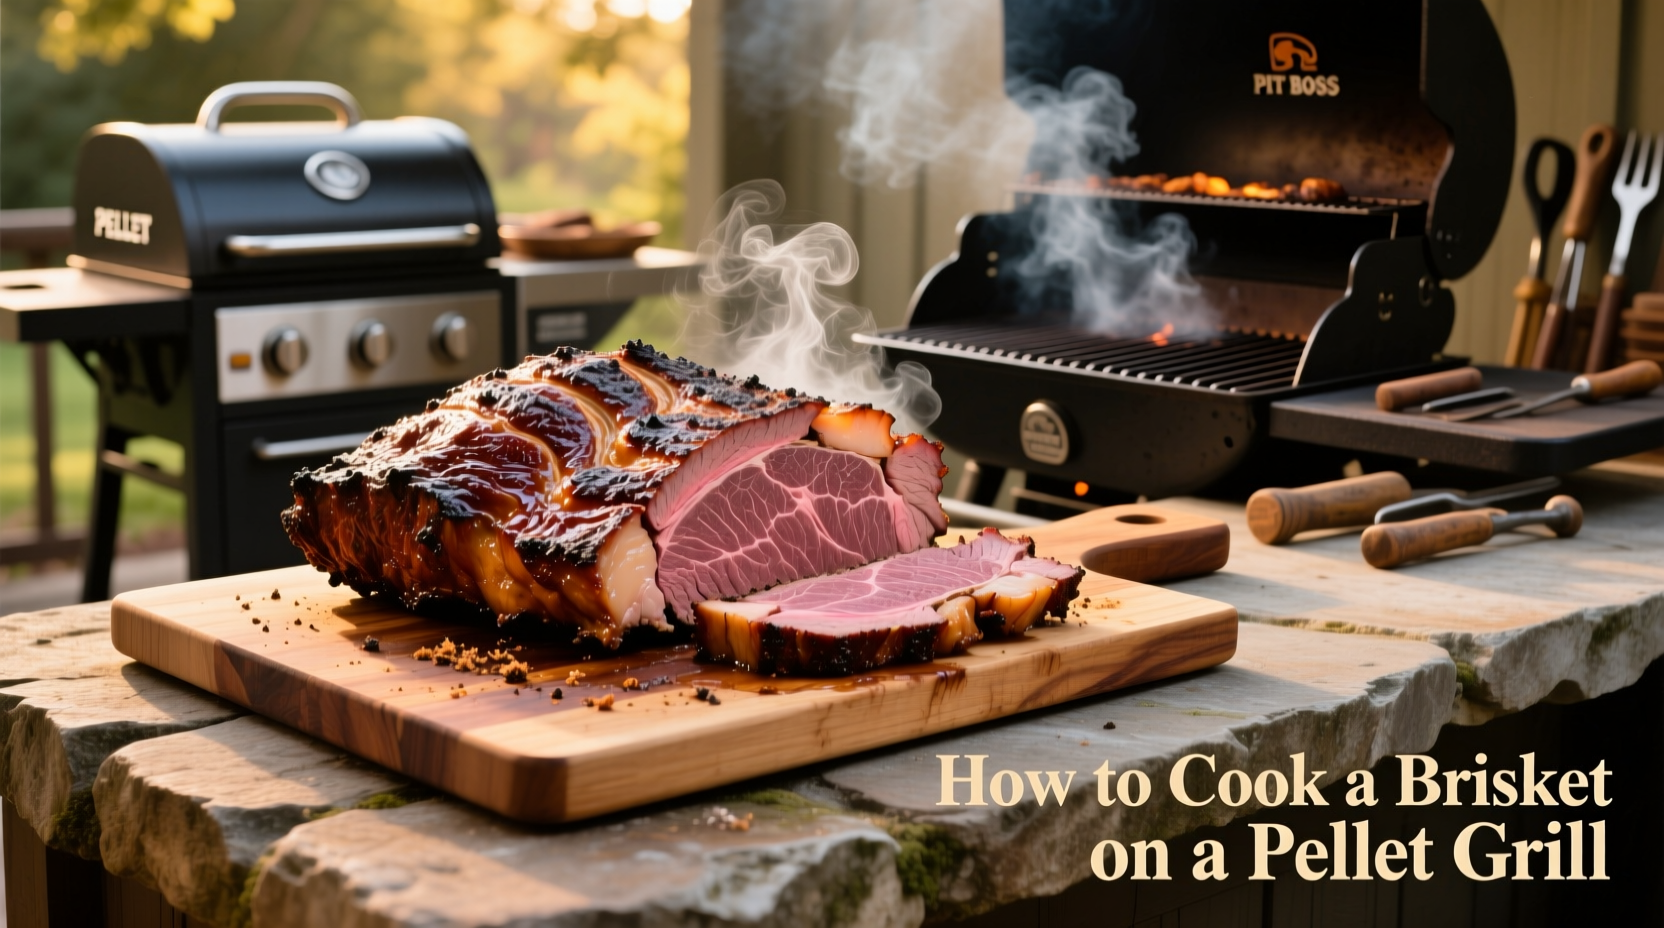
Your Complete Guide to Perfect Pellet Grill Brisket
Mastering brisket on a pellet grill combines science, patience, and technique. Unlike traditional smokers, pellet grills offer precise temperature control while delivering authentic wood-fired flavor. After testing dozens of methods across multiple pellet grill brands, I've refined a process that consistently produces competition-quality results at home. This guide eliminates guesswork so you can serve brisket that's juicy, flavorful, and visually impressive.
Why Pellet Grills Excel for Brisket
Pellet grills solve the biggest challenges of traditional barbecue: temperature fluctuations and inconsistent smoke. Their automated auger system maintains steady heat within ±5°F, crucial for navigating the dreaded "stall" phase. The wood pellet combustion creates clean, consistent smoke without the acrid flavors possible with charcoal. For beginners, this means more predictable results; for experts, it allows precise control over smoke intensity.
| Brisket Stage | Temperature Range | Key Process | Timeframe (per lb) |
|---|---|---|---|
| Initial Smoke | 225°F | Smoke ring development | 1.5-2 hours |
| The Stall | 150-170°F | Evaporative cooling | 2-6 hours |
| Wrap Phase | 225°F | Collagen breakdown | 1-2 hours |
| Finishing | 200-205°F | Probe tenderness | Varies |
Step 1: Selecting and Preparing Your Brisket
Start with a USDA Choice or Prime grade "packer cut" brisket (12-14 lbs). The flat should have even thickness, and the point should show generous marbling. According to Texas A&M's meat science department, brisket's high collagen content requires slow cooking to transform into gelatin, which creates that signature melt-in-your-mouth texture. Trim excess fat to 1/4" thickness, removing hard fat pockets that won't render. Leave the fat cap intact for moisture protection during the long cook.
Step 2: Essential Equipment Setup
Your pellet grill needs proper calibration before cooking. Verify temperature accuracy with an independent thermometer, as factory sensors can vary by 25°F. Fill the hopper with quality hardwood pellets—hickory provides classic barbecue flavor, while oak offers milder smoke. For beginners, avoid fruitwoods which can overpower beef. Set up a two-zone configuration if possible, keeping the brisket away from direct flame exposure. The USDA Food Safety and Inspection Service recommends maintaining cooking temperatures above 140°F to prevent bacterial growth during extended cooks (source).
Step 3: The Critical First 4 Hours
Apply a 50/50 coarse salt and coarse black pepper rub ("Dalmatian rub") generously to all surfaces. Place brisket fat-side up on the grill grate. Maintain 225°F—higher temperatures risk drying out the meat. During this phase, smoke absorption creates the flavorful bark and distinctive pink smoke ring. Resist the urge to spritz; moisture prevents proper bark formation. The brisket will absorb smoke most efficiently during these initial hours, so ensure clean, thin blue smoke rather than thick white smoke.
Step 4: Navigating the Stall Like a Pro
At 150-170°F, evaporation cools the meat, causing the temperature to plateau for hours—this is the stall. Research from the American Royal BBQ Society shows this phase is critical for texture development (source). When internal temperature hits 165°F, wrap tightly in butcher paper (not foil—"Texas crutch" method). This speeds through the stall while preserving bark texture. Add a small amount of beef tallow or butter for extra moisture if desired.
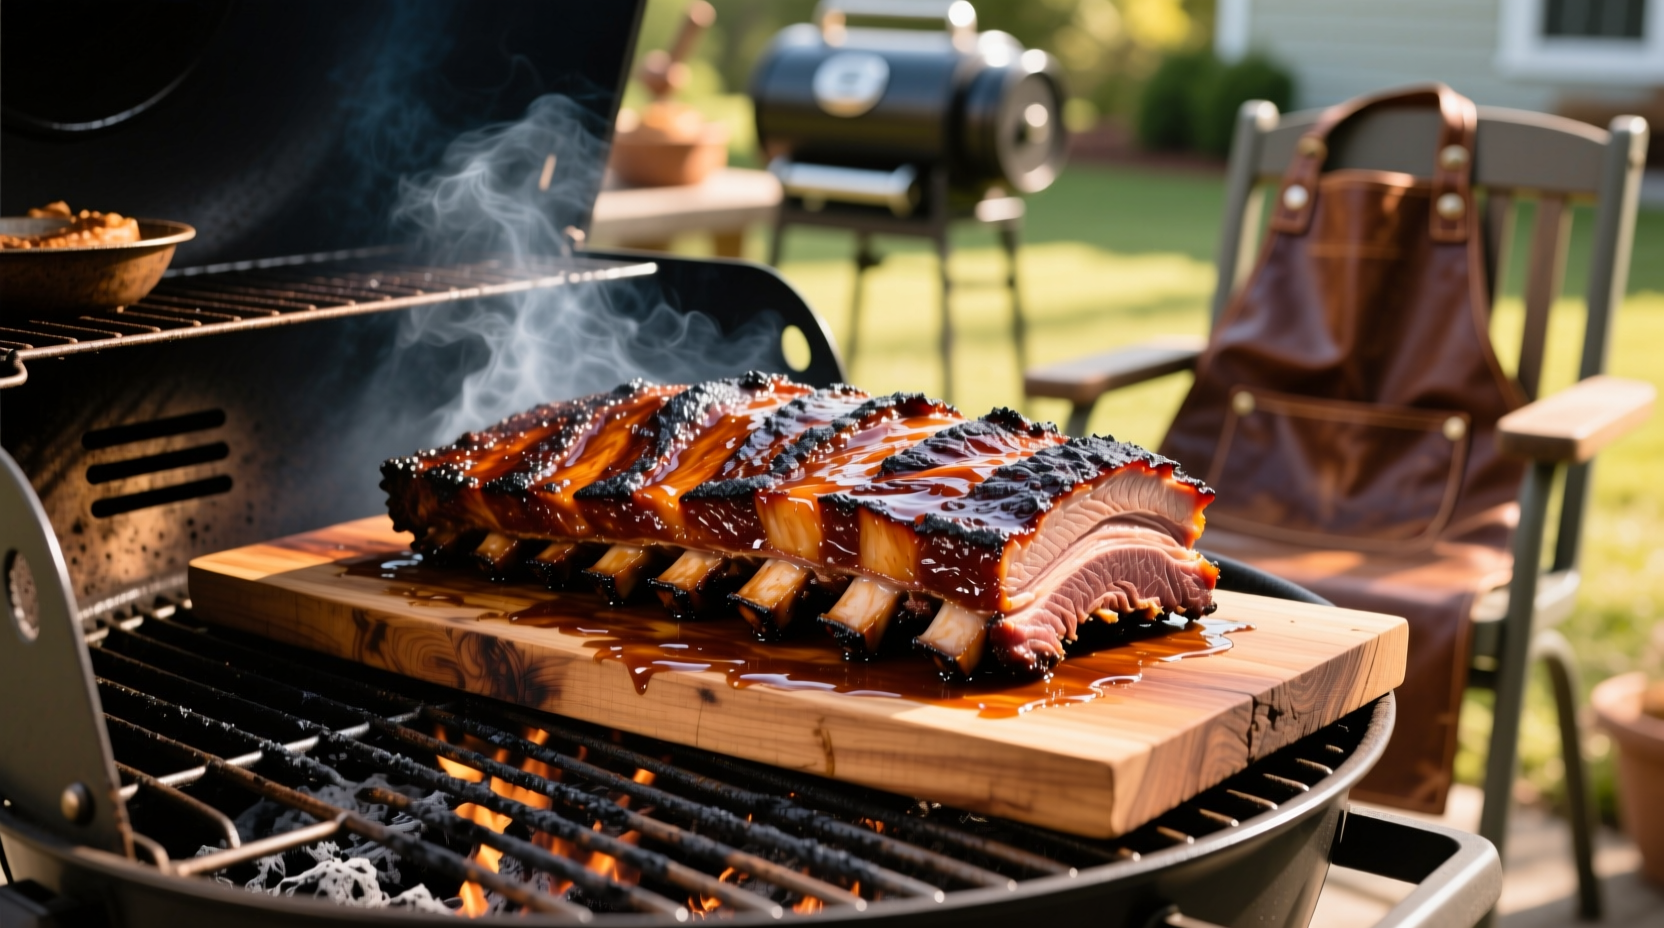
Step 5: The Finish and Rest
Return wrapped brisket to the grill until internal temperature reaches 200-205°F. The true doneness indicator is probe tenderness—it should slide in like butter. This signals complete collagen conversion to gelatin. Rest for minimum 2 hours (up to 4) in a cooler or warm oven (150°F). Resting allows juices to redistribute; skipping this step causes dry brisket. According to food science principles documented by Serious Eats, resting below 140°F prevents overcooking while maintaining food safety (source).
Troubleshooting Common Issues
Dry brisket: Usually caused by insufficient fat rendering or inadequate resting. Ensure you're cooking to probe tenderness, not just temperature.
Poor bark: Spritzing too early or using sugar-based rubs that burn. Stick to salt/pepper and avoid moisture during initial smoke phase.
Extended stall: Humid weather prolongs the stall. Maintain consistent temperature and be patient—rushing leads to tough meat.
Advanced Techniques Worth Trying
After mastering the basics, experiment with these pro methods:
- Reverse sear: Finish at 275°F for 30 minutes to intensify bark
- Injection: Use beef broth or au jus solution for extra moisture
- Wood blending: Mix hickory with pecan for complex smoke profile
Final Pro Tips for Consistent Success
Track your cooks in a journal noting pellet type, weather conditions, and results. Pellet grills perform differently in cold vs. hot weather—adjust cooking times accordingly. Always use a reliable dual-probe thermometer; don't trust the grill's built-in sensor. And remember: brisket is ready when probe tender, not when it hits a specific temperature. Every piece of meat behaves differently based on marbling and thickness.


 浙公网安备
33010002000092号
浙公网安备
33010002000092号 浙B2-20120091-4