
Why Brisket Challenges Even Experienced Cooks
Brisket's reputation as the "Mount Everest of BBQ" comes from its complex muscle structure and substantial connective tissue. Unlike other cuts, brisket contains two distinct muscles—the flat and the point—each with different fat content and cooking requirements. When cooked properly, collagen transforms into gelatin at 160-170°F, creating that signature melt-in-your-mouth texture. But miss the temperature window, and you'll end up with either rubbery or dry meat.
Selecting Your Foundation: Choosing the Right Brisket
The journey to exceptional brisket begins at the butcher counter. Look for USDA Prime grade when possible—its superior marbling provides essential moisture during the long cooking process. If Prime isn't available, select Choice grade with even fat distribution throughout the flat section.
| Meat Type | Minimum Safe Temperature | Optimal Brisket Temperature | Source |
|---|---|---|---|
| Beef (all cuts) | 145°F + 3 min rest | 195-205°F | USDA Food Safety |
| Poultry | 165°F | N/A | USDA Food Safety |
| Pork | 145°F + 3 min rest | N/A | USDA Food Safety |
Understanding these temperature guidelines from the USDA Food Safety and Inspection Service prevents foodborne illness while achieving optimal texture. Note that brisket requires temperatures well above standard beef safety minimums to properly break down connective tissues.
Preparation: Trimming and Seasoning for Success
Proper trimming separates good brisket from great brisket. Remove the hard fat cap down to 1/4 inch thickness—this allows smoke penetration while retaining moisture. Pay special attention to the silver skin on the flat section; removing this tough membrane prevents uneven cooking.
A classic Texas-style rub requires just four ingredients in precise ratios:
- 60% coarse black pepper
- 30% coarse salt
- 8% garlic powder
- 2% cayenne (optional for heat)
Apply the rub generously 1 hour before cooking to allow flavors to penetrate without drawing out moisture. For authentic Central Texas flavor, skip marinades and injections—they interfere with developing the perfect bark.
The Cooking Timeline: From Smoke to Slicing
Brisket cooking has evolved significantly since traditional pitmasters first slow-cooked it in Texas smokehouses. Modern techniques balance tradition with scientific understanding:
- Setup (30 min): Preheat smoker to 225°F using post oak or hickory wood
- Initial Smoke (4-6 hours): Cook until internal temperature reaches 160°F
- The Stall (2-4 hours): Temperature plateaus as moisture evaporates—this is normal
- Wrap Option (Texas Crutch): At 170°F, wrap in butcher paper to push through the stall
- Final Cook (2-3 hours): Continue until 203°F internal temperature
- Resting (1-2 hours): Crucial for juice redistribution—don't skip this step!
This cooking evolution timeline reflects decades of refinement in Texas barbecue culture, documented by institutions like the Texas State Historical Association. Early pitmasters discovered through trial and error that low-and-slow cooking transformed tough cuts into tender masterpieces.
Equipment Considerations for Different Situations
Your cooking method depends on available equipment and time constraints:
- Traditional Smoker: Best for authentic flavor but requires constant monitoring (12-18 hours)
- Offset Smoker: Allows wood fire management but has steeper learning curve
- Oven Method: Set to 275°F with liquid smoke for apartment-friendly cooking (6-8 hours)
- Pellet Grill: Most consistent temperature control with minimal monitoring
Each method has limitations—oven cooking lacks authentic smoke flavor, while traditional smokers require significant attention. Choose based on your available time and equipment, not pitmaster prestige.
Finishing Techniques That Make the Difference
The final steps determine whether your brisket earns praise or ends up in the trash. After reaching 203°F internal temperature:
- Remove from heat and wrap loosely in foil
- Place in empty cooler with towels for insulation
- Rest for minimum 60 minutes (up to 2 hours for competition-style)
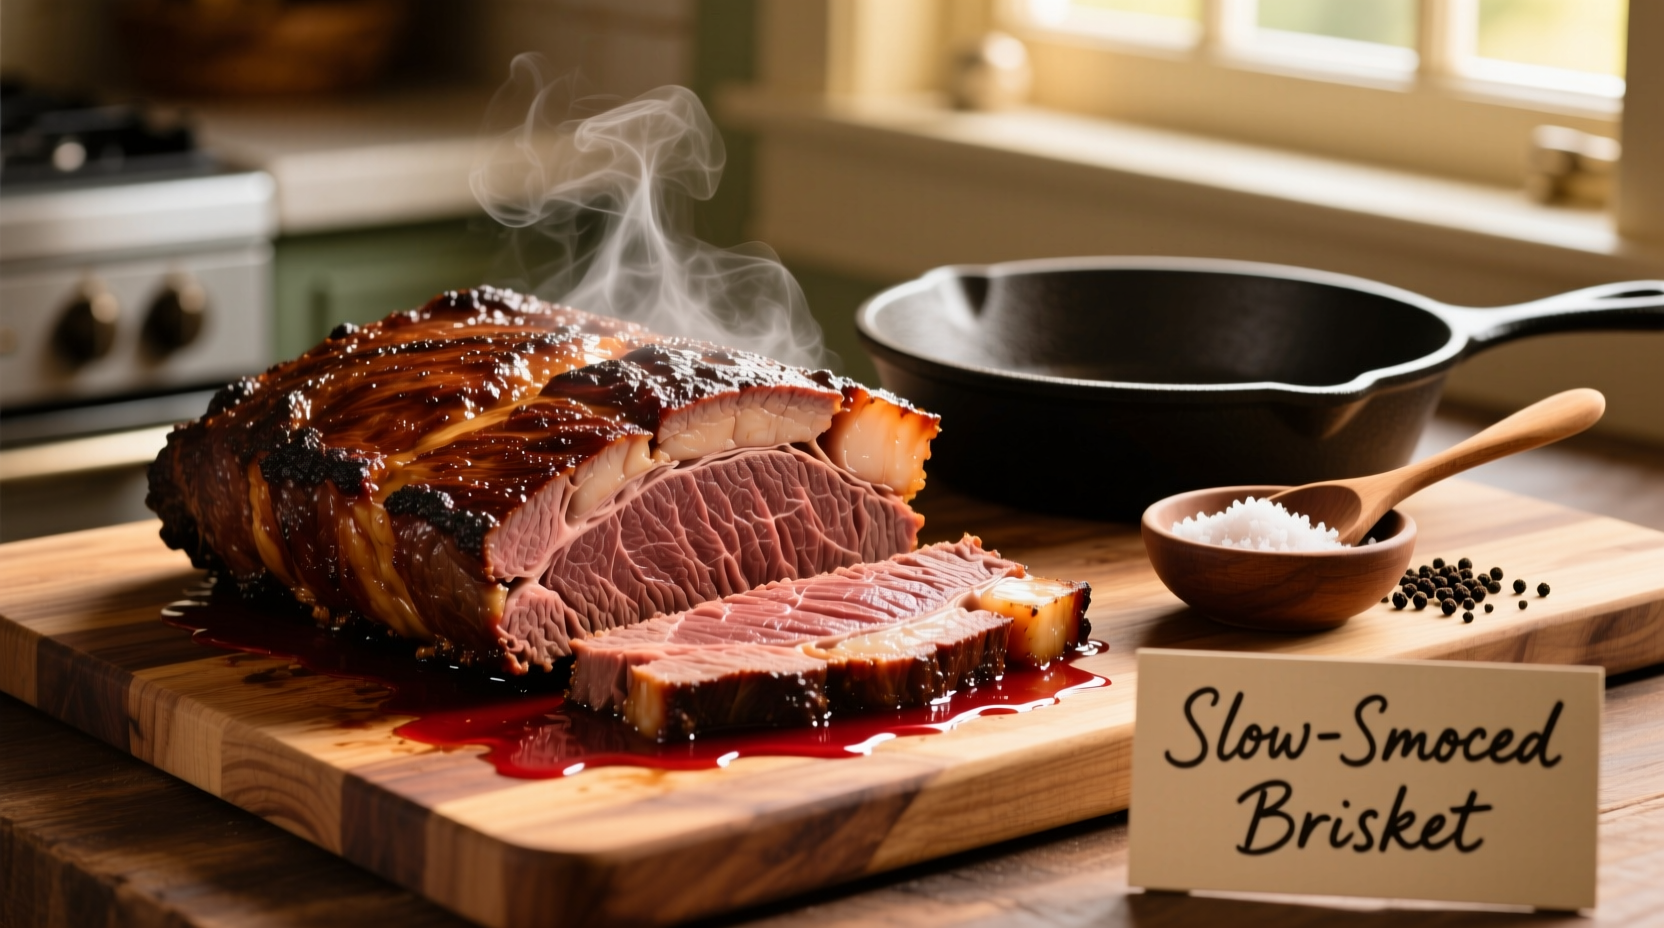
- Slice against the grain with sharp knife—1/4 inch thick
Slicing technique matters immensely. The flat section requires perpendicular cuts to the grain, while the point benefits from a 45-degree angle. Keep your knife wet during slicing to prevent tearing the delicate meat fibers.
Troubleshooting Common Brisket Problems
Even with careful planning, issues arise. Here's how to address them:
- Dry Brisket: Usually caused by insufficient fat or overcooking. Solution: Baste with au jus during resting
- Tough Texture: Indicates incomplete collagen breakdown. Solution: Return to heat until 203°F
- Bitter Bark: Results from excessive smoke. Solution: Use cleaner burning wood next time
- Uneven Cooking: Rotate brisket periodically or adjust heat distribution
Advanced Techniques for Next-Level Results
Once you've mastered the basics, experiment with these professional methods:
- Reverse Sear: Cook to 195°F, then finish at 350°F for 30 minutes for enhanced bark
- Salt-Only Rub: For pure meat flavor enthusiasts, use only coarse salt
- Injection Marinade: 50/50 beef broth and melted butter for extra moisture
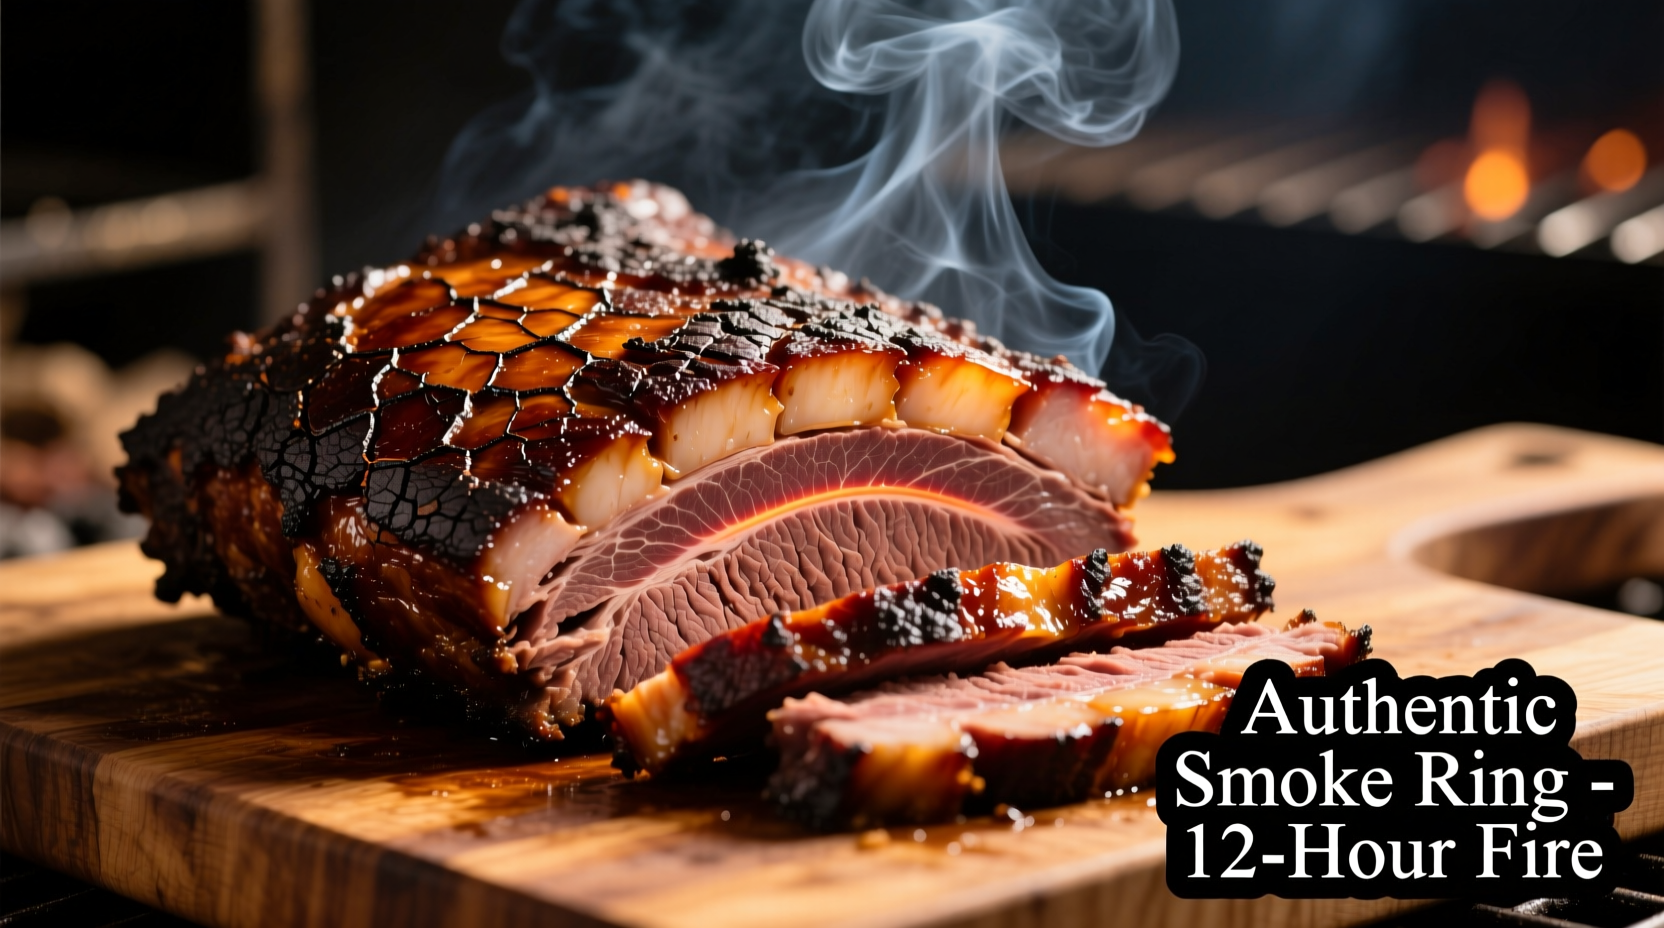
- Smoke Ring Enhancement: Maintain consistent 225°F for optimal nitric oxide penetration
Remember that brisket mastery comes through practice. Your first attempt might not be perfect, but each cook teaches valuable lessons about heat management, smoke control, and timing. The most important factor? Patience—rushing any step guarantees disappointment.
How long should I cook a 12-pound brisket?
At 225°F, plan for 12-18 hours total cooking time (1-1.5 hours per pound). The flat section typically cooks faster than the point, so monitor internal temperature rather than relying solely on time. Your brisket is done when it reaches 203°F internally and feels probe-tender like softened butter.
Should I wrap my brisket during cooking?
Wrapping (Texas crutch) at 165-170°F helps push through the stall and can reduce cooking time by 2-4 hours. Butcher paper is preferred over foil as it allows some moisture evaporation while protecting the bark. Many pitmasters skip wrapping for competition brisket to develop thicker bark, but for home cooking, wrapping often yields more consistent results.
Why did my brisket turn out dry despite following the recipe?
Dry brisket usually results from insufficient marbling, overcooking past 205°F, or inadequate resting time. Check your thermometer accuracy—many inexpensive models read 10-15°F low. Also ensure you're using Prime or high-Choice grade brisket, as lower grades lack sufficient fat for moisture retention during the long cook.
Can I cook brisket in the oven instead of a smoker?
Yes, set your oven to 275°F and place a water pan below the brisket for moisture. Add 1 tablespoon liquid smoke to the water for authentic flavor. Cooking time remains similar (1-1.5 hours per pound), but you'll miss the complex smoke flavor from real wood. For best results, sear the brisket first in a cast-iron skillet before oven cooking.
How do I properly slice brisket for maximum tenderness?
Always slice against the grain, which shortens muscle fibers for easier chewing. The flat section has straight grain running lengthwise, so slice perpendicular to the long axis. The point section has diagonal grain, requiring 45-degree angle cuts. Use a sharp slicing knife and keep it wet to prevent tearing. Aim for 1/4 inch thickness—thicker slices feel tough, thinner ones dry out quickly.


 浙公网安备
33010002000092号
浙公网安备
33010002000092号 浙B2-20120091-4