
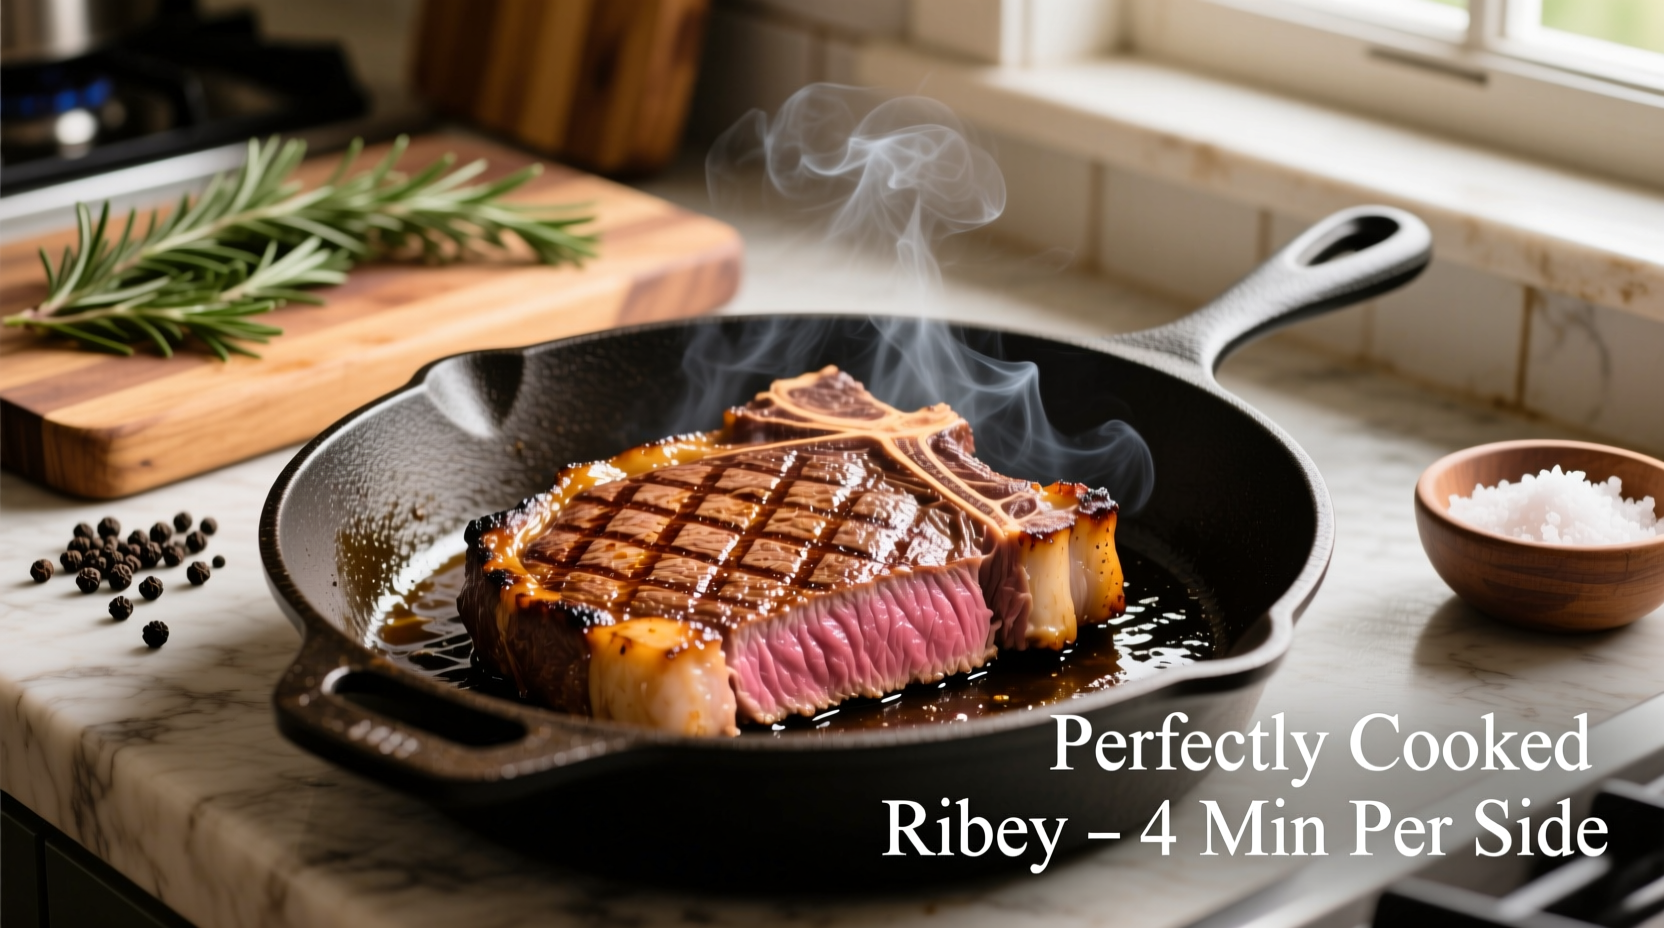
There's nothing quite like a perfectly cooked boneless ribeye steak. This premium cut, known for its rich marbling and intense beefy flavor, deserves a cooking method that honors its quality. Whether you're preparing a special dinner or simply craving restaurant-quality steak at home, mastering the art of cooking boneless ribeye transforms an ordinary meal into an extraordinary culinary experience.
Why Boneless Ribeye Reigns Supreme
Boneless ribeye comes from the rib section of the cow, between ribs six through twelve. What makes it exceptional is its generous marbling - the fine streaks of fat running through the meat that melt during cooking, basting the steak from within. Unlike its bone-in counterpart, the boneless version offers more even cooking and easier slicing, making it ideal for home cooks seeking consistent results.
Essential Equipment Checklist
Before you begin, gather these tools for optimal results:
- Cast-iron or heavy-bottomed stainless steel skillet (retains heat better than non-stick)
- Instant-read thermometer (critical for precision)
- Tongs (not a fork that pierces the meat)
- Wire rack for resting
- Aluminum foil
Preparation: The Foundation of Flavor
Proper preparation separates good steak from great steak. Follow these steps:
Temperature Equilibrium
Remove your steak from refrigeration 30-60 minutes before cooking. This critical step ensures even cooking throughout. According to the USDA Food Safety and Inspection Service, cooking meat straight from the refrigerator creates temperature gradients that lead to uneven doneness.
Surface Drying
Pat the steak thoroughly dry with paper towels. Moisture is the enemy of proper searing - the drier the surface, the better the Maillard reaction (the chemical process responsible for that beautiful brown crust). Food science research from the American Meat Science Association confirms that surface moisture must evaporate before browning can occur.
Strategic Seasoning
Season generously with coarse kosher salt and freshly ground black pepper. For best results, salt your steak at least 40 minutes before cooking (or immediately before) to avoid the moisture-drawing "sweat zone" that occurs between these timeframes. Consider adding a light dusting of garlic powder for enhanced flavor complexity.
The Searing Process: Creating Flavor Magic
Heat Management
Preheat your skillet over medium-high heat for 5-7 minutes until extremely hot (400-450°F). Add a high-smoke point oil like avocado or grapeseed oil - just enough to coat the bottom. The oil should shimmer but not smoke excessively.
Searing Technique
Place the steak in the skillet away from you to avoid oil splatter. Press gently for initial contact, then let it be. Resist the urge to move it for 2-3 minutes while the crust develops. Flip only once using tongs, and consider rotating 90 degrees for attractive cross-hatch marks. For thicker cuts (1.5 inches+), sear the edges by holding the steak vertically with tongs.
| Doneness Level | Internal Temperature | Visual/Tactile Cues |
|---|---|---|
| Rare | 120-125°F | Cool red center, soft like cheek |
| Medium Rare | 125-130°F | Warm red center, springy like chin |
| Medium | 135-140°F | Warm pink center, firm like forehead |
| Medium Well | 145-150°F | Small pink center, very firm |
| Well Done | 155°F+ | No pink, extremely firm |
Temperature Monitoring: The Secret Weapon
Insert an instant-read thermometer horizontally into the thickest part of the steak, avoiding fat pockets. Remove the steak from heat when it reaches 5°F below your target temperature (carryover cooking will raise it during resting). For medium-rare perfection, pull at 125°F - this aligns with recommendations from the James Beard Foundation's culinary standards.
The Critical Resting Phase
Transfer the steak to a wire rack (not a plate where juices pool) and tent loosely with foil. Rest for 8-10 minutes for a standard 1-1.5 inch steak. This allows the muscle fibers to relax and reabsorb juices. According to culinary research published by the Culinary Institute of America, resting time should be approximately 5 minutes per inch of thickness. Cutting too soon releases precious juices onto your cutting board rather than staying in the meat.
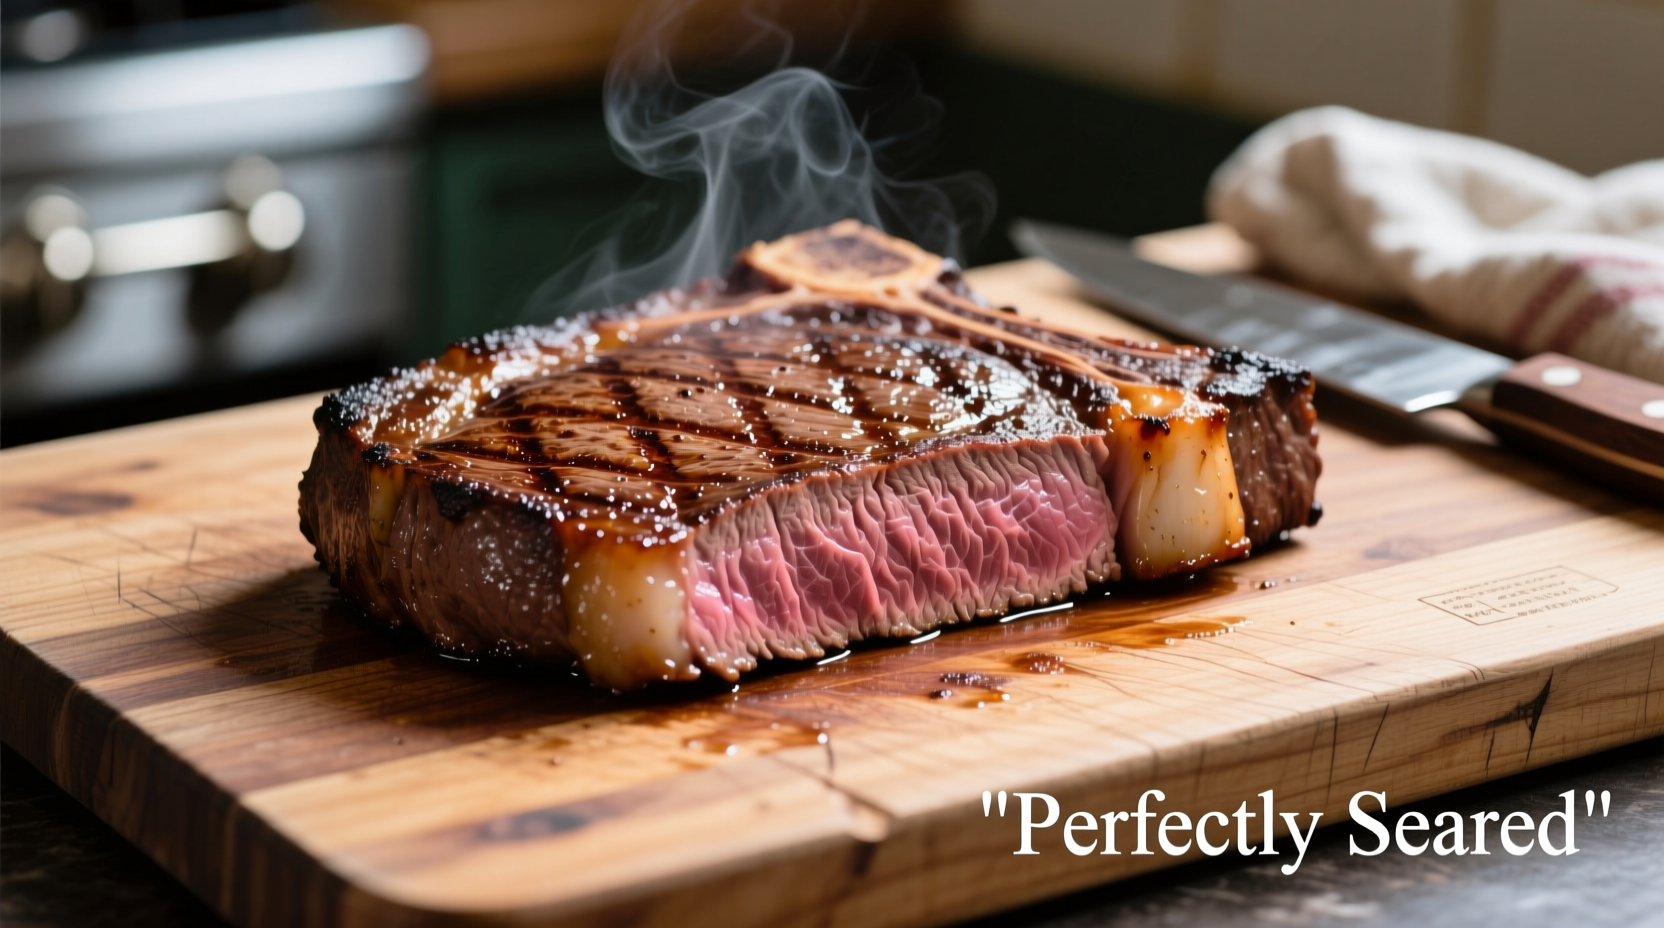
Serving for Maximum Impact
Slice against the grain at a 45-degree angle into 1/2 inch strips. This shortens the muscle fibers, making each bite more tender. For enhanced flavor, top with a pat of compound butter or a drizzle of high-quality finishing salt.
Troubleshooting Common Issues
Problem: Steak sticks to the pan
Solution: Your pan wasn't hot enough before adding the steak. Proper preheating creates an instant sear that prevents sticking. Wait until the oil shimmers before adding meat.
Problem: Uneven cooking
Solution: Likely caused by improper temperature equilibration. Always bring steak to room temperature before cooking, and consider using the reverse sear method for thicker cuts.
Problem: Burnt exterior but raw interior
Solution: Your heat was too high. Adjust to medium-high and consider finishing thicker steaks in a 400°F oven after initial searing.
Alternative Cooking Methods
While pan-searing delivers exceptional results, these alternatives work well:
Grilling Method
Use a two-zone fire (hot side for searing, cooler side for finishing). Sear 2-3 minutes per side over direct heat, then move to indirect heat until reaching target temperature.
Oven Method (Reverse Sear)
Ideal for thicker cuts (1.5 inches+). Bake at 275°F until internal temperature reaches 110°F, then sear in a blazing hot skillet for 60-90 seconds per side.
Pro Tips for Steak Perfection
- Choose USDA Prime grade when possible for superior marbling
- Avoid piercing the steak with a fork during cooking
- Let salt work its magic - season early for better flavor penetration
- Consider dry-aging your steak at home for 28-45 days for intensified flavor
- Use the hand test to gauge doneness when thermometer isn't available


 浙公网安备
33010002000092号
浙公网安备
33010002000092号 浙B2-20120091-4