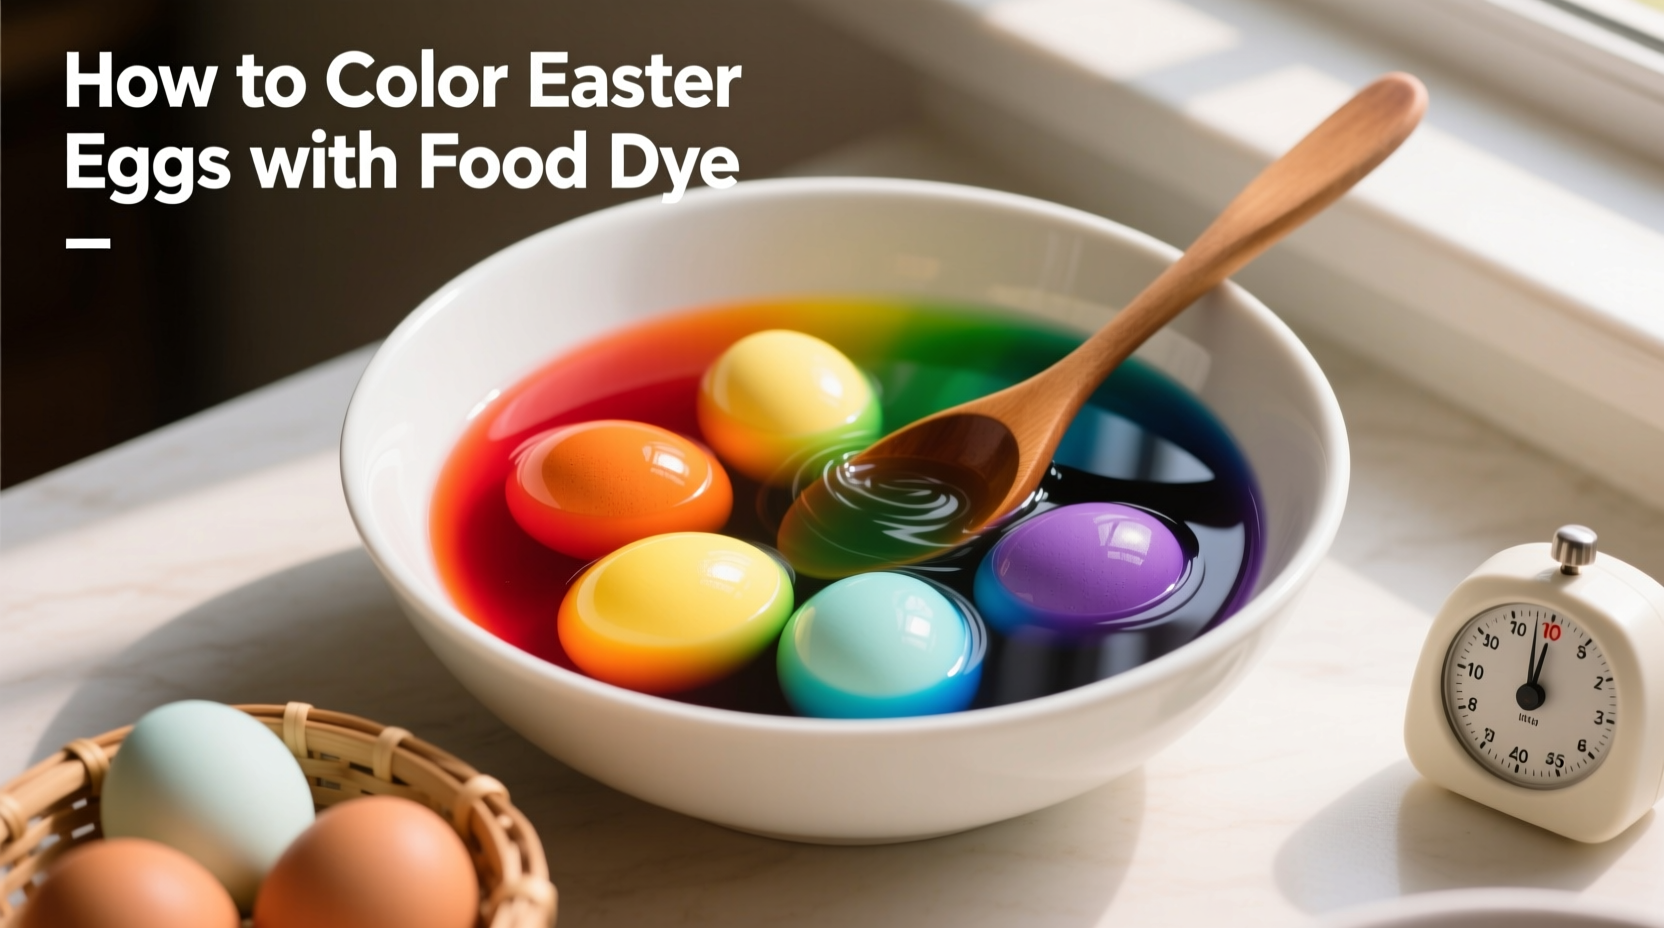
Coloring eggs with food dye is a cherished tradition that combines science, artistry, and seasonal celebration. Whether you're preparing for Easter festivities or exploring kitchen chemistry with children, this method delivers consistent, vibrant results using ingredients you likely already have in your pantry. The magic happens through a simple chemical reaction between vinegar and eggshell that creates brilliantly colored, food-safe decorations.
Essential Supplies Checklist
Before starting, gather these kitchen staples for optimal results:
- Hard-boiled eggs (cooled completely)
- Liquid food coloring (primary colors)
- White vinegar (5% acidity)
- Hot water (1 cup per color)
- Small containers or mugs (one per color)
- Spoons or tongs for handling
- Paper towels for drying
- Optional: disposable gloves

The Science Behind Perfect Egg Coloring
Eggshells contain calcium carbonate, which reacts with the acetic acid in vinegar to create microscopic pores. This chemical reaction allows food dye molecules to penetrate and adhere to the shell surface. The USDA confirms that properly handled hard-boiled eggs maintain food safety when colored using this method, provided they're refrigerated within two hours of cooking.
| Color Intensity | Soaking Time | Result |
|---|---|---|
| Light pastel | 1-3 minutes | Soft, delicate hues ideal for spring themes |
| Medium saturation | 5-8 minutes | Vibrant colors perfect for most decorations |
| Deep jewel tones | 10-15 minutes | Rich, intense colors for dramatic effect |
Step-by-Step Coloring Process
Step 1: Prepare dye solutions
Combine 1 cup hot water, 1 teaspoon vinegar, and 20 drops of food coloring in each container. Stir thoroughly. For deeper colors, increase dye concentration to 40 drops.
Step 2: Submerge eggs carefully
Using spoons or tongs, lower cooled hard-boiled eggs into dye solutions. Gently rotate eggs periodically for even coloring. Never leave unattended when using hot water.
Step 3: Achieve desired intensity
Refer to the timing chart above. For multi-colored effects, create multiple dye baths and dip different sections of the egg at varying intervals.
Step 4: Dry properly
Remove eggs with utensils (not hands) and place on wire rack or paper towels. Allow 15-20 minutes for complete drying before handling.
Troubleshooting Common Issues
Pale colors? Increase dye concentration or soaking time. The FDA confirms that food dyes are safe for this purpose when used as directed.
Streaky results? Ensure eggs are completely dry before coloring and avoid touching surfaces while wet. Vinegar concentration below 5% can cause uneven coloring.
Dye transfer? Allow eggs to dry completely before handling. Store colored eggs in egg cartons with paper dividers to prevent color bleeding.
Creative Variations for Unique Results
Marble effect: Add 1 teaspoon of oil to dye solution before submerging eggs. The oil creates distinctive marbled patterns as it repels the dye.
Color layering: Start with light colors (3 minutes), dry completely, then dip in darker shades (5-8 minutes) for complex hues. This technique works particularly well with how to make vibrant colored eggs with food coloring projects.
Pattern masking: Wrap rubber bands around eggs before coloring, then remove after drying to reveal crisp white patterns against colored backgrounds.
Food Safety Guidelines
Follow these critical safety steps when coloring eggs with food dye for kids:
- Use only food-grade dyes approved by the FDA
- Keep eggs refrigerated except during active coloring
- Consume within one week of coloring
- Discard eggs left at room temperature more than two hours
The American Egg Board recommends storing colored eggs in their original cartons in the main refrigerator compartment (not the door) at 40°F or below to maintain freshness and safety.
Advanced Techniques for Professional Results
For the best food dye to color eggs method, try these pro tips:
- Add 1 tablespoon of salt to dye solutions for more even coloring
- Use distilled water to prevent mineral interference with colors
- Create custom shades by mixing primary food colors (10 drops red + 10 drops yellow = orange)
- For metallic effects, gently rub dried eggs with edible gold dust
Storage and Display Recommendations
Display colored eggs in wire baskets or egg cartons lined with shredded paper. For extended display beyond consumption dates, consider blowing out the contents before coloring to create decorative keepsakes. Always label edible versus decorative eggs clearly to prevent accidental consumption of non-edible decorations.


 浙公网安备
33010002000092号
 浙B2-20120091-4