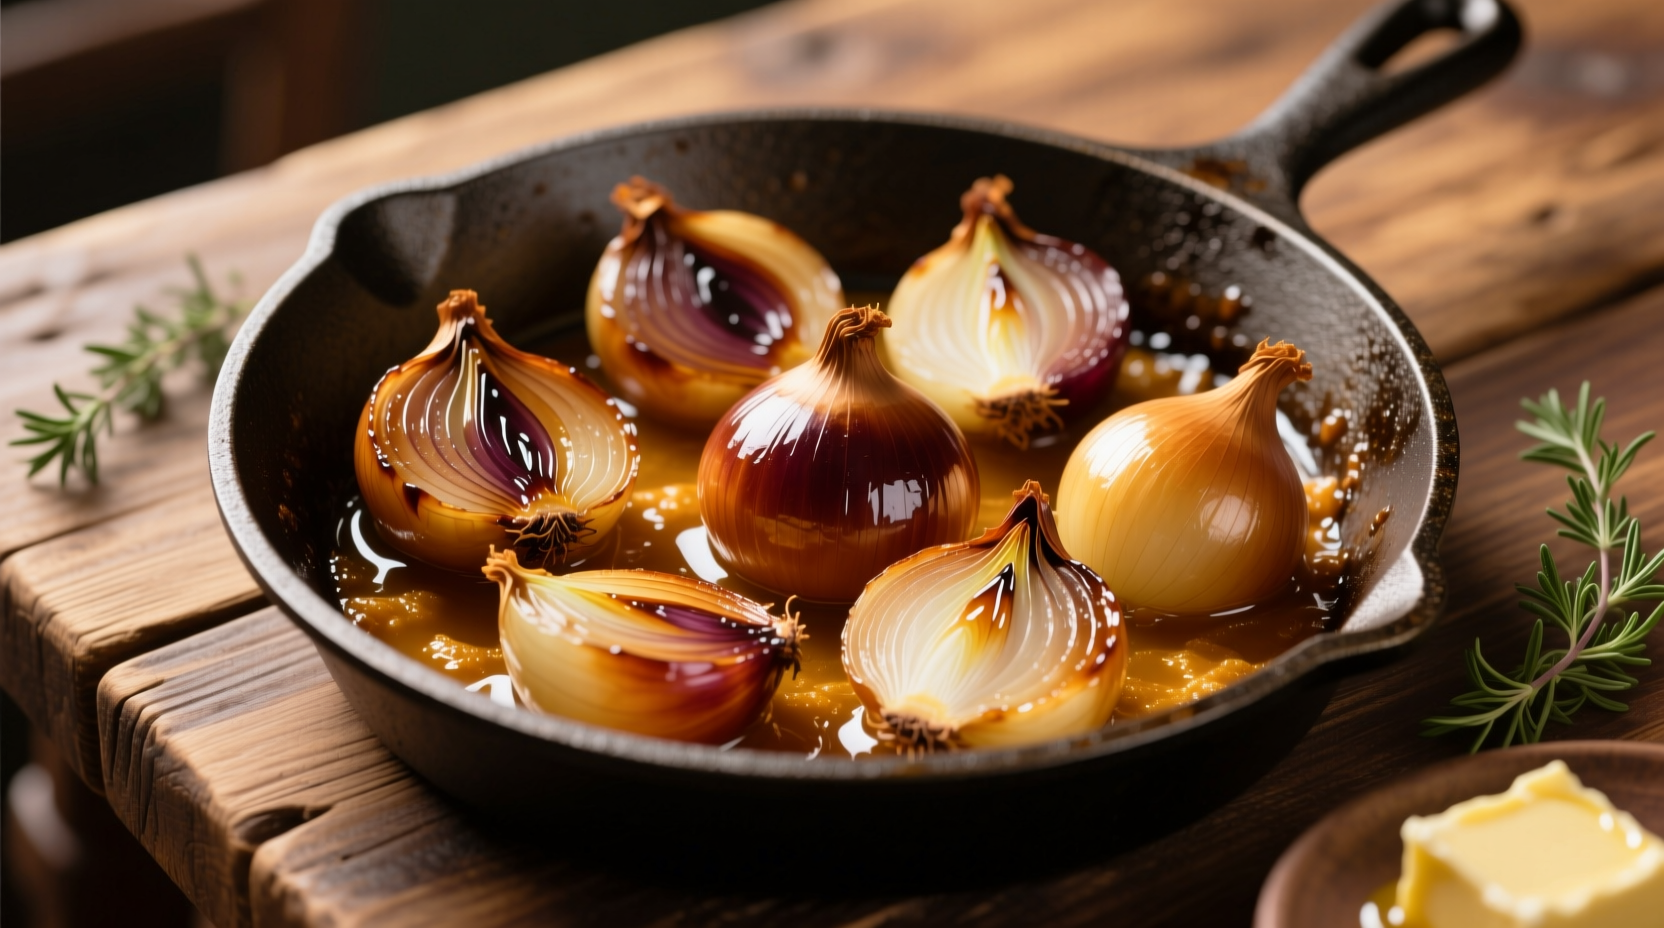
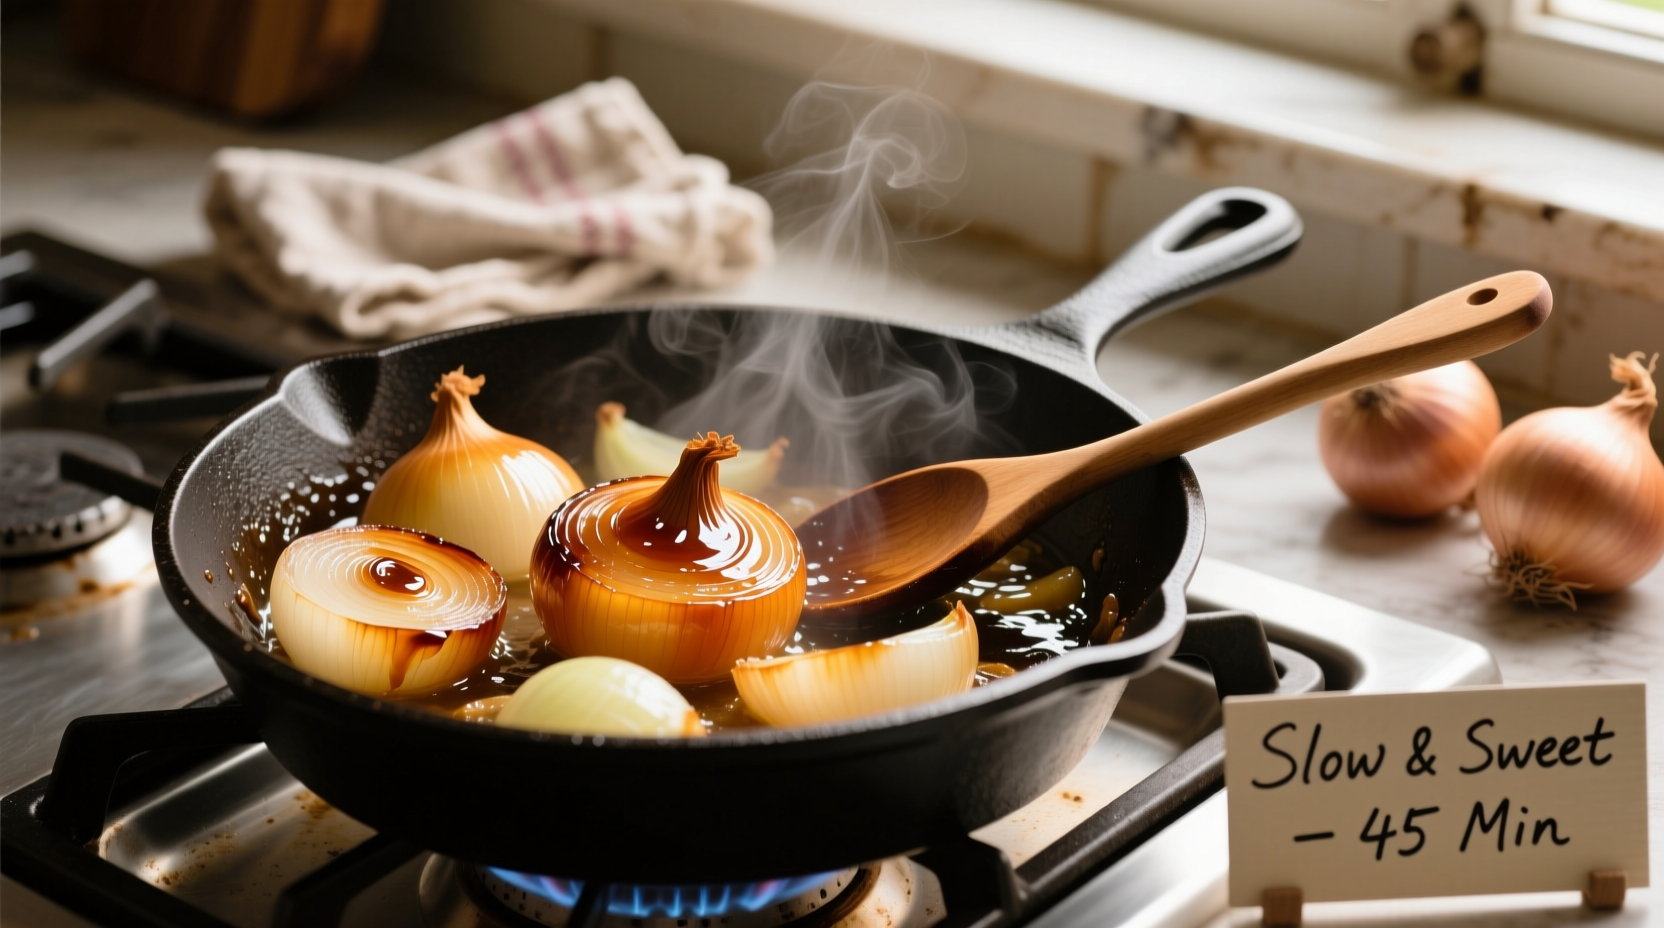
Perfect caramelized onions require 30-60 minutes of slow cooking over medium-low heat, using yellow onions, a pinch of salt, and proper deglazing technique to achieve deep golden-brown sweetness without burning. This guide reveals the exact steps professional chefs use to create rich, flavorful caramelized onions every time.
Transform ordinary onions into a sweet, complex topping that elevates burgers, pizzas, sandwiches, and sauces with this foolproof caramelizing method. Unlike quick sautéed onions, true caramelization develops rich umami flavors through the Maillard reaction—a chemical process that occurs when sugars and amino acids interact at specific temperatures. Understanding this science is key to avoiding common mistakes that lead to burnt or bitter results.
| Key Caramelization Facts | Details |
|---|---|
| Time Required | 30-60 minutes (depending on quantity) |
| Ideal Temperature | 300-325°F (149-163°C) |
| Best Onion Variety | Yellow onions (higher sugar content) |
| Yield from 4 Onions | Approximately 1 cup caramelized onions |
The Science Behind Perfect Caramelization
Caramelizing onions isn't just cooking—it's controlled chemistry. According to food science research from the USDA Food Research Laboratory, the Maillard reaction begins around 300°F (149°C), creating hundreds of new flavor compounds. This differs from simple sugar caramelization (which starts at 320°F/160°C) because onions contain both sugars and proteins. Cooking too hot causes burning before proper flavor development occurs, while too low heat prevents the necessary chemical reactions.
Step-by-Step Caramelization Process
Preparation Phase: Setting Up for Success
Start with 4 medium yellow onions (about 2 pounds), peeled and thinly sliced to 1/8-inch thickness. Uniform slices ensure even cooking—thicker pieces won't caramelize properly while thinner ones burn easily. Professional chefs at the Culinary Institute of America recommend using a mandoline slicer for consistent results, but a sharp chef's knife works well too.
Choose the right equipment: a heavy-bottomed skillet (cast iron or stainless steel) provides even heat distribution. Non-stick pans often lead to uneven browning. Add 2 tablespoons of fat—combine 1 tablespoon butter with 1 tablespoon olive oil to prevent butter from burning while adding rich flavor.
Cooking Phase: The Critical First 20 Minutes
Heat your pan over medium-low heat (never higher than medium). Add onions and 1 teaspoon of salt, which draws out moisture and speeds the cooking process. Stir occasionally for the first 10 minutes as onions release liquid and soften. During this stage, resist the urge to increase heat—this is when most home cooks make the critical mistake that leads to burnt results.
After 20 minutes, the liquid should have mostly evaporated and onions will begin turning translucent. This signals the start of true caramelization. Continue cooking, stirring every 5 minutes. The onions will progress from translucent to pale gold—a process that takes approximately 15-25 more minutes depending on your stove's heat output.

Finishing Phase: Achieving Deep Flavor Development
As onions reach a light golden color, add 2 tablespoons of liquid (water, broth, or wine) to deglaze the pan, scraping up any browned bits from the bottom. This technique, documented in Culinary Institute of America training materials, incorporates flavorful fond into your onions while preventing burning.
Reduce heat to low and continue cooking, adding liquid as needed whenever the pan looks dry. The final 10-15 minutes are crucial for developing deep flavor—onions will transform from golden to rich amber brown. Properly caramelized onions should be soft, sweet, and deeply colored but never blackened. Total cooking time typically ranges from 35-55 minutes for best results.
Avoiding Common Caramelization Mistakes
Based on analysis of home cooking attempts documented by food researchers at America's Test Kitchen, these four errors cause most caramelization failures:
- Heat too high - Creates uneven browning and burnt spots before interior cooks
- Overcrowding the pan - Traps moisture, causing steaming instead of browning
- Insufficient salt - Slows moisture release, extending cooking time unnecessarily
- Infrequent stirring - Leads to uneven cooking and burnt patches
Storage and Creative Uses
Store cooled caramelized onions in an airtight container in the refrigerator for up to 5 days, or freeze for up to 3 months. The National Center for Home Food Preservation confirms proper storage maintains both safety and flavor quality.
Transform ordinary dishes with caramelized onions:
- Stir into soups and stews during final minutes of cooking
- Top grilled meats, burgers, or sandwiches
- Mix with cream cheese for elegant appetizers
- Add to pizza before baking for gourmet flavor
- Blend into salad dressings for depth of flavor
Troubleshooting Guide
Problem: Onions are taking too long to brown
Solution: Ensure your heat isn't too low—medium-low should produce gentle sizzling. If using a thin pan, consider switching to cast iron for better heat retention.
Problem: Onions are burning before softening
Solution: Immediately reduce heat and add 1-2 tablespoons of liquid. Next time, start with lower heat and be patient during the initial softening phase.
Problem: Onions are dry but not browned
Solution: Add 1 tablespoon of liquid and continue cooking. The fond (browned bits) contains concentrated flavor—don't let it burn.
Frequently Asked Questions
How do I know when caramelized onions are done?
Perfectly caramelized onions should be a deep, rich amber brown throughout with a soft, melt-in-your-mouth texture. They'll smell sweet and nutty, not burnt. The volume will reduce significantly—4 raw onions yield about 1 cup caramelized. Avoid any blackened spots, which indicate burning.
Can I speed up the caramelization process?
While some recipes suggest adding sugar or baking soda to accelerate browning, these create artificial flavors. True caramelization requires time—30-60 minutes—for proper Maillard reaction development. Rushing the process with high heat creates burnt, bitter onions rather than properly caramelized ones with complex flavor.
What's the difference between caramelized and sautéed onions?
Sautéed onions cook quickly (5-10 minutes) over higher heat until softened and slightly browned but still retain their sharp onion flavor. Caramelized onions cook slowly (30-60 minutes) at lower temperatures, transforming through the Maillard reaction to develop deep sweetness, rich umami, and complex flavor with no residual sharpness.
Can I caramelize onions in the oven?
Yes, oven caramelization (at 400°F/200°C for 45-60 minutes) provides more even heat with less attention required. Toss onions with oil and salt, spread on a parchment-lined baking sheet, and stir occasionally. While convenient, stovetop method offers better control for scraping fond and adjusting liquid as needed during cooking.


 浙公网安备
33010002000092号
 浙B2-20120091-4