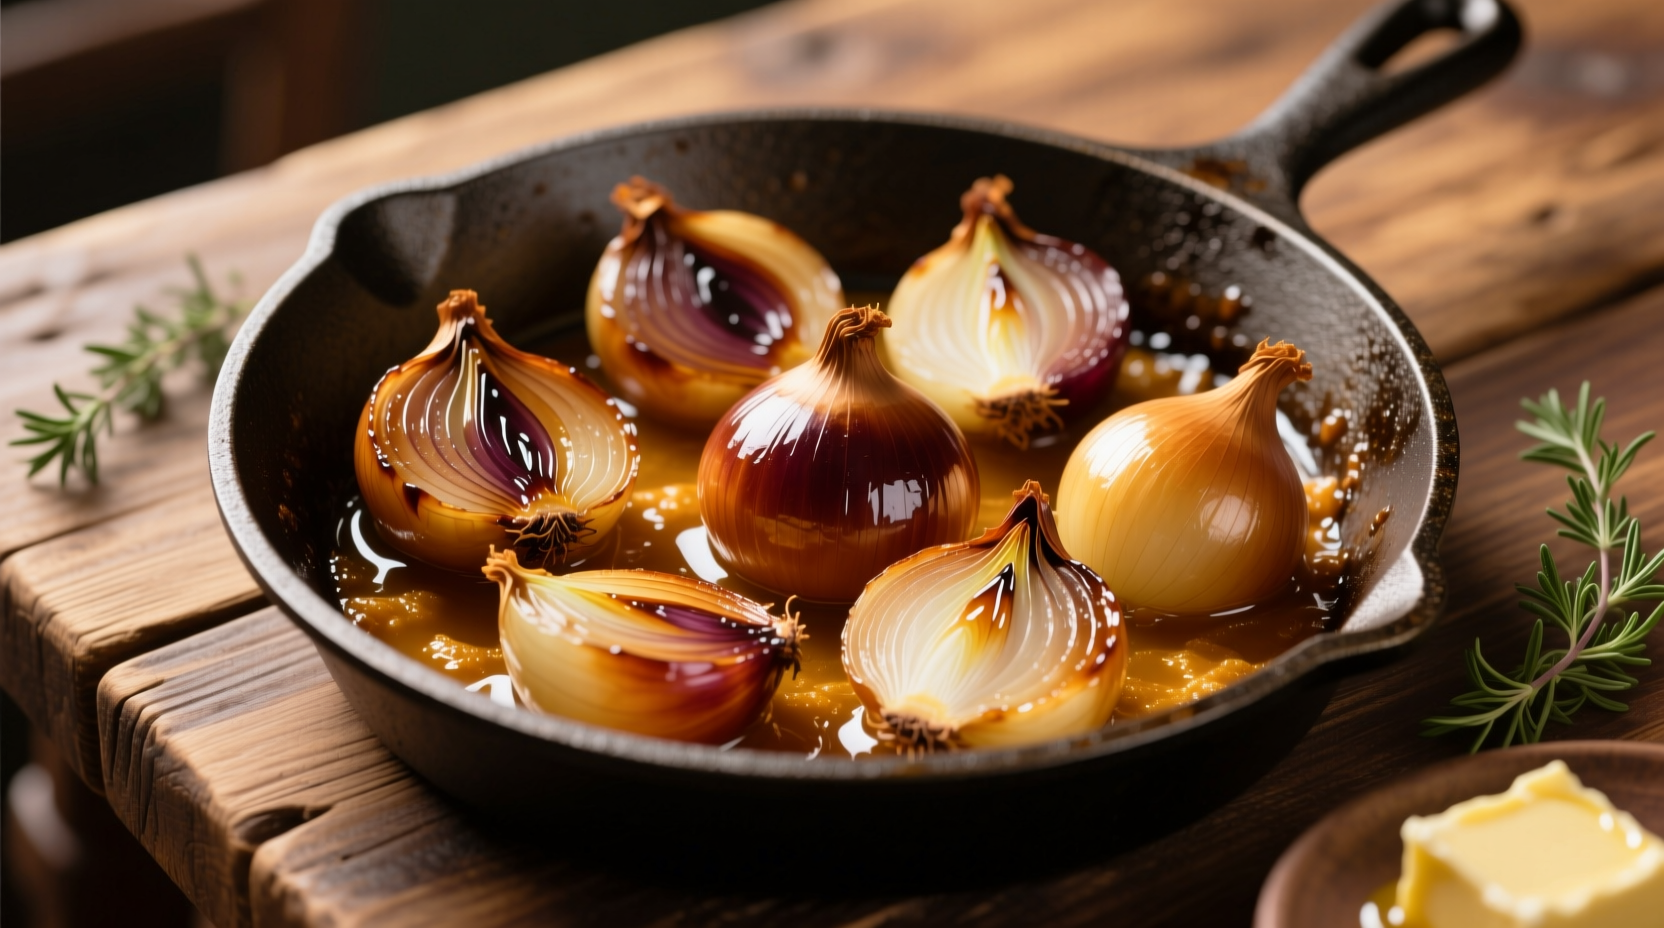
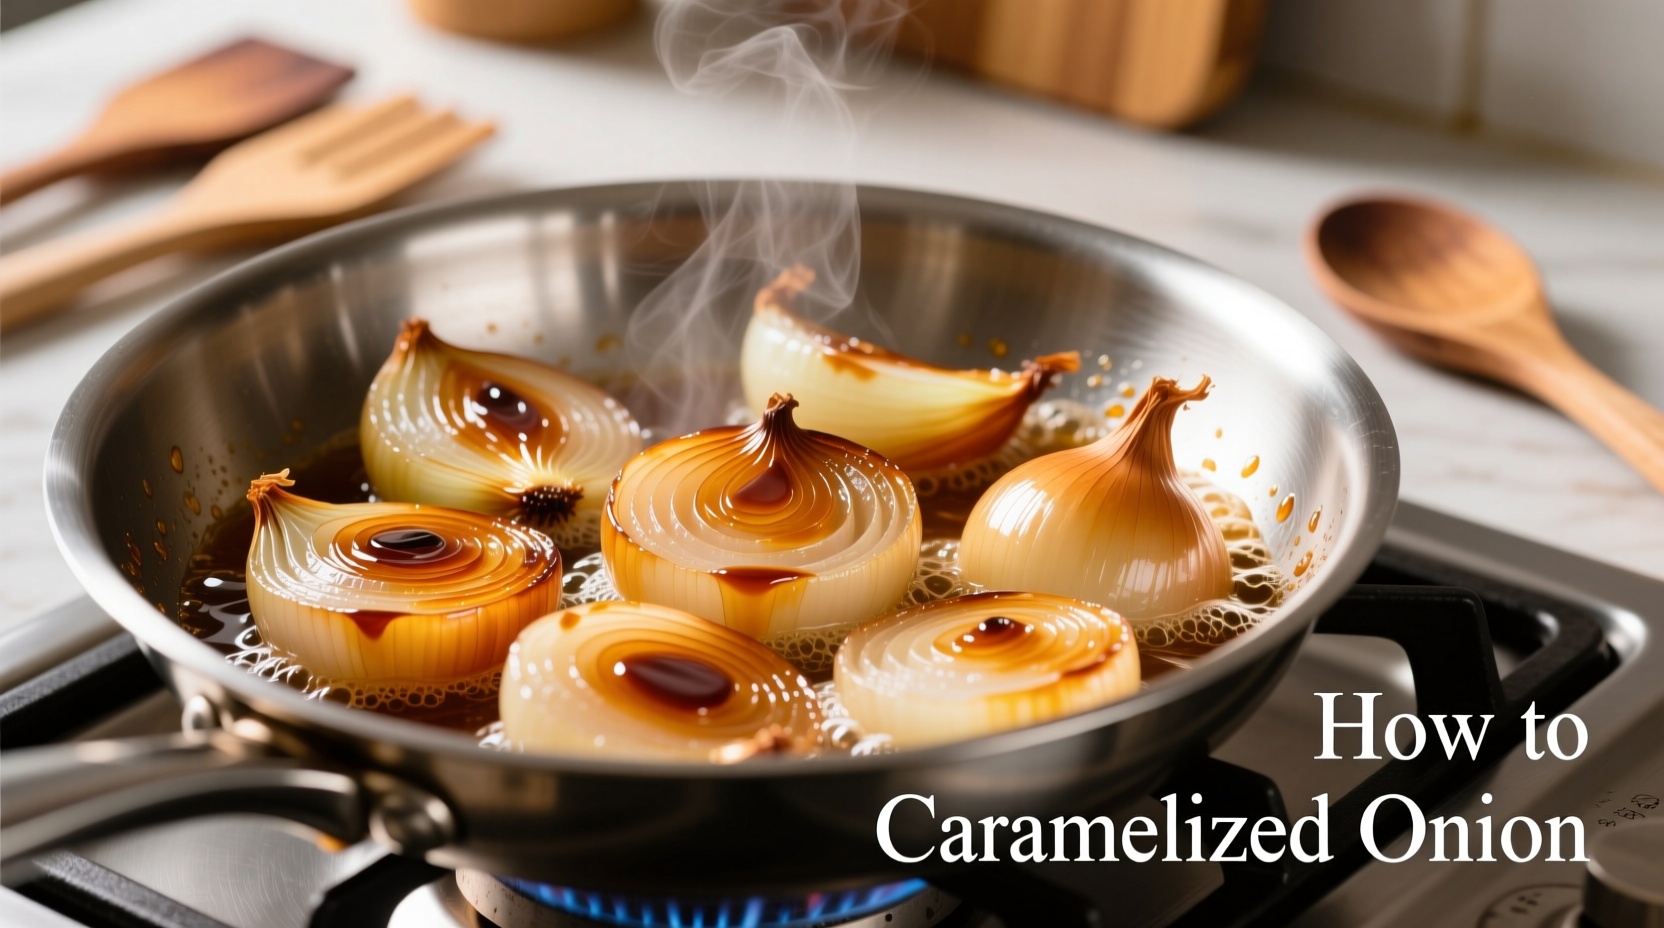
Caramelized onions transform any dish with their deep, sweet complexity. Unlike sautéed onions that retain their bite, true caramelization requires time and technique to unlock the natural sugars through the Maillard reaction and pyrolysis. This guide reveals the exact steps professional chefs use to achieve consistently perfect results.
The Science Behind Perfect Caramelization
Understanding what happens when onions cook separates good results from great ones. When sliced onions hit the pan, two key processes occur:
| Process | Temperature Range | Effect on Onions |
|---|---|---|
| Maillard Reaction | 285°F-320°F (140°C-160°C) | Creates complex flavor compounds through amino acid-sugar interaction |
| Pyrolysis (Caramelization) | 320°F+ (160°C+) | Breaks down sucrose into new aromatic compounds |
According to the Scientific American Kitchen Chemistry series, rushing this process by increasing heat causes uneven browning and bitterness. The ideal temperature window allows gradual moisture evaporation while developing flavor without burning.
Essential Tools You Actually Need
Forget complicated equipment—these three items make the difference:
- Heavy-bottomed skillet (cast iron or stainless steel): Ensures even heat distribution
- Wooden spoon or heatproof spatula: Gentle on developing sugars
- Patience timer: Set reminders to check progress without constant stirring

Step-by-Step Caramelization Process
Preparation Phase (5 minutes)
Onion selection matters: Yellow onions provide the best balance of sugar and sulfur compounds. Avoid sweet varieties like Vidalia which lack depth. For professional results:
- Peel and halve onions root-to-tip
- Cut parallel to growth rings (not across) for even cooking
- Slice 1/8-inch thick using a sharp chef's knife
Cooking Phase (25-30 minutes)
Temperature control is critical. Follow this timing guide:
- 0-10 minutes: Medium-low heat with 2 tbsp oil/butter. Stir occasionally until onions soften and release liquid
- 10-20 minutes: Reduce to low heat. Add pinch of salt to draw out moisture. Stir every 5 minutes as liquid evaporates
- 20-30 minutes: Watch for golden color development. Add 1 tbsp water only if sticking occurs
The America's Test Kitchen research confirms that adding a small amount (1/4 tsp) of baking soda raises pH, accelerating browning without compromising flavor—use this pro technique for time-pressed cooks.
Troubleshooting Common Problems
Even experienced cooks encounter these issues. Here's how to fix them:
- Burning before browning: Heat too high. Immediately transfer to clean pan with fresh fat
- Excess liquid remaining: Increase heat slightly for final 5 minutes to evaporate moisture
- Bland flavor: Add 1 tsp apple cider vinegar at the end to brighten flavors
When Caramelized Onions Won't Work
Understanding context boundaries prevents kitchen disasters. Avoid using caramelized onions in:
- Fresh salads where texture contrast matters
- Dishes requiring sharp onion flavor (like pico de gallo)
- Quick-cooking recipes with under 15 minutes total time
The USDA FoodKeeper guidelines recommend storing caramelized onions in airtight containers for up to 5 days refrigerated or 3 months frozen—never at room temperature due to bacterial growth risks in the sugar-rich environment.
Maximizing Your Caramelized Onions
Transform your cooking with these professional applications:
- Soup enhancer: Stir into French onion soup during last 10 minutes of cooking
- Meat flavor booster: Mix into burger patties (1:4 ratio onion:meat)
- Quick sauce base: Deglaze pan with 1/2 cup broth after caramelizing
For perfect results every time, remember: true caramelization takes minimum 25 minutes. Rushing creates sautéed onions, not the deep brown, jam-like texture that defines proper caramelization. The investment pays off with unmatched flavor complexity that elevates everything from sandwiches to sauces.
How long does it take to properly caramelize onions?
True caramelization requires 25-30 minutes of controlled low-heat cooking. Rushing the process by increasing heat causes burning rather than proper browning. The transformation from sharp raw onion to sweet, golden-brown mixture happens gradually as moisture evaporates and sugars develop.
Why do my onions keep burning before caramelizing?
Burning occurs when heat is too high. Maintain medium-low to low heat throughout the process. If onions start sticking, add 1 tablespoon of water to deglaze the pan rather than increasing heat. Use a heavy-bottomed pan for even heat distribution.
Can I speed up caramelization with baking soda?
Yes, adding 1/4 teaspoon baking soda raises pH and accelerates browning. America's Test Kitchen research shows this reduces cooking time by 30% without compromising flavor. Use sparingly as excess creates mushy texture.
What's the best onion variety for caramelizing?
Yellow onions provide the ideal balance of sugar and sulfur compounds. Avoid sweet varieties like Vidalia which lack the necessary complexity. Professional chefs prefer Spanish or Vidalia alternatives with higher dry matter content for better browning.
How should I store leftover caramelized onions?
Store in an airtight container in the refrigerator for up to 5 days or freeze for up to 3 months. The USDA FoodKeeper app recommends never storing at room temperature due to bacterial growth risks in the sugar-rich environment. Cool completely before storing to prevent condensation.


 浙公网安备
33010002000092号
 浙B2-20120091-4