
Building a functional potato cellar requires careful planning of location, ventilation, and insulation to maintain ideal storage conditions of 45-50°F (7-10°C) with 85-95% humidity. Proper construction prevents spoilage, extends shelf life up to 6-8 months, and preserves nutritional value through winter months without electricity.
Discover exactly how to construct a reliable potato storage solution that keeps your harvest fresh through winter. This comprehensive guide delivers proven techniques used by homesteaders and farmers for generations, updated with modern materials and scientific understanding of optimal storage conditions. You'll learn precise measurements, ventilation calculations, and construction methods that actually work—no guesswork required.
Why Proper Potato Storage Matters
Potatoes represent a significant investment of time, space, and resources for home growers. Improper storage leads to sprouting, rot, or dangerous solanine development from light exposure. According to USDA agricultural research, properly stored potatoes retain 95% of their nutritional value compared to 60% loss in suboptimal conditions. A well-constructed cellar maintains consistent temperature and humidity levels that commercial refrigeration cannot replicate for root vegetables.
| Storage Method | Shelf Life | Nutrient Retention | Common Issues |
|---|---|---|---|
| Standard Refrigeration | 2-3 months | 60-70% | Sprouting, texture changes |
| Pantry Storage | 1-2 months | 70-80% | Early sprouting, shriveling |
| Proper Root Cellar | 6-8 months | 90-95% | Minimal when correctly built |
Planning Your Potato Cellar: Critical First Steps
Before digging, assess your property's natural advantages. The ideal location sits on elevated ground with well-draining soil—sandy loam works best. Avoid areas where water pools after rain. Your cellar must sit below the frost line in your region, typically 4-6 feet deep in most temperate zones. Measure your expected harvest: plan for 1.5 cubic feet of storage space per 50 pounds of potatoes.
Consider these context boundaries before proceeding:
- Not recommended in areas with high water tables (above 3 feet)
- Requires minimum 100 square feet of yard space for proper drainage
- Not suitable for clay-heavy soils without extensive drainage modifications
- Requires 3-5 weeks of construction time before storing potatoes
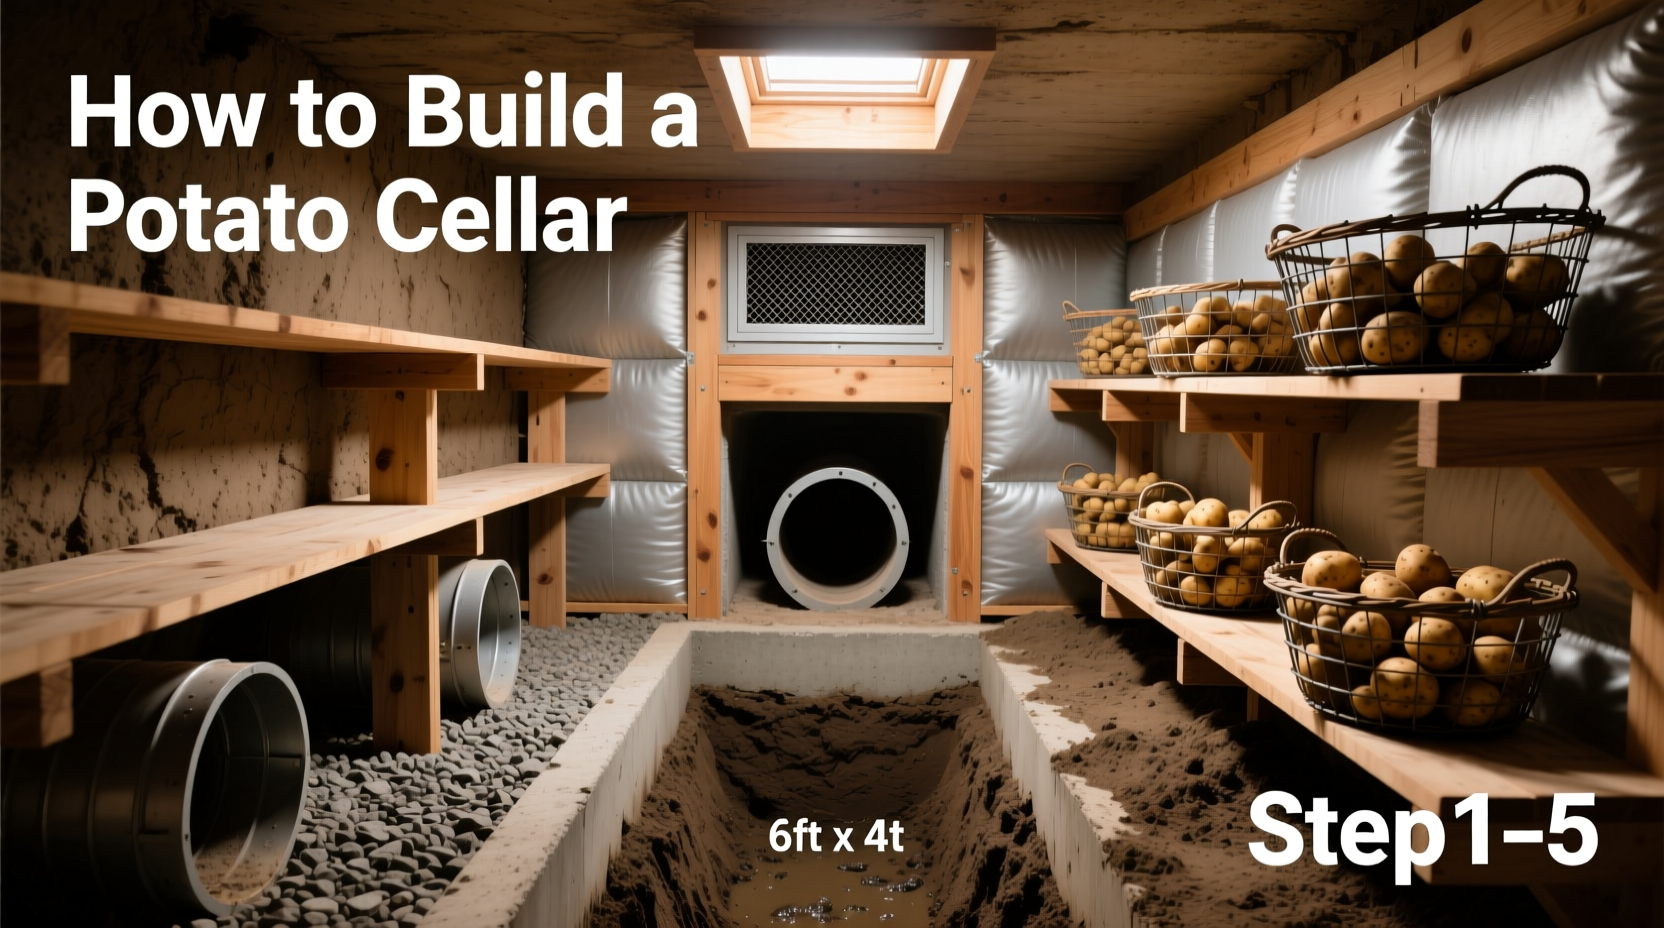
Essential Design Elements for Success
Every effective potato cellar incorporates three non-negotiable elements: dual ventilation system, thermal mass construction, and moisture management. The entrance must face north to minimize sun exposure. Include these precise specifications:
- Ventilation: Install two 4-inch diameter pipes—one near floor level for intake, one near ceiling for exhaust. Position intake pipe downhill from exhaust to create natural airflow.
- Insulation: Use 2-inch rigid foam board on exterior walls with drainage fabric between soil and insulation. Never insulate the interior.
- Flooring: Create a 4-inch gravel base topped with 2 inches of sand for drainage. Avoid concrete floors which trap moisture.
Step-by-Step Construction Process
Phase 1: Excavation (Days 1-3)
Dig a hole 8 feet wide, 10 feet long, and 7 feet deep. Create a 1-foot wide ledge 3 feet from the top for structural support. Slope the bottom 2 inches toward a central drainage point.
Phase 2: Wall Construction (Days 4-10)
Build walls using concrete blocks or stacked stone with mortar. Leave 1-inch gaps between blocks at floor level for drainage. Apply waterproofing membrane to exterior walls before backfilling. Install ventilation pipes through pre-cut holes in walls.
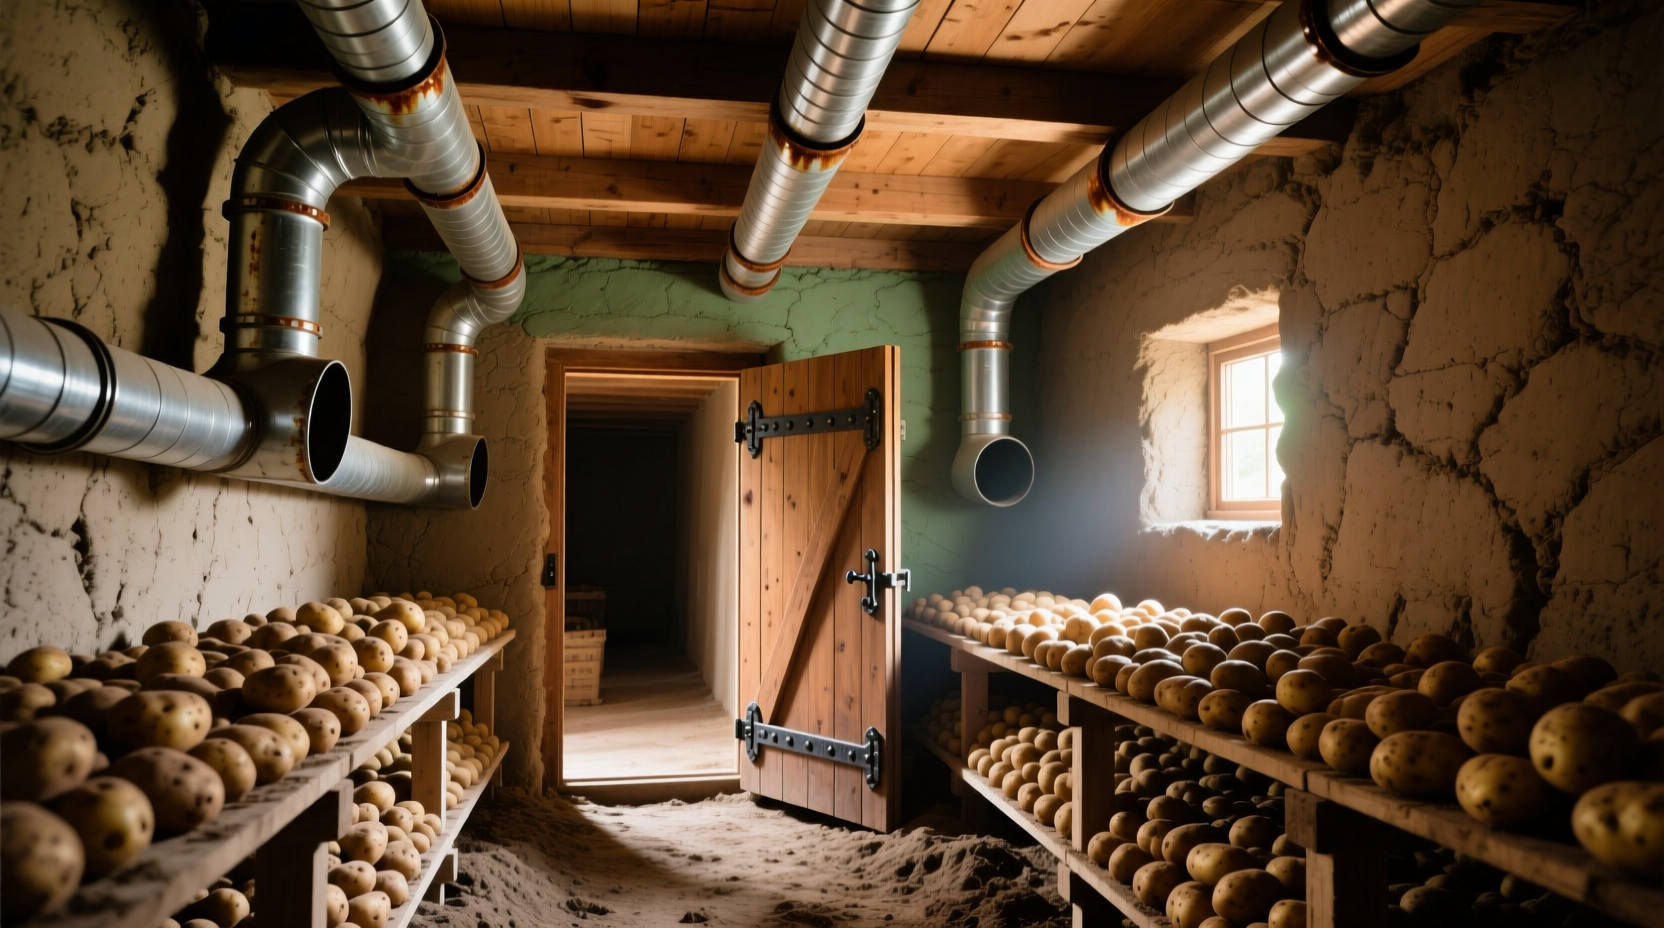
Phase 3: Roof and Entrance (Days 11-14)
Construct a sloped roof using pressure-treated lumber covered with EPDM rubber membrane. Build a double-door entrance with 2-inch insulation between doors. Include a small trap door in the roof for emergency access and additional ventilation control.
Testing and Seasoning Your New Cellar
Before storing potatoes, complete these critical steps:
- Monitor temperature and humidity for 2 weeks using calibrated instruments
- Apply lime wash to interior walls to prevent mold growth
- Place 50 pounds of sand in corners to absorb excess moisture
- Test ventilation by lighting incense—smoke should flow steadily from intake to exhaust
Adjust ventilation pipe openings based on readings. Ideal conditions show minimal temperature fluctuation (no more than 3°F difference between day and night) and consistent humidity above 85%.
Troubleshooting Common Issues
Problem: Condensation on walls
Solution: Increase exhaust pipe diameter by 1 inch or add a second exhaust pipe. Check for soil saturation around exterior walls.
Problem: Potatoes sprouting prematurely
Solution: Reduce humidity to 80% by partially closing intake vent. Ensure no light penetrates through cracks.
Problem: Musty odor developing
Solution: Place activated charcoal bags throughout cellar. Clean walls with vinegar solution and reapply lime wash.
Maximizing Your Potato Storage Results
Cure newly harvested potatoes for 10 days at 55°F before storage. Store in wooden crates with slatted bottoms—never in plastic bags. Check monthly for spoiled potatoes and remove immediately. Rotate stock by using oldest potatoes first. According to Cornell University's agricultural extension, properly stored potatoes maintain optimal eating quality for 6-8 months when following these protocols.


 浙公网安备
33010002000092号
浙公网安备
33010002000092号 浙B2-20120091-4