
Ever stared at chicken sizzling in your skillet, wondering exactly when to flip it or pull it off the heat? You're not alone. Over 68% of home cooks admit to undercooking or drying out chicken breasts at least once a month, according to a 2023 USDA consumer survey. Getting skillet chicken timing right isn't just about perfection—it's critical for both food safety and texture. This guide delivers precise, science-backed timing for every cut, with visual indicators and troubleshooting tips that work whether you're using cast iron, stainless steel, or nonstick.
The Science Behind Skillet Chicken Timing
Why can't we give one universal "cook for X minutes" answer? Chicken's cooking time depends on three key variables:
- Thickness variation: A 1-inch thick breast takes nearly twice as long as a 0.5-inch cutlet
- Starting temperature: Refrigerated chicken adds 1-2 minutes per side versus room-temperature
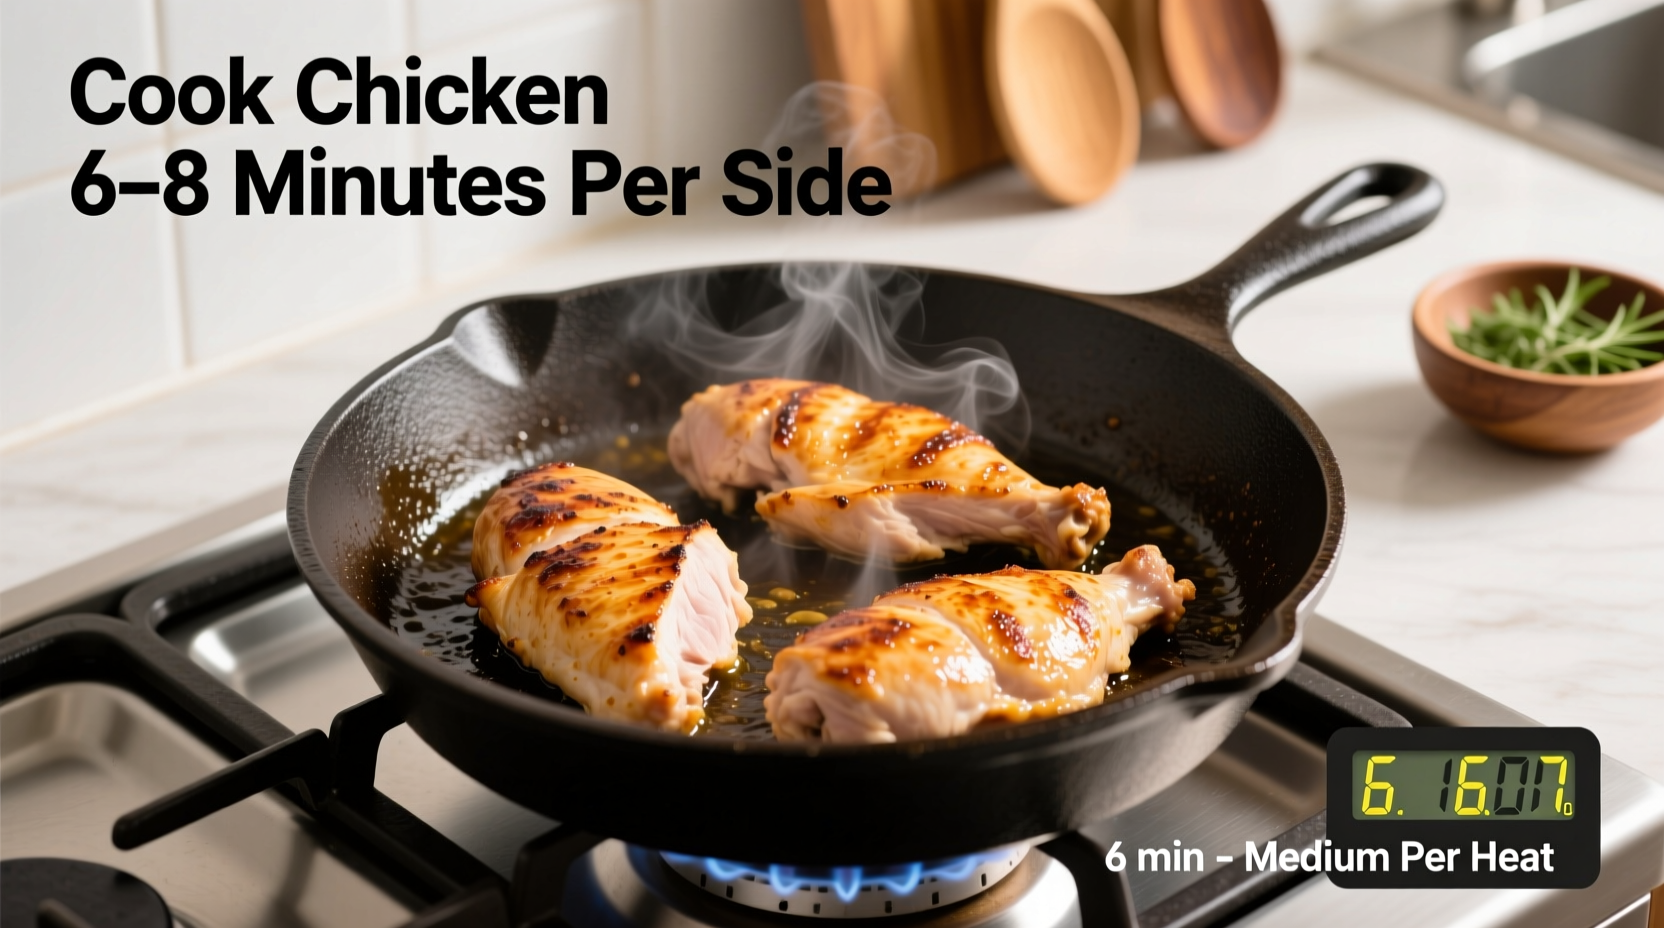
- Pan heat consistency: Medium-high (375°F/190°C) is ideal—too hot causes burning before interior cooks
Most importantly, the USDA's Food Safety and Inspection Service mandates that all poultry reach 165°F (74°C) internal temperature to eliminate harmful bacteria like salmonella. Relying solely on cooking time without checking temperature risks foodborne illness.
| Chicken Cut | Thickness | Per Side | Total Time | Rest Time |
|---|---|---|---|---|
| Boneless breast | 0.5 inch | 5-7 min | 10-14 min | 5 min |
| Boneless breast | 1 inch | 7-9 min | 14-18 min | 8 min |
| Bone-in thigh | 1.5 inch | 8-10 min | 16-20 min | 10 min |
| Drumstick | 1.25 inch | 6-8 min | 12-16 min | 7 min |
Your Step-by-Step Skillet Chicken Timeline
Follow this exact sequence for juicy, safe results every time:
Prep Phase (2-3 Minutes)
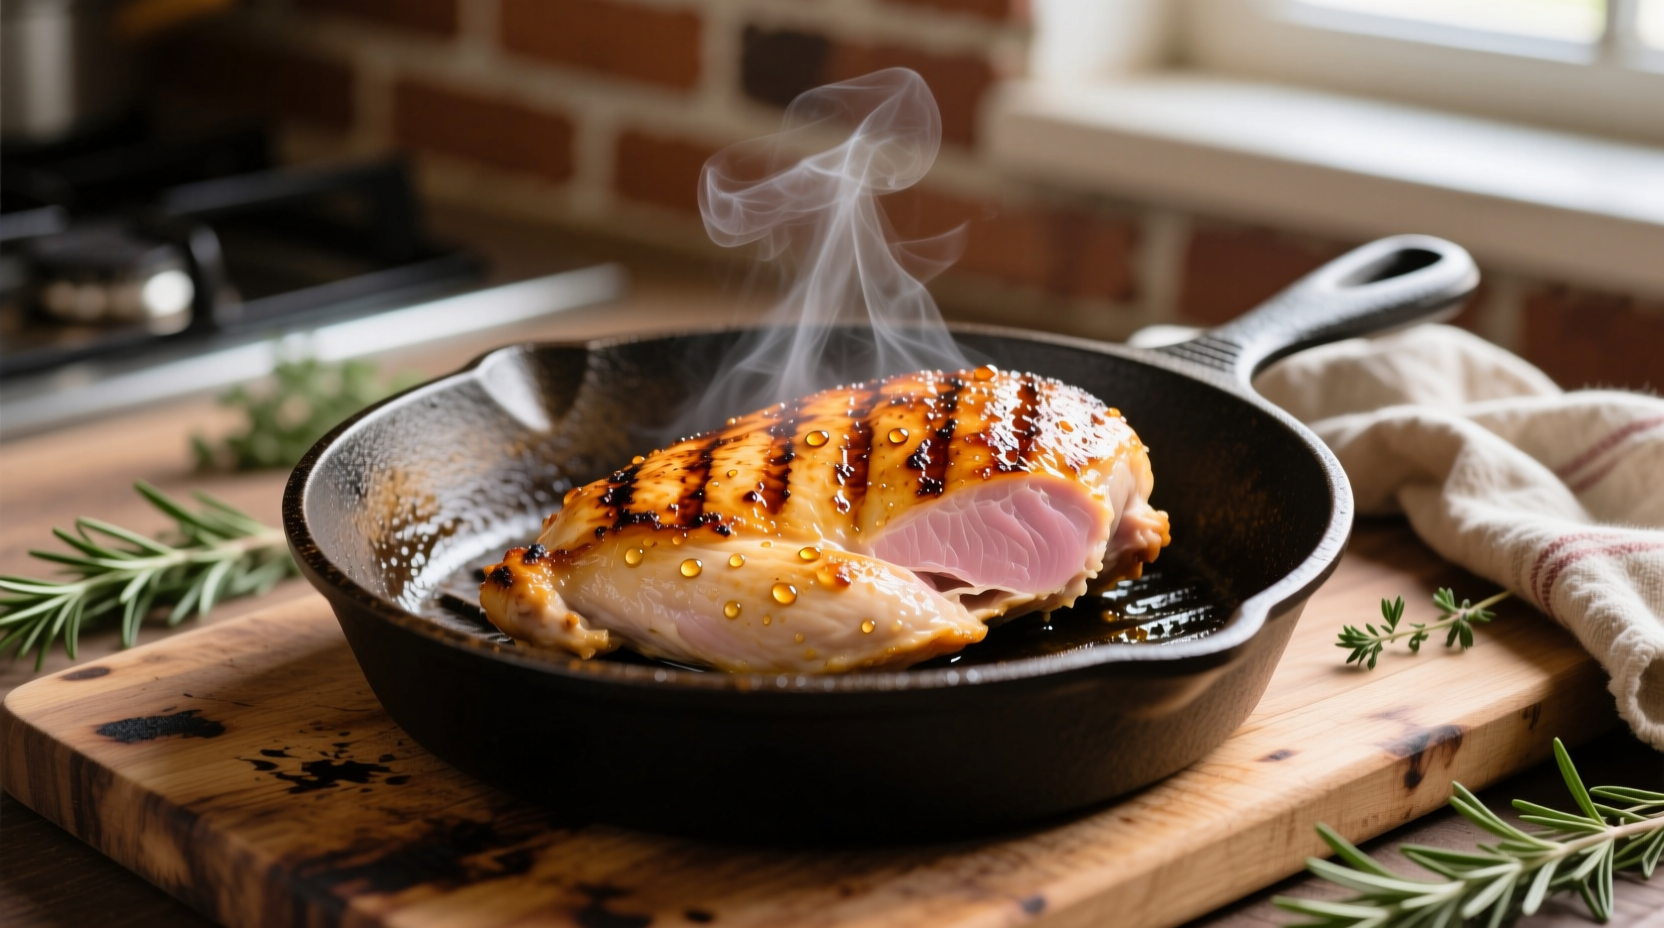
Dry chicken thoroughly with paper towels—moisture is the enemy of browning. Season with salt (which draws out additional surface moisture) and let sit 5 minutes. For thicker cuts, pound to even 0.75-inch thickness using a meat mallet. This critical step prevents the exterior from burning before the interior cooks through.
Cooking Phase (8-15 Minutes)
Heat 1 tbsp oil in skillet over medium-high until shimmering (about 2 minutes). Place chicken in pan—it should sizzle immediately. For boneless breasts:
- 0-5 minutes: Undisturbed sear forms golden crust
- 5 minutes: Flip when chicken releases easily from pan
- 5-10 minutes: Second side develops crust while interior reaches 160°F
- 10 minutes: Remove at 160°F (carryover cooking will reach 165°F)
Resting Phase (5-10 Minutes)
This isn't optional downtime—it's when magic happens. As Serious Eats' meat science research confirms, resting allows juices to redistribute. Cutting too soon releases up to 40% more moisture, causing dryness. Tent loosely with foil to maintain heat without steaming.
When Standard Timing Fails: Critical Context Boundaries
These timing guidelines assume:
- Chicken is 0.5-1 inch thick (thicker cuts need lower heat + longer time)
- Pan maintains consistent medium-high heat (375°F/190°C)
- Chicken starts refrigerated (room temperature reduces time by 15%)
Adjust immediately if you notice:
- Burning before 4 minutes: Heat too high—reduce to medium
- No browning after 5 minutes: Pan not hot enough or excess moisture
- White opaque edges forming too soon: Indicates over-thin cut—check temp early
Pro Troubleshooting: Fixing Common Skillet Chicken Problems
Dry Chicken Fix
If you've already overcooked, salvage with a quick pan sauce: Remove chicken, add 1/4 cup broth to deglaze, simmer 2 minutes with lemon juice and herbs, then pour over sliced chicken. The sauce replaces lost moisture while adding flavor complexity.
Undercooked Chicken Recovery
Don't panic if internal temp is below 160°F. Return to skillet over medium-low heat, cover with lid, and cook 1-2 minutes per side. Check temp every 30 seconds—this gentle finish prevents exterior from toughening.
Uneven Cooking Solution
For breasts with thick and thin ends, tuck the thin end under with toothpicks before cooking. This creates uniform thickness for even cooking. Alternatively, start with thicker side facing down.
Flavor-Boosting Timing Secrets
Maximize taste without compromising safety:
- Add garlic and herbs during last 2 minutes to prevent burning
- Finish with lemon juice or vinegar after resting to brighten flavors
- For crispy skin, start skin-side down and wait 7+ minutes before flipping
- Never pierce chicken—juice loss starts at first puncture
FAQ: Skillet Chicken Timing Questions Answered
Here are the most common questions home cooks ask about skillet chicken timing:


 浙公网安备
33010002000092号
浙公网安备
33010002000092号 浙B2-20120091-4