
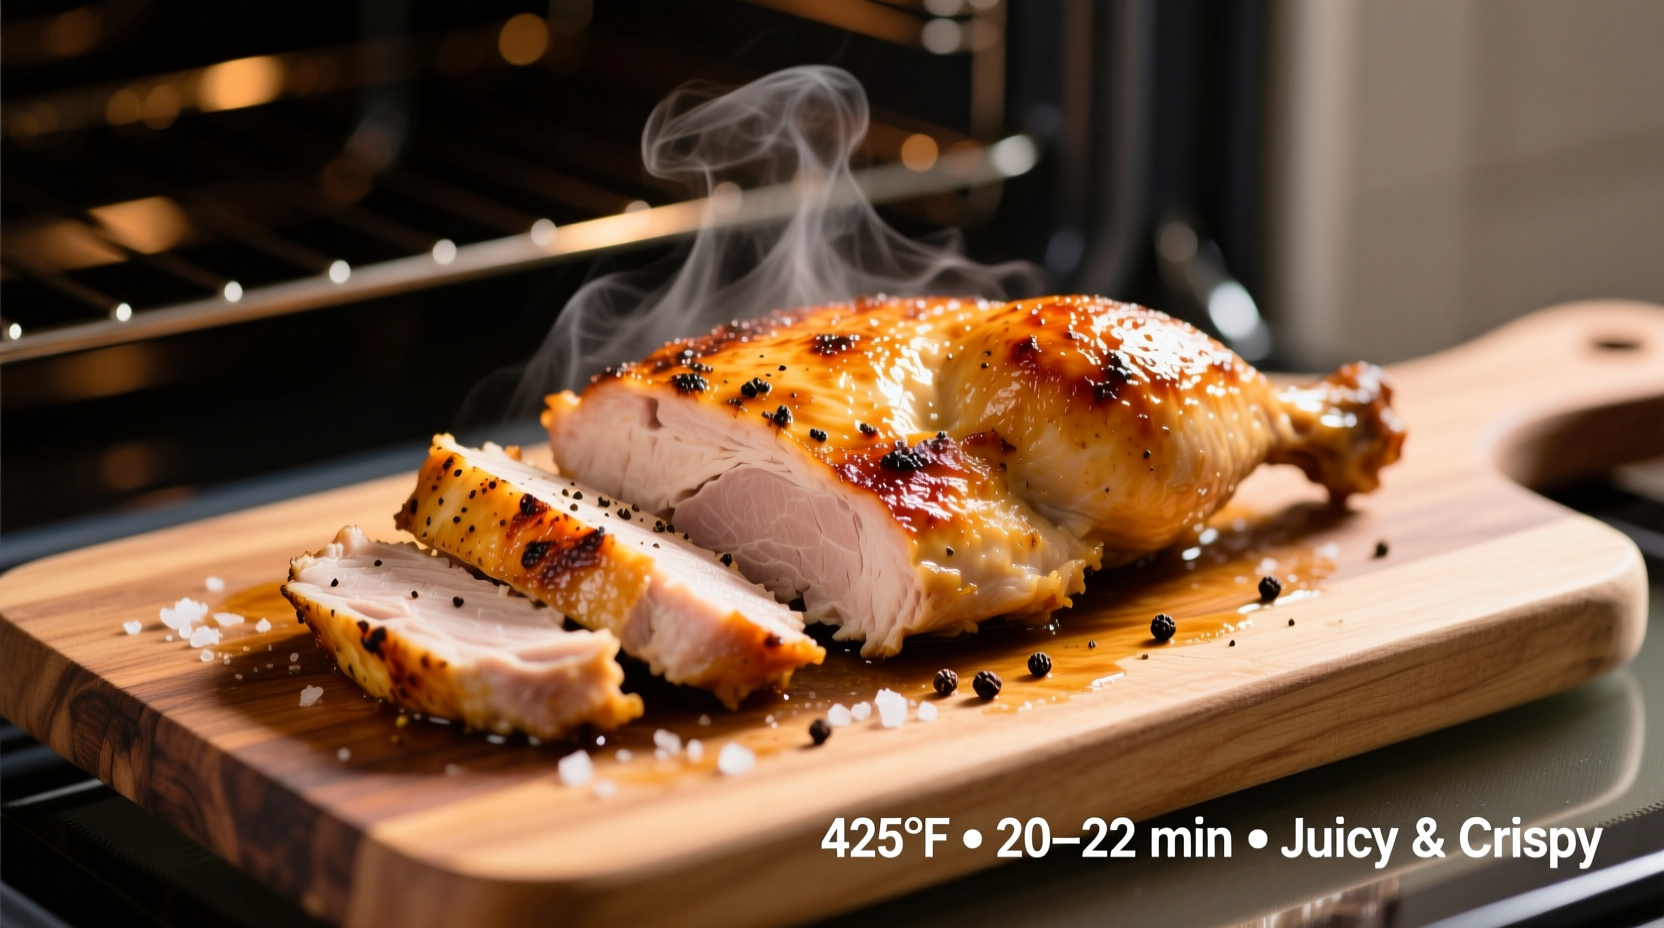
Nothing ruins dinner plans faster than dry, overcooked chicken or the risk of undercooked poultry. Getting the timing right at 425°F creates juicy results with beautiful browning while ensuring safety. Let's break down exactly how to master this essential cooking technique.
Why 425°F Is the Ideal Temperature for Chicken Breast
Cooking chicken breast at 425°F strikes the perfect balance between speed and quality. This high heat accomplishes three critical goals:
- Triggers the Maillard reaction for golden-brown, flavorful crust
- Seals in juices by quickly denaturing surface proteins
- Cooks through before interior moisture escapes
Unlike lower temperatures that extend cooking time and increase dryness risk, 425°F delivers restaurant-quality results in under 25 minutes. Food science confirms that temperatures above 400°F create optimal conditions for surface browning while maintaining interior tenderness.
Preparation Steps That Guarantee Success
Proper preparation significantly impacts your cooking time and final results:
- Equalize thickness - Place chicken between parchment paper and gently pound thicker ends to ¾-inch uniformity
- Dry thoroughly - Pat with paper towels to remove surface moisture for better browning
- Season properly - Apply oil or butter coating before seasoning to help spices adhere
- Bring to room temperature - Let sit 15-20 minutes before baking for even cooking
| Chicken Breast Thickness | Recommended Cooking Time | Visual Indicators |
|---|---|---|
| ½ inch or less | 15-18 minutes | Golden edges, slight shrinkage |
| ¾ inch (standard) | 18-22 minutes | Deep golden brown, juices run clear |
| 1 inch or thicker | 22-25 minutes | Rich brown crust, firm but yielding texture |
Step-by-Step Baking Process
Follow these precise steps for perfect results every time:
1. Oven Preparation
Preheat your oven to 425°F with rack positioned in the center. Allow full 20 minutes for accurate temperature stabilization. Use an oven thermometer to verify actual temperature, as built-in sensors often vary by 25°F.
2. Pan Selection Matters
Choose between these options based on your desired outcome:
- Cast iron skillet - Provides excellent heat retention for superior browning (preheat empty skillet 5 minutes)
- Light-colored baking sheet - Promotes even cooking without over-browning edges
- Ceramic dish - Best for marinated chicken to prevent sticking
3. Placement and Timing
Arrange chicken with space between pieces (no touching). Set timer for 15 minutes, then check temperature. Continue checking every 2 minutes until reaching 160°F (it will rise to 165°F during resting).
Critical Food Safety Verification
Never rely solely on cooking time. The USDA Food Safety and Inspection Service confirms that chicken must reach 165°F internal temperature to eliminate harmful bacteria like salmonella.
Insert an instant-read thermometer into the thickest part, avoiding bone or fat pockets. If you don't have a thermometer, check for these secondary indicators:
- Juices run clear (not pink)
- Meat feels firm but yields slightly to pressure
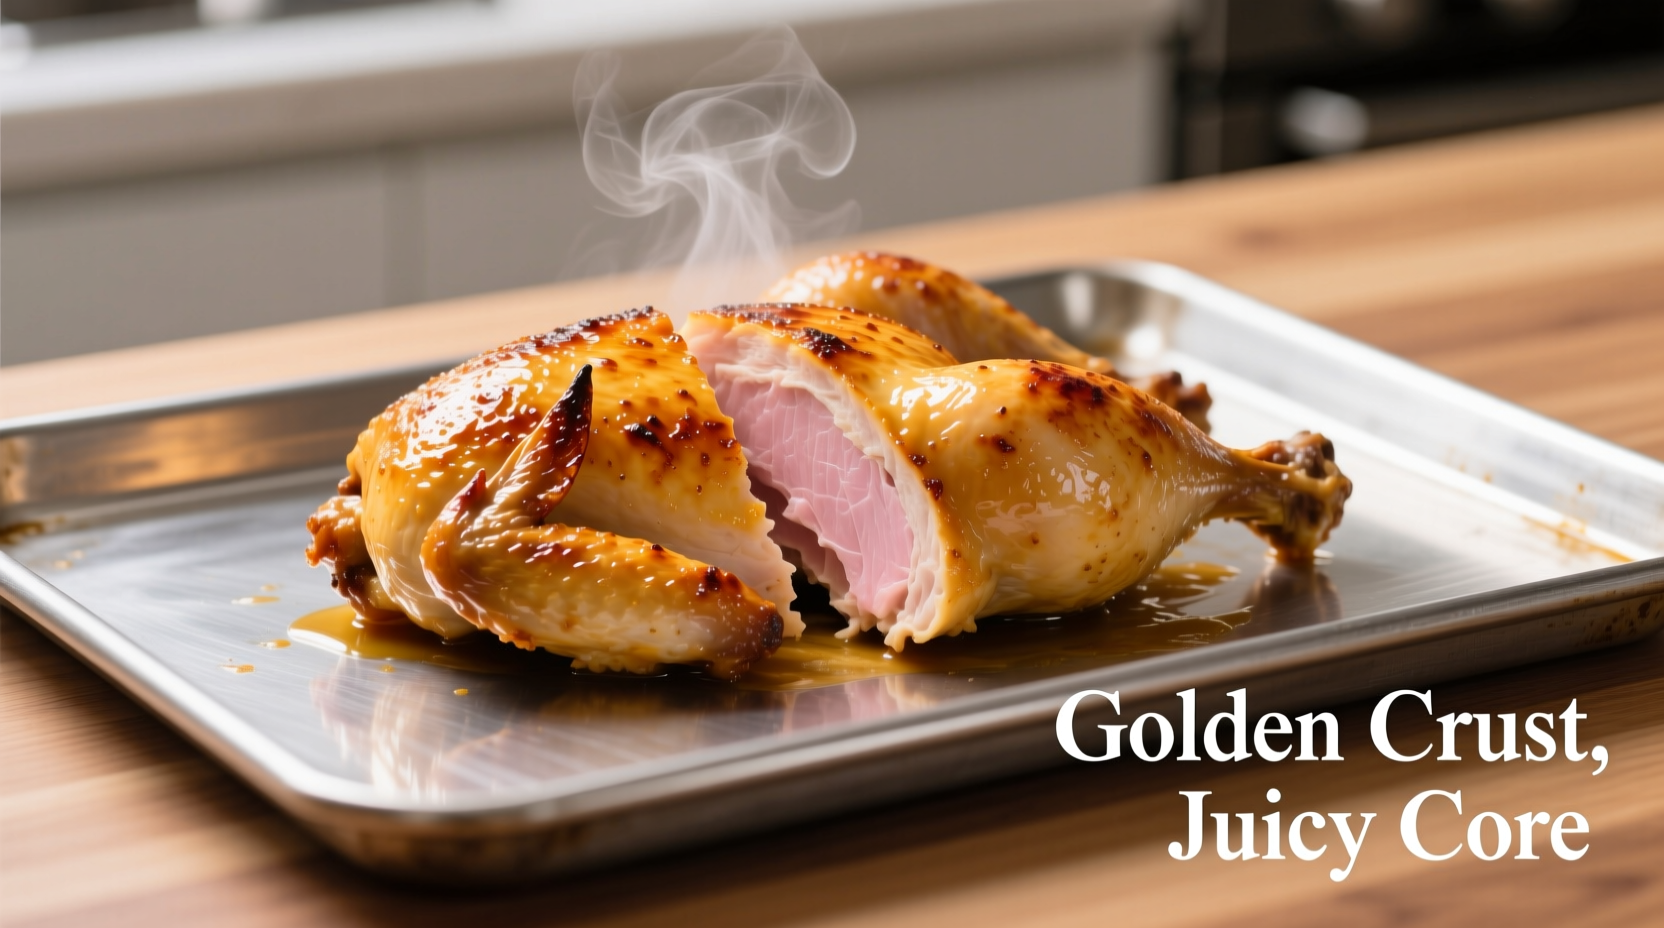
- Internal color is white throughout (no translucent areas)
Remember that chicken continues cooking during the 5-10 minute resting period. Remove at 160°F for perfect 165°F final temperature.
Troubleshooting Common Issues
Even with precise timing, challenges can arise. Here's how to fix them:
Dry or Overcooked Chicken
If your chicken exceeds 170°F:
- Slice against the grain to shorten muscle fibers
- Serve with sauce or pan juices
- Next time, reduce time by 2-3 minutes
Undercooked or Uneven Results
If chicken hasn't reached 165°F:
- Return to oven in 2-minute increments
- Rotate pan for even heat distribution
- Consider using a convection setting for more consistent results
Pro Tips for Restaurant-Quality Results
Elevate your chicken with these professional techniques:
- Dry brine - Salt chicken 1-24 hours before cooking for deeper seasoning and moisture retention
- Butter baste - Spoon melted butter over chicken during last 5 minutes for richer flavor
- Finish under broiler - For extra browning, broil 1-2 minutes (watch carefully to prevent burning)
- Acid balance - Squeeze fresh lemon juice after resting to brighten flavors
When working with how long to cook chicken breast in oven at 425 degrees, remember that variables like oven accuracy, chicken thickness, and starting temperature all affect timing. The most reliable method for determining chicken breast cook time at 425 remains thermometer verification.
Frequently Asked Questions
Can I cook frozen chicken breast at 425°F?
Yes, but increase cooking time by 50% (approximately 27-33 minutes). Place on a wire rack to allow air circulation and check temperature frequently as edges may cook faster than center.
Why does my chicken breast cook faster than the recommended time?
Oven temperature variations are common. Many home ovens run 25-50°F hotter than displayed. Always verify with an independent oven thermometer. Thinner cuts or convection settings also reduce cooking time significantly.
Should I cover chicken breast while baking at 425°F?
No, covering traps steam which prevents proper browning. For golden, crispy results, bake uncovered. If edges brown too quickly, tent only the corners with foil while continuing to cook.
How long to cook chicken breast at 425 on stove top?
On stove top at medium-high heat (approximating 425°F), cook 5-7 minutes per side. Use a heavy skillet preheated for 3 minutes before adding oil. Thickness determines exact time - always verify with thermometer.


 浙公网安备
33010002000092号
浙公网安备
33010002000092号 浙B2-20120091-4