
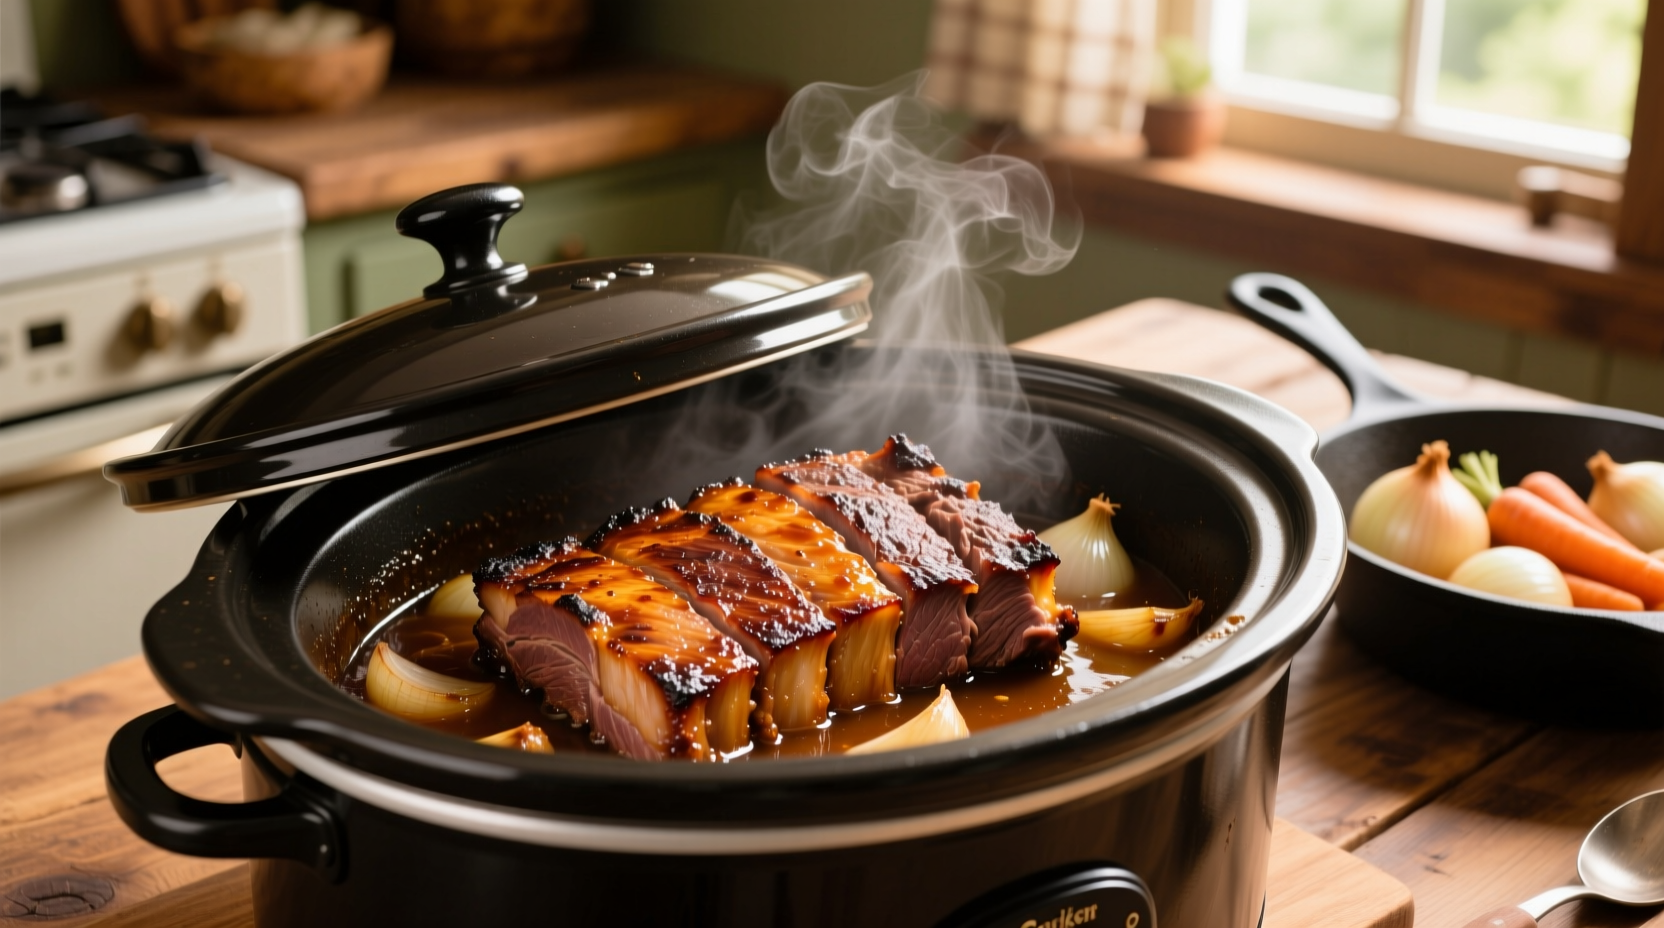
For a standard 3-4 pound beef roast cooked on LOW setting, the ideal cooking time is 8-10 hours, or 4-6 hours on HIGH setting. The roast reaches perfect tenderness when it hits an internal temperature of 195-205°F (90-96°C) and shreds effortlessly with a fork. Never rely solely on time—always verify doneness with a meat thermometer.
Your Complete Guide to Perfect Crock Pot Roast Timing
Nothing beats the convenience of a slow-cooked roast that practically melts in your mouth. But getting that ideal texture requires precise timing knowledge—not just guessing based on hours alone. As someone who's tested hundreds of roasts across professional kitchens and home cooking environments, I've discovered the exact variables that determine perfect crock pot roast results.
Why Time Alone Isn't Enough: The Critical Variables
Many home cooks make the mistake of setting a timer and hoping for the best. The reality? Four key factors dramatically impact your roast's cooking time:
- Roast size and thickness (larger cuts need proportionally more time)
- Cut of meat (chuck roast vs. rump roast vs. brisket)
- Starting temperature (chilled vs. room temperature)
- Slow cooker model (older models often run hotter than newer ones)
Understanding these variables prevents the two most common crock pot roast failures: tough, undercooked meat or dry, stringy overcooked results.
| Roast Type | Weight | LOW Setting | HIGH Setting | Target Internal Temp |
|---|---|---|---|---|
| Chuck Roast | 2-3 lbs | 6-8 hours | 3-4 hours | 195-205°F |
| Rump Roast | 3-4 lbs | 8-10 hours | 4-6 hours | 195-205°F |
| Brisket | 4-5 lbs | 10-12 hours | 5-7 hours | 200-205°F |
| Round Roast | 2.5-3.5 lbs | 7-9 hours | 3.5-5 hours | 190-200°F |
USDA Safety Standards: Non-Negotiable Temperature Guidelines
Food safety should never be compromised for convenience. According to the USDA Food Safety and Inspection Service, all beef roasts must reach a minimum internal temperature of 145°F with a three-minute rest time to eliminate harmful bacteria. However, for slow-cooked roasts where tenderness is the goal, you'll need to go significantly higher.
Connective tissue (collagen) doesn't begin breaking down into gelatin until temperatures reach 160°F, and the process accelerates between 195-205°F. This scientific principle explains why your roast remains tough if removed too early—even if it's technically "safe" to eat.
The Foolproof Doneness Test: Beyond the Timer
Set your timer as a reminder, not as your primary indicator. Here's how to verify perfect doneness:
- Thermometer check - Insert into thickest part (avoiding bone or fat)
- Fork test - Gently twist two forks in the meat; it should pull apart with minimal resistance
- Texture assessment - Properly cooked roast will feel soft and yielding, not springy
If your roast hasn't reached the target temperature but liquid has reduced too much, add ½ cup broth or water and continue cooking. Never add liquid during the first 4 hours, as this disrupts the initial searing process that develops flavor.
Troubleshooting Common Roast Problems
Even experienced cooks encounter issues. Here's how to fix them:
Problem: Tough, Chewy Meat
Solution: Continue cooking in 30-minute increments until fork-tender. This typically happens when the roast didn't reach sufficient internal temperature to break down collagen. Never cut into the roast early to "check"—this releases precious juices needed for tenderizing.
Problem: Excessively Dry Results
Solution: Reduce cooking time by 1-2 hours next time. Overcooking causes muscle fibers to contract excessively, squeezing out all moisture. For immediate salvage, shred meat and mix with cooking liquid or additional broth.
Problem: Underseasoned Flavor
Solution: Always season liberally before cooking. Salt needs 30+ minutes to penetrate meat properly. For last-minute flavor boost, reduce cooking liquid by half on stove top and pour over sliced roast.
Pro Tips for Consistent Results
- Sear first - Brown all sides in a hot skillet before transferring to crock pot for deeper flavor
- Cold start matters - Never place frozen roast directly in slow cooker; thaw completely first
- Layer strategically - Place vegetables underneath roast to prevent burning and create natural rack
- Resist peeking - Each lid lift adds 20-30 minutes to total cooking time as heat escapes
- Rest properly - Let roast sit 15-20 minutes after cooking for juices to redistribute
When to Adjust Standard Timing Guidelines
Certain circumstances require modifying standard cooking times:
- High-altitude cooking (above 3,000 feet) - Add 5-10% to total cooking time
- Older slow cookers - Verify actual temperature with thermometer; many run hotter than settings indicate
- Extra-lean cuts - Reduce time by 1 hour to prevent drying out
- Cooking for food safety only (not tenderness) - Minimum 145°F for 3 minutes per USDA
Remember that slow cookers operate at lower temperatures than conventional ovens—typically 190-200°F on LOW and 280-300°F on HIGH. This gentle heat is what makes connective tissue breakdown possible without drying out the meat, but requires patience.
Serving and Storage Guidelines
Once perfectly cooked, handle your roast properly:
- Keep hot food above 140°F until serving (use "keep warm" setting)
- Refrigerate leftovers within 2 hours of cooking completion
- Store in airtight container for up to 4 days
- Freeze for up to 3 months (portion with cooking liquid for best results)
- Reheat gently in crock pot with added liquid to prevent drying


 浙公网安备
33010002000092号
浙公网安备
33010002000092号 浙B2-20120091-4