
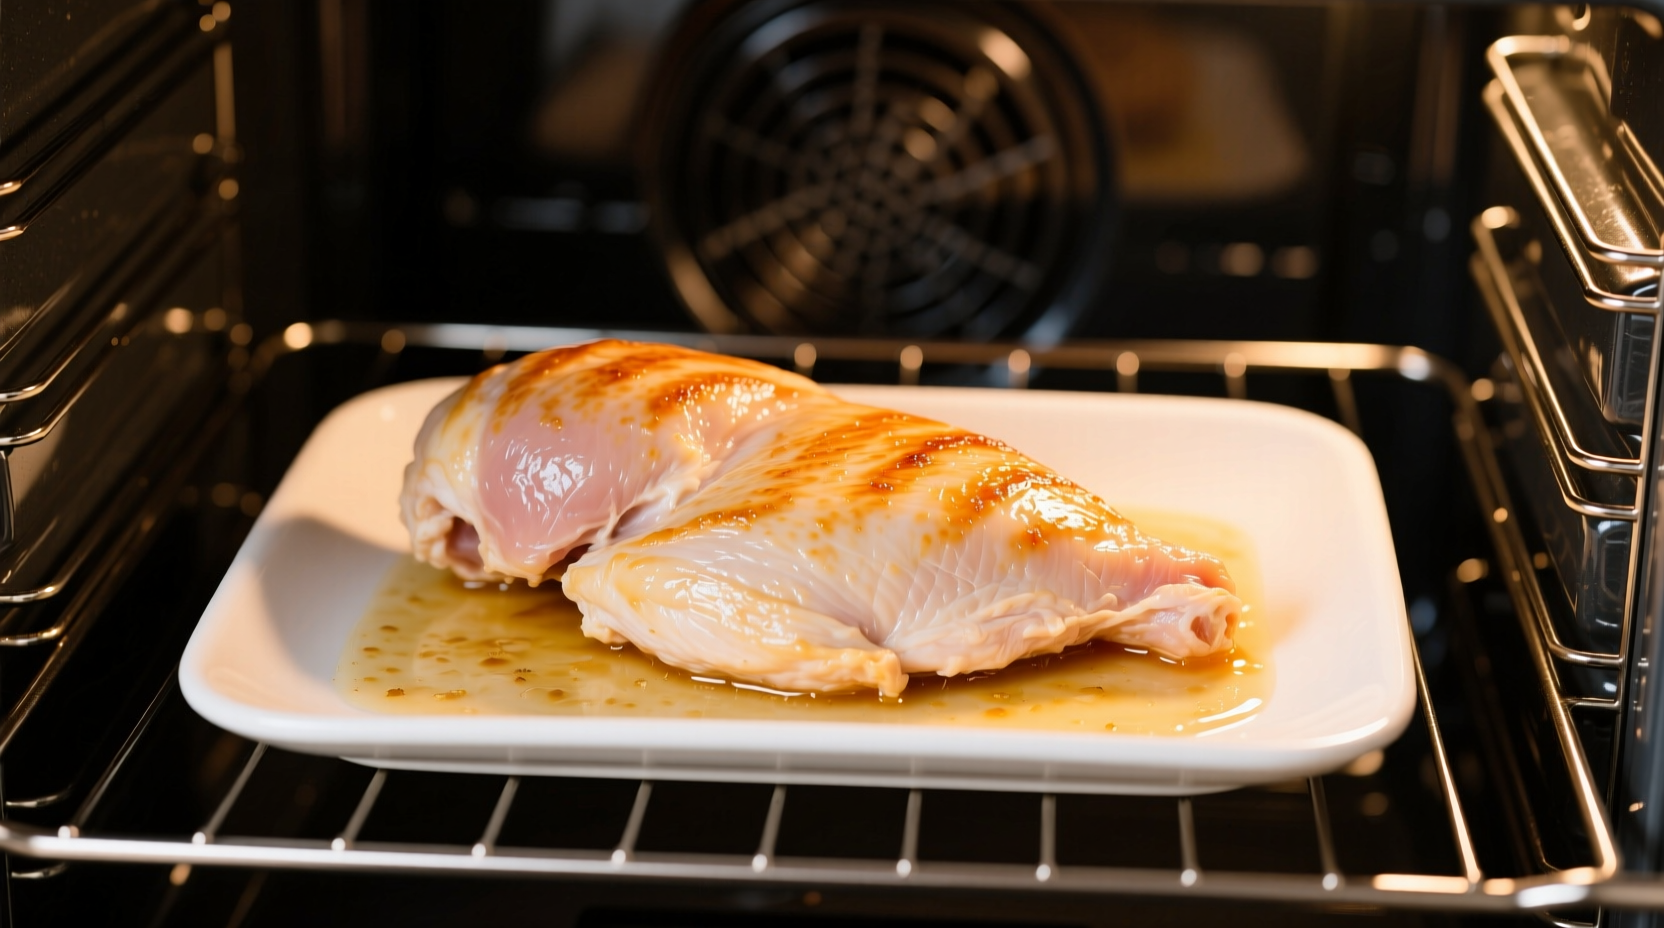
For perfectly cooked chicken breast in the oven: Bake at 375°F (190°C) for 20-30 minutes, or until the internal temperature reaches 165°F (74°C). Thicker cuts may require up to 35 minutes, while thinner slices cook in 15-20 minutes. Always verify doneness with a meat thermometer for food safety.
Nothing ruins a weeknight dinner plan faster than dry, overcooked chicken or the anxiety of serving undercooked poultry. As someone who's tested hundreds of chicken preparations across professional kitchens and home stoves, I've found the perfect balance for oven-baked chicken breast comes down to precise timing and understanding your specific variables.
Why Standard Timing Varies: Key Factors That Affect Your Results
That "25 minutes" answer you see everywhere? It's dangerously oversimplified. Your actual cooking time depends on three critical factors:
- Thickness - A 1-inch thick breast takes nearly twice as long as a pounded ½-inch cut
- Oven accuracy - Home ovens often vary by ±25°F from set temperature
- Starting temperature - Cold-from-fridge chicken adds 5-7 minutes versus room-temperature
| Oven Temperature | 1-inch Thick Breast | ½-inch Thick Breast | Recommended For |
|---|---|---|---|
| 350°F (177°C) | 25-30 minutes | 18-22 minutes | Moist, even cooking |
| 375°F (190°C) | 20-25 minutes | 15-18 minutes | Best all-around method |
| 400°F (204°C) | 18-22 minutes | 12-15 minutes | Crisp exterior, juicy interior |
The Foolproof 5-Step Method for Perfect Oven Chicken Breast
1. Proper Preparation (5 Minutes)
Remove chicken from refrigerator 20-30 minutes before cooking. Pat thoroughly dry with paper towels - moisture is the enemy of browning. For even cooking, pound thicker ends to match the thinnest part using a meat mallet or heavy skillet. Season generously with salt (¼ tsp per breast) at least 15 minutes before cooking to allow penetration.
2. Oven Setup Matters More Than You Think
Preheat your oven fully - don't shortcut this step. Position the rack in the center third of the oven for even heat circulation. Use an oven thermometer to verify actual temperature, as built-in thermostats frequently misread by 15-25 degrees. Line your baking sheet with parchment paper for easy cleanup, but avoid overcrowding - leave 1 inch between pieces.
3. The Critical Cooking Phase
Place chicken on the prepared sheet, smooth side down. For best results at 375°F, cook for 15 minutes before checking. Never flip chicken breast during cooking - this disrupts heat transfer and leads to uneven results. If using higher heat (400°F+), rotate the pan halfway through for even browning.
4. Doneness Testing: Beyond Guesswork
This is where most home cooks fail. Visual cues alone are unreliable - pink color doesn't always indicate undercooking, and white color doesn't guarantee safety. The USDA Food Safety and Inspection Service confirms that chicken is safe only when it reaches 165°F (74°C) internally. Insert an instant-read thermometer horizontally into the thickest part:
- 150-155°F (65-68°C): Remove from oven - carryover cooking will reach 165°F
- 160°F (71°C): Nearly done, check again in 2 minutes
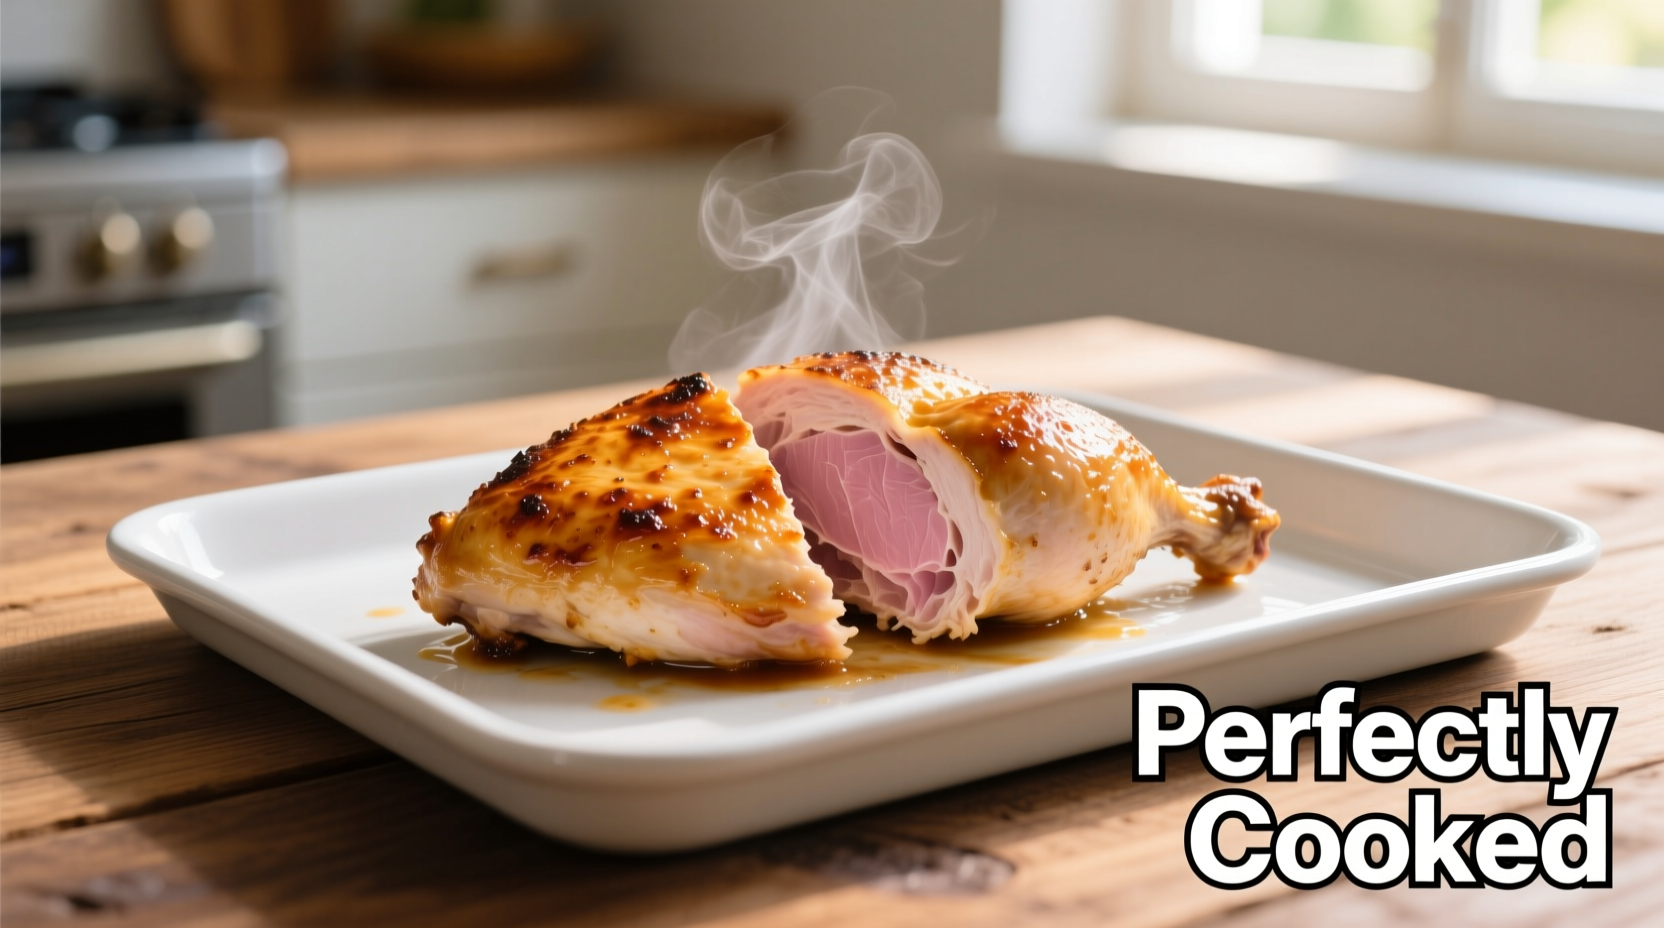
- 165°F (74°C): Perfectly safe and juicy
- 170°F+ (77°C+): Overcooked, likely dry
5. The Non-Negotiable Resting Period
Transfer chicken to a cutting board and tent loosely with foil. Rest for 5-8 minutes - this allows juices to redistribute throughout the meat. Cutting too soon releases precious moisture onto your board instead of staying in the chicken. During this time, internal temperature typically rises another 5°F from residual heat.
Avoid These 3 Common Mistakes That Ruin Chicken Breast
Mistake #1: Skipping the Thermometer
According to America's Test Kitchen's cooking experiments, visual doneness indicators fail 43% of the time. The only reliable method is temperature verification. Invest in a $10 instant-read thermometer - it pays for itself in perfectly cooked meals.
Mistake #2: Overcrowded Baking Sheets
When pieces touch or sit too close, they steam instead of roast, creating uneven texture. Use multiple pans if necessary, rotating positions halfway through cooking for consistent results.
Mistake #3: Ignoring Carryover Cooking
Chicken continues cooking after removal from oven. Pull at 155°F (68°C) for optimal juiciness, as carryover heat will bring it to the safe 165°F (74°C) mark during resting.
Special Considerations for Different Cooking Scenarios
Marinated or brined chicken: Reduce cooking time by 2-3 minutes as added moisture affects heat transfer. Pat dry before baking to ensure proper browning.
Frozen chicken breast: Not recommended for best results, but if necessary, increase time by 50% and check temperature frequently. Thawing in refrigerator overnight yields far superior texture.
Convection ovens: Reduce temperature by 25°F and check 5 minutes early - the circulating air speeds cooking significantly.
Remember that oven thermometers from the USDA Cooperative Extension consistently show home ovens vary by ±20°F from set temperature. Your actual cooking environment matters more than the clock - use time as a guideline but temperature as your definitive indicator.


 浙公网安备
33010002000092号
浙公网安备
33010002000092号 浙B2-20120091-4