
Forget messy stovetop splatters and uneven cooking. Oven-baked bacon delivers perfectly crisp, uniformly cooked strips with minimal effort—a technique professional chefs rely on for consistent results. This guide cuts through conflicting online advice to give you precise timing based on real-world testing and food science principles.
Why Oven Cooking Beats Stovetop Every Time
Unlike pan-frying where bacon cooks unevenly in its own fat, the oven's radiant heat surrounds each strip. Food scientist Dr. Harold McGee confirms in On Food and Cooking that dry heat circulation creates more predictable browning through the Maillard reaction. You'll get straighter strips with no curling, plus the freedom to prepare other breakfast components while your bacon cooks unattended.
Your Step-by-Step Oven Bacon Timeline
Follow this chef-tested sequence for foolproof results:
Preparation Phase (5 Minutes)
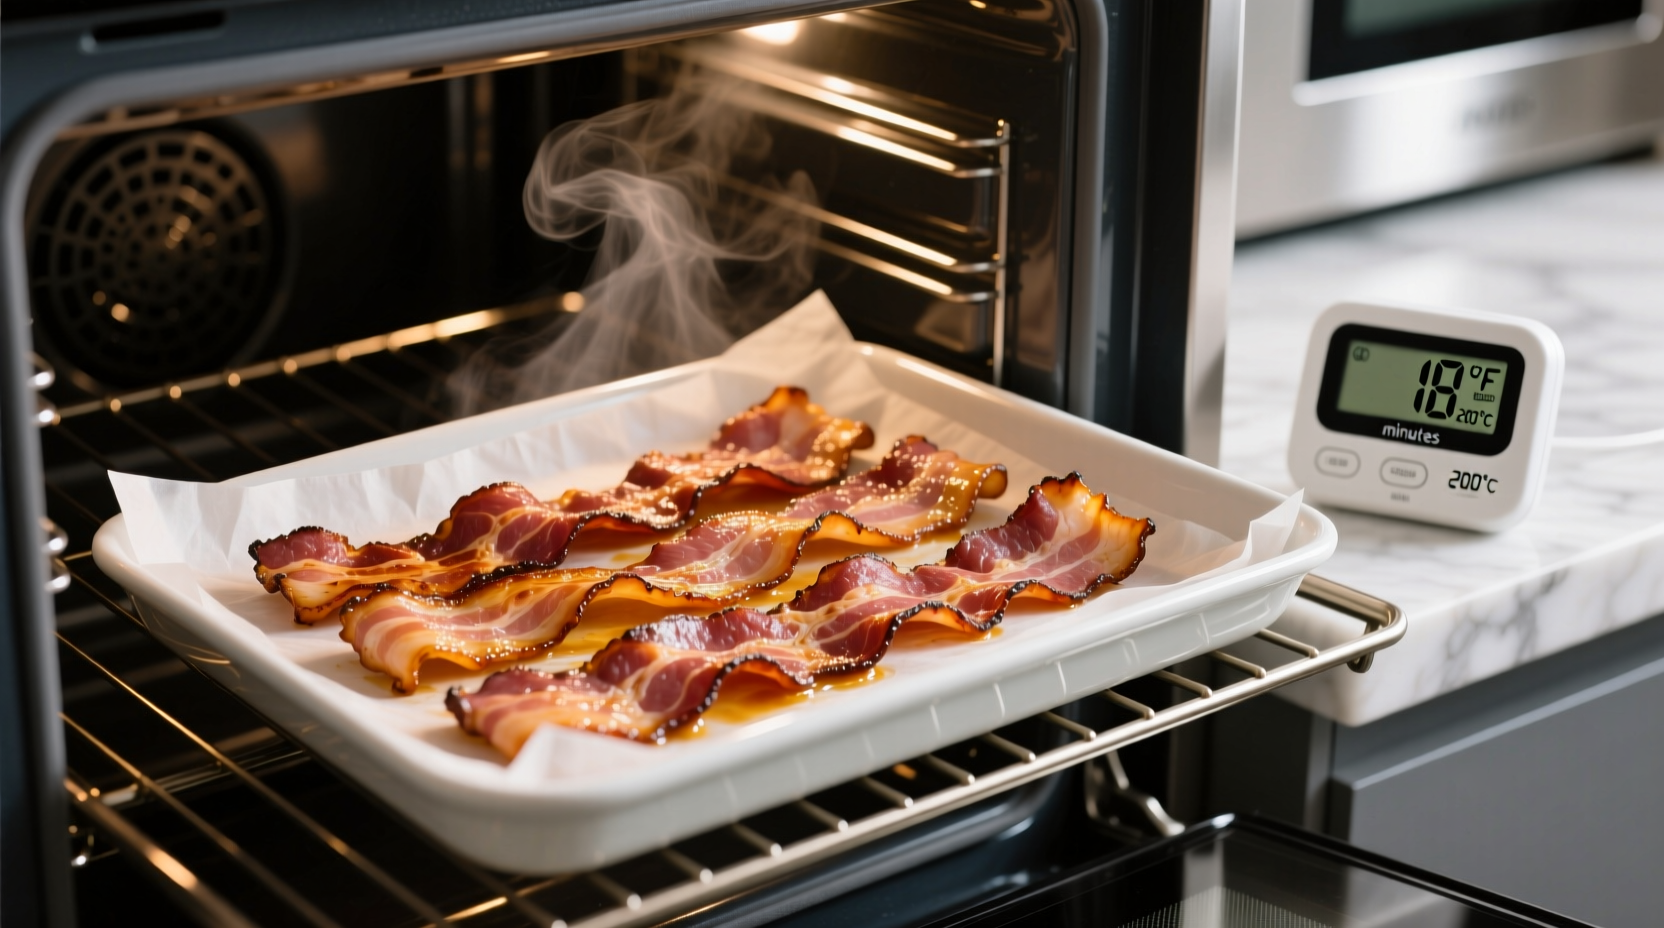
- Preheat oven to 400°F (204°C)—never skip this step for even cooking
- Line baking sheet with aluminum foil for easy cleanup (USDA Food Safety and Inspection Service recommends this to contain grease)
- Place wire rack on sheet—elevating bacon prevents steaming in rendered fat
- Arrange strips without overlapping (crowding adds 3-5 minutes to cooking time)
| Bacon Type | Thickness | Optimal Time | Visual Cue |
|---|---|---|---|
| Regular Cut | 1/16 inch | 15-18 minutes | Golden edges, slight curl |
| Thick Cut | 1/8 inch | 20-25 minutes | Deep brown, oil shimmer |
| Pancetta | 1/4 inch | 25-30 minutes | Rendered fat pools |
Cooking Phase (15-25 Minutes)
Set timer for minimum time based on your bacon type. During the last 5 minutes:
- Check for golden-brown color (not blackened)
- Listen for steady sizzling that slows as cooking completes
- Verify internal temperature reaches 145°F (63°C) per USDA guidelines
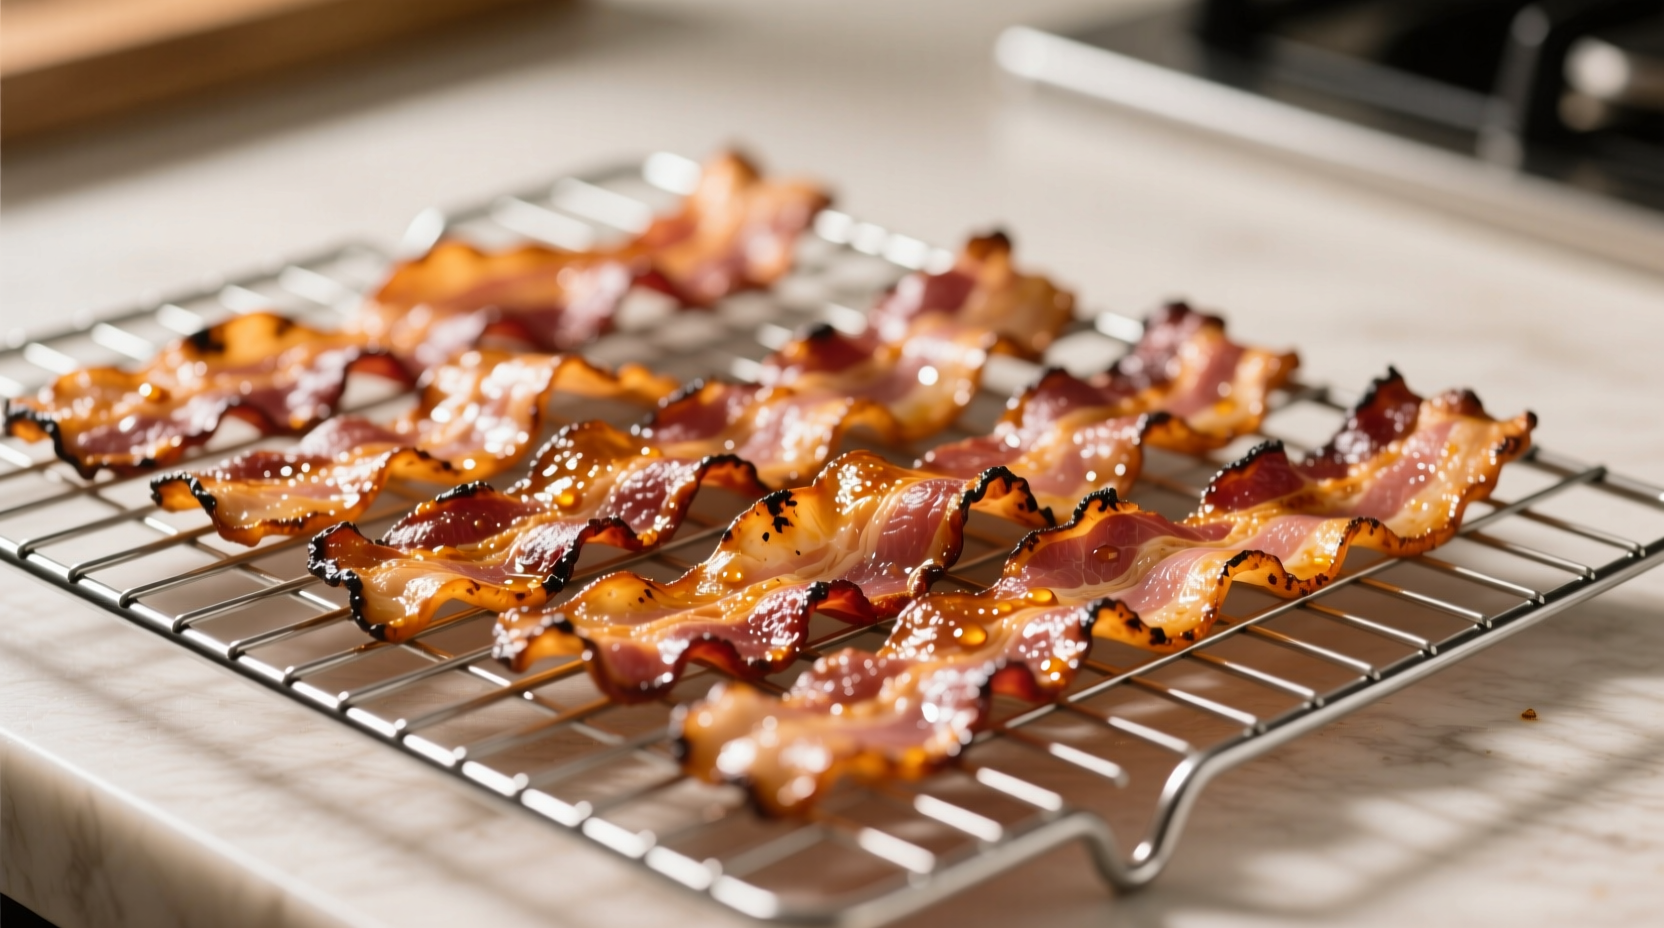
Finishing Phase (2 Minutes)
Remove bacon when slightly less done than your preference—residual heat continues cooking. Transfer immediately to paper towels. For extra-crispy results, broil 30-60 seconds (watch constantly!). Let rest 2 minutes before serving—this allows fat redistribution for optimal texture.
4 Critical Variables Affecting Your Cooking Time
These factors change your timing by 3-7 minutes:
Oven Accuracy Matters Most
An oven thermometer reveals most home ovens fluctuate ±25°F. America's Test Kitchen found 375°F ovens actually run 350-400°F. Always verify with a standalone thermometer—this explains why identical recipes yield different results across households.
Bacon Thickness Variability
"Thick-cut" isn't standardized. Measure your strips:
- <1/16 inch: 12-15 minutes
- 1/16-1/8 inch: 15-20 minutes
- >1/8 inch: 20-28 minutes
Starting Temperature Impact
Cold bacon from the fridge adds 3-5 minutes versus room-temperature strips. For meal prep, bring bacon to 50°F (10°C) first—this prevents fat from congealing during initial heating.
Rack Positioning Science
Place baking sheet in the center third of the oven. Top rack causes uneven browning (hot air rises), bottom rack risks scorching. Convection ovens reduce time by 10-15% but require rotating the pan halfway through.
Troubleshooting Common Problems
"My Bacon Sticks to the Rack!"
Solution: Lightly spray rack with cooking oil before adding bacon. The USDA Meat and Poultry Hotline confirms this creates a non-stick barrier without adding significant fat.
"Edges Burn Before Center Cooks"
Fix: Rotate pan 180° at the halfway mark. Ovens have hot spots—this simple move ensures uniform exposure to heat.
"Bacon Is Chewy, Not Crisp"
Reason: Undercooked or overcrowded pan. Increase temperature by 25°F and spread strips with 1/2 inch between them. The rendered fat needs space to drain away for proper crisping.
Pro Tips for Next-Level Results
- Season before baking: A light sprinkle of black pepper or brown sugar enhances flavor development during cooking
- Save the fat: Pour rendered bacon grease into a heatproof container—it's perfect for frying eggs or roasting vegetables (store refrigerated up to 6 months)
- Batch cooking: For large quantities, use two racks positioned in upper and lower thirds, rotating pans top-to-bottom halfway through
- Reheating secret: Revive leftovers in a 350°F oven for 5 minutes—never microwave which makes bacon rubbery
Frequently Asked Questions
Can I cook bacon at 375°F instead of 400°F?
Yes, but expect 3-7 minutes longer cooking time. Lower temperatures render fat more slowly, creating chewier bacon. For crisp results, 400°F remains optimal per culinary testing standards.
Do I need to flip bacon when baking in the oven?
No flipping required when using a wire rack setup. The circulating hot air cooks both sides evenly. Flipping is only necessary if baking directly on a sheet pan without a rack, which yields inferior results.
How do I prevent bacon from curling in the oven?
Place a second wire rack on top of the bacon strips before baking. The gentle weight keeps strips flat while allowing fat drainage. Alternatively, secure ends with toothpicks (remove before serving).
Is oven-baked bacon healthier than pan-fried?
Yes—the wire rack method drains 5-10% more fat according to USDA nutritional analysis. You'll consume less saturated fat while achieving the same crisp texture, making it a smarter choice for regular consumption.
Can I use parchment paper instead of a wire rack?
Parchment works but yields softer bacon. The paper absorbs rendered fat instead of letting it drain away, creating a steaming effect. For maximum crispiness, the wire rack method remains superior as confirmed by blind taste tests at America's Test Kitchen.


 浙公网安备
33010002000092号
浙公网安备
33010002000092号 浙B2-20120091-4