
Growing your own ginger at home is a rewarding gardening project that yields fresh, organic spice for your kitchen. Whether you're an experienced gardener or just starting out, how do you plant ginger root successfully is a common question with a surprisingly simple answer. This comprehensive guide provides everything you need to know to cultivate healthy ginger plants from store-bought roots.
What You'll Need to Plant Ginger Root
Before diving into the planting process, gather these essential materials:
| Item | Purpose | Recommended Specifications |
|---|---|---|
| Fresh ginger root | Planting material | Plump with visible eye buds, firm texture |
| Container | Growing space | 12-16 inches deep with drainage holes |
| Potting mix | Growing medium | Well-draining mix with 30% compost |
| Watering can | Moisture maintenance | With fine rose attachment |
| Organic fertilizer | Nutrient supply | Balanced 5-5-5 or compost tea |
Selecting the Right Ginger Root
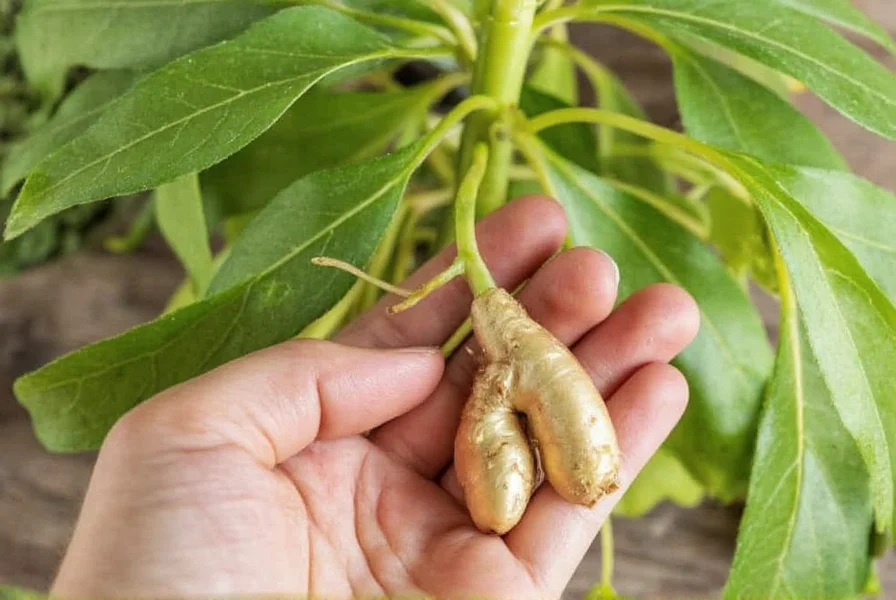
The success of your ginger root planting project begins with choosing quality planting material. Look for plump, firm roots with smooth skin and visible eye buds (small bumps where new growth will emerge). Organic ginger often sprouts more readily than conventionally treated roots, which may have growth inhibitors. Avoid roots that appear shriveled, moldy, or have soft spots.
When considering how to grow ginger at home, remember that grocery store ginger can work well for planting. The best time to select ginger roots is during late winter or early spring, aligning with the natural growing season. If planting isn't immediate, store roots in a paper bag in the refrigerator's vegetable drawer for up to three weeks.
Preparing Ginger Root for Planting
Proper preparation significantly increases your chances of successful ginger cultivation. Start by soaking the root in warm water for 2-4 hours to rehydrate it and stimulate growth. Some gardeners recommend adding a small amount of hydrogen peroxide to the water to prevent fungal issues.
Next, examine the root and identify the eye buds. Using a clean, sharp knife, cut the root into 1-2 inch sections, ensuring each piece has at least one healthy eye bud. Allow the cut sections to dry for 24 hours before planting to prevent rotting. This crucial step in the ginger root sprouting process creates a protective callus over the cut surface.
Soil and Container Requirements
Ginger thrives in rich, well-draining soil with high organic matter content. Create an ideal mix by combining equal parts potting soil, compost, and perlite or sand. The soil pH should be slightly acidic to neutral (5.5-7.0). For container planting, choose a wide, shallow pot that's at least 12 inches deep with adequate drainage holes.
When growing ginger indoors, position containers in areas with warm temperatures (70-90°F) and indirect sunlight. Outdoors, select a partially shaded location protected from strong winds. Understanding the ideal soil for ginger cultivation is essential for preventing root rot while maintaining proper moisture levels.
Step-by-Step Planting Process
Follow these steps for successful ginger root planting:
- Fill your container with 2-3 inches of prepared soil mix
- Place ginger sections on the soil with eyes facing upward
- Cover with 2-4 inches of additional soil (deeper in drier climates)
- Water thoroughly until moisture drains from the bottom
- Place in warm location with indirect light
- Maintain consistent soil moisture (not soggy)
The ginger root planting depth is critical—too shallow and roots may dry out; too deep and sprouting may be delayed. In cooler climates, start ginger indoors 6-8 weeks before the last frost date for optimal results.
Watering and Care Instructions
Proper moisture management is vital for healthy ginger growth. Water when the top inch of soil feels dry, keeping the soil consistently moist but not waterlogged. During active growth (spring and summer), watering 2-3 times weekly may be necessary. Reduce watering in fall as growth slows.
Fertilize monthly with a balanced organic fertilizer or compost tea once sprouts appear. Ginger prefers high humidity, so misting leaves regularly or placing pots on humidity trays can be beneficial, especially for indoor plants. Understanding the proper watering schedule for ginger plants prevents common issues like root rot while supporting healthy rhizome development.
Growth Timeline and What to Expect
Ginger follows a predictable growth pattern when properly cared for. Understanding this timeline helps manage expectations for your homegrown ginger project:
- Weeks 1-4: Roots establish; first green shoots emerge
- Months 2-4: Foliage grows vigorously; regular watering needed
- Months 5-8: Rhizomes begin to swell and multiply
- Months 8-10: Mature ginger ready for harvest
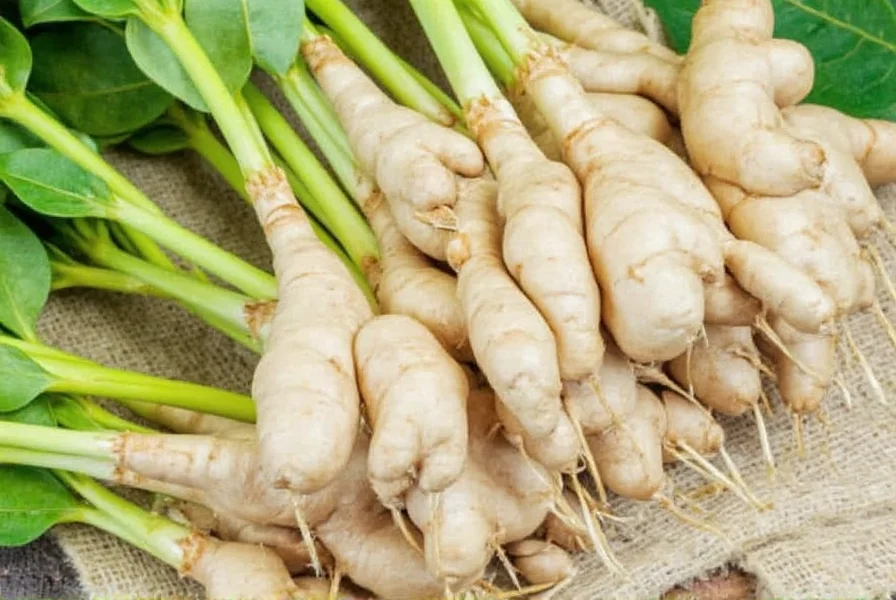
During the first few months, you'll notice green shoots emerging that resemble thin reeds or grass. These develop into attractive leafy stems that can reach 2-4 feet tall. The actual ginger rhizomes grow horizontally beneath the soil surface. Patience is key when learning how to grow ginger at home, as the plant requires 8-10 months to reach full maturity.
Harvesting Your Ginger
You can harvest ginger at different stages depending on your needs. For young, tender ginger with thin skin and mild flavor, you can begin harvesting after 4-5 months by carefully removing a portion of the rhizome while leaving the plant intact. For mature ginger with thicker skin and stronger flavor, wait until 8-10 months when the leaves begin to yellow and die back.
To harvest, gently dig around the edges of the container or garden bed, being careful not to damage the rhizomes. Lift the entire plant, shake off excess soil, and separate the rhizomes. Allow harvested ginger to air dry for a few days before storing in a cool, dark place. Knowing when to harvest homegrown ginger ensures optimal flavor and storage potential.
Troubleshooting Common Ginger Planting Issues
Even with proper care, you may encounter challenges with your ginger cultivation. Here are solutions to common problems:
- No sprouting: Ginger may take 3-4 weeks to emerge. Ensure proper warmth (75-85°F) and consistent moisture. Older roots may have lower viability.
- Yellowing leaves: Often indicates overwatering. Allow soil to dry slightly between waterings and ensure proper drainage.
- Stunted growth: Could signal nutrient deficiency. Apply balanced organic fertilizer monthly during growing season.
- Leaf spots: Fungal issue. Improve air circulation, avoid overhead watering, and remove affected leaves.
- Rhizome rot: Caused by waterlogged soil. Use well-draining mix and reduce watering frequency.
Avoiding these common ginger planting mistakes significantly increases your chances of a successful harvest. Remember that ginger is a tropical plant that prefers warm, humid conditions with consistent moisture—mimicking these conditions is key to thriving plants.
Frequently Asked Questions
Can I plant ginger root from the grocery store?
Yes, you can plant grocery store ginger, though organic varieties typically sprout more reliably as conventional ginger may be treated with growth inhibitors. Look for plump roots with visible eye buds for best results.
How deep should I plant ginger root?
Plant ginger root sections 2-4 inches deep with the eye buds facing upward. In drier climates, plant slightly deeper (up to 4 inches) to maintain moisture, while in humid areas, 2 inches may be sufficient.
How long does it take for ginger to grow from root?
Ginger typically sprouts within 2-4 weeks after planting. It takes 8-10 months for ginger to reach full maturity when grown for harvest, though you can harvest small amounts of young ginger after 4-5 months.
Does ginger need full sun or shade?
Ginger prefers partial shade or filtered sunlight, especially in hot climates. Indoors, place near an east or north-facing window. Outdoors, select a location with morning sun and afternoon shade for optimal growth.
Can I grow ginger indoors year-round?
Yes, ginger grows well indoors year-round if provided with warm temperatures (70-90°F), high humidity, and indirect light. Maintain consistent moisture and fertilize monthly during the growing season for best results.




 浙公网安备
33010002000092号
浙公网安备
33010002000092号 浙B2-20120091-4