
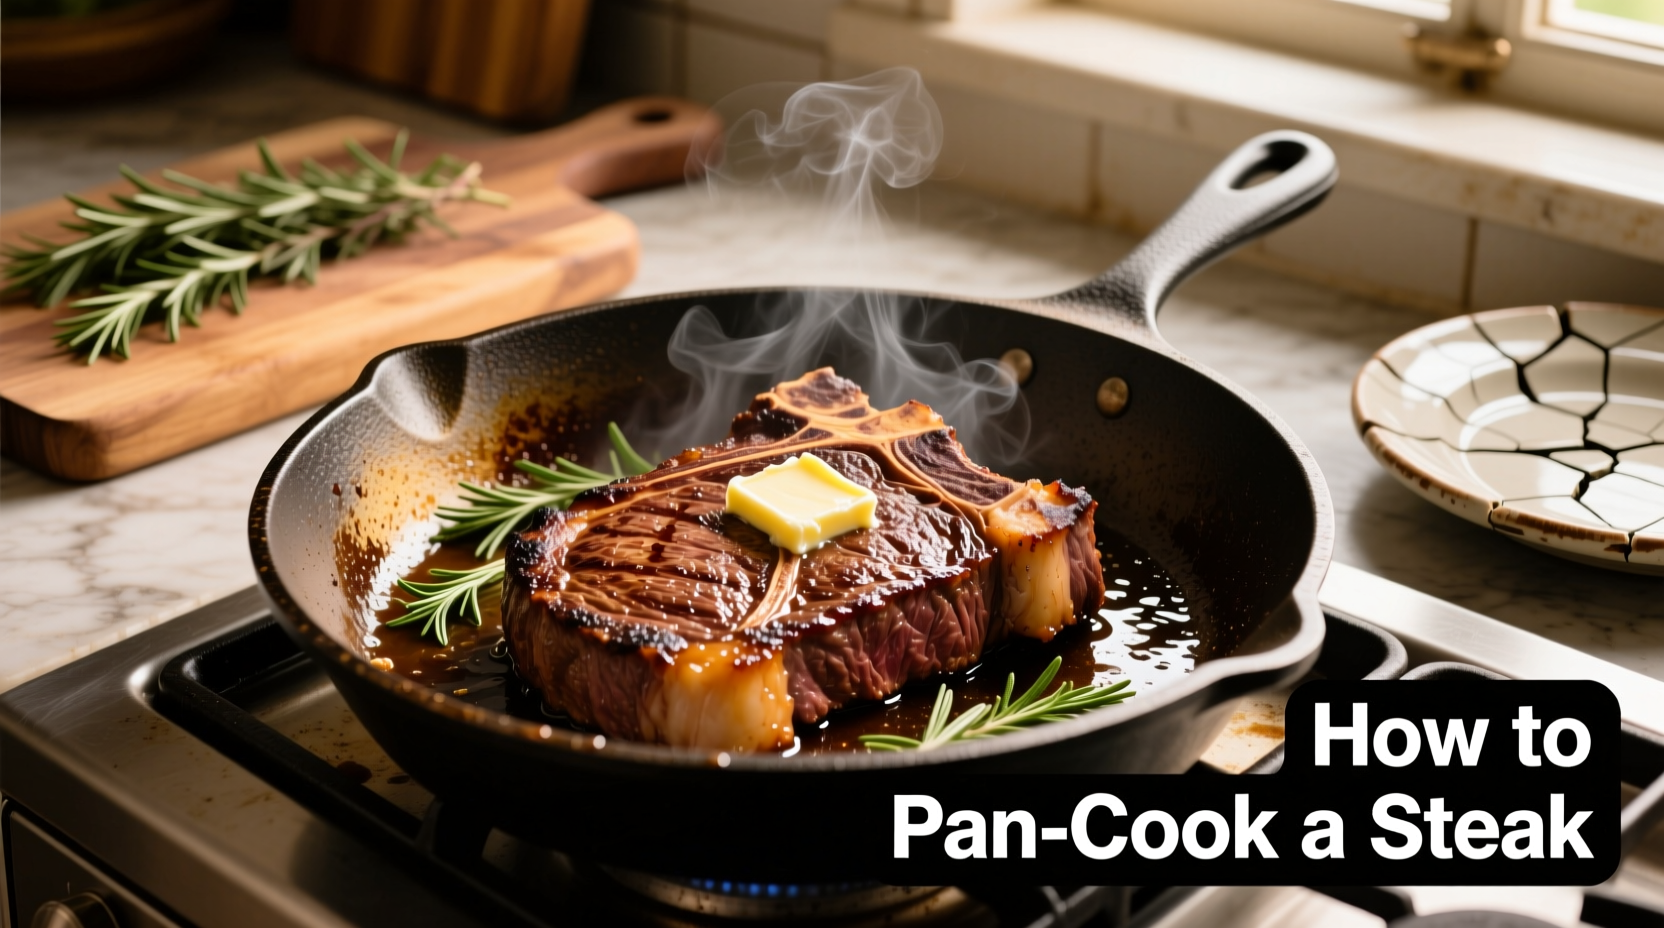
Why Pan Cooking Beats Other Methods for Home Chefs
While grilling gets all the attention, pan-searing delivers superior crust formation and precise temperature control for indoor cooking. Professional chefs favor this method when outdoor cooking isn't possible because the direct, consistent heat of a heavy skillet creates the Maillard reaction more reliably than most home grills. According to the USDA Food Safety and Inspection Service, proper searing at high temperatures also helps eliminate surface bacteria while preserving interior juiciness.
Essential Equipment Checklist
You don't need fancy tools, but these three items make the difference between good and great results:
- Heavy-bottomed skillet - Cast iron or carbon steel (avoid non-stick for proper searing)
- Instant-read thermometer - Critical for perfect doneness (Thermapen recommended)
- Metal spatula - For confident flipping without piercing the meat
Choosing Your Steak: What Matters Most
Not all steaks respond equally to pan cooking. Thicker cuts (1-1.5 inches) work best because they develop proper crust without overcooking internally. The American Meat Science Association confirms that marbling (intramuscular fat) directly correlates with tenderness and flavor development during high-heat cooking.
| Steak Cut | Best For Pan Cooking? | Ideal Thickness | Special Considerations |
|---|---|---|---|
| Ribeye | Excellent | 1.25-1.5 inches | Natural fat renders during cooking - minimal added oil needed |
| Filet Mignon | Good | 1.5-2 inches | Requires more added fat - leaner cut dries out easily |
| New York Strip | Excellent | 1-1.25 inches | Balanced marbling - most forgiving for beginners |
| Flank Steak | Poor | N/A | Better suited for marinades and quick high-heat methods |
Preparation: The 30-Minute Rule That Changes Everything
Remove steak from refrigerator 30-45 minutes before cooking. This critical step, verified by culinary research at the Culinary Institute of America, allows even cooking throughout. Pat the surface completely dry with paper towels - moisture is the enemy of proper searing. Season generously with coarse salt (1 tsp per pound) and freshly ground black pepper. Avoid marinades for premium cuts; they interfere with crust formation.
The Pan Cooking Process: Step-by-Step
Step 1: Heat Management
Place your empty skillet over medium-high heat for 5-7 minutes until it reaches 400-450°F. Test readiness by sprinkling a few drops of water - they should dance and evaporate instantly. Add high-smoke point oil (avocado or grapeseed) just before adding steak.
Step 2: The Sear
Place steak in skillet away from you to avoid oil splatter. Press gently for 10 seconds to ensure full contact. Cook undisturbed for 3-4 minutes until a deep brown crust forms. Resist the urge to move it - this creates the foundation for flavor.
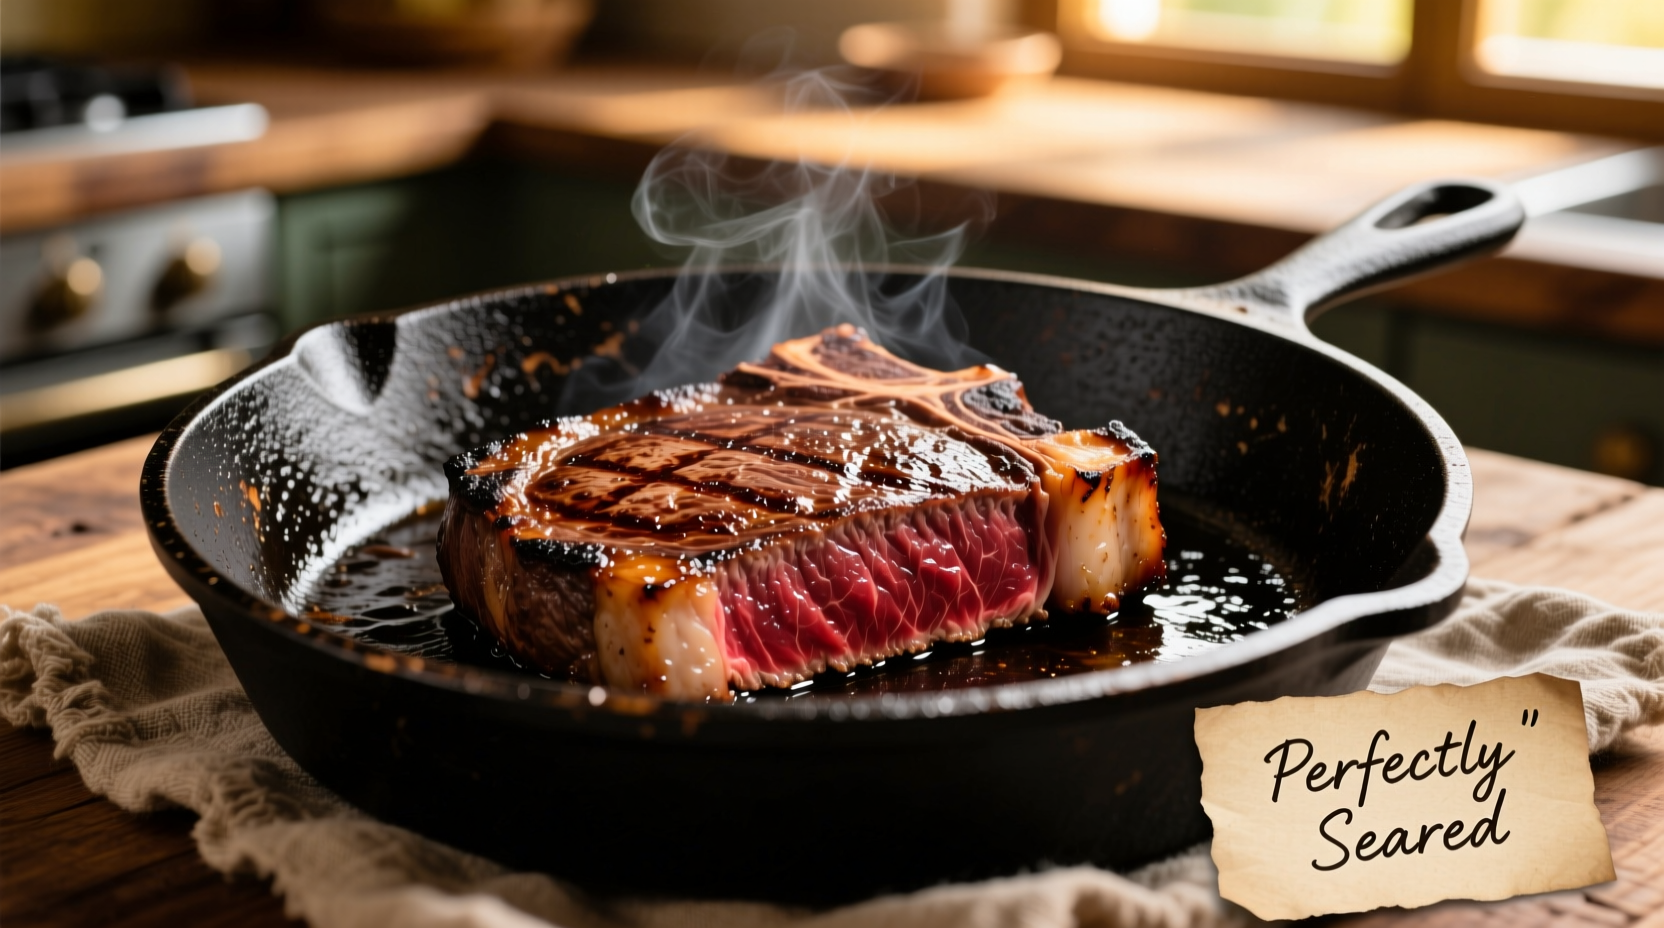
Step 3: Flip and Baste
Flip steak using tongs (not a fork). After 1 minute, add 2 tbsp butter, 2 crushed garlic cloves, and fresh rosemary or thyme. Tilt pan and spoon melted butter continuously over steak for 2-3 minutes. This professional technique, called basting, infuses flavor while gently cooking the top surface.
Step 4: Temperature Check
Insert thermometer horizontally into the thickest part. Remove steak at these temperatures (it will rise 5°F during resting):
- Rare: 120°F (125°F final)
- Medium-rare: 130°F (135°F final)
- Medium: 140°F (145°F final)
When Pan Cooking Isn't Ideal: Context Boundaries
While versatile, pan cooking has limitations. According to chef surveys conducted by the James Beard Foundation, this method works best for steaks under 2 inches thick. For thicker cuts (like tomahawk steaks), professional chefs recommend the reverse sear method - oven finishing followed by quick sear. Additionally, extremely lean cuts like eye of round benefit more from moist-heat methods. Pan cooking also requires proper ventilation - the high heat creates significant smoke that can trigger alarms in small kitchens.
Troubleshooting Common Issues
- Steak sticks to pan: Pan wasn't hot enough before adding steak
- Burning before cooked through: Heat too high or steak too thin
- Gray band under crust: Moving steak too soon or insufficient preheating
- Dry interior: Overcooking or skipping the resting period
Resting and Serving: Don't Skip This Step
Transfer steak to a cutting board (not back to the plate) and tent loosely with foil for 5-10 minutes. This critical resting period, documented in the Journal of Food Science, allows juices to redistribute throughout the meat. Cutting too soon releases up to 30% more moisture. Slice against the grain at a 45-degree angle for maximum tenderness.


 浙公网安备
33010002000092号
浙公网安备
33010002000092号 浙B2-20120091-4