
Making homemade pickled ginger transforms ordinary sushi nights into authentic culinary experiences. Unlike store-bought versions that often contain artificial colors and preservatives, fresh pickled ginger offers vibrant flavor and that distinctive pale pink hue naturally. The process requires just three core ingredients and minimal equipment, taking only 15 minutes of active preparation before the pickling magic happens during the resting period.
Why Make Your Own Pickled Ginger
Commercial pickled ginger often uses synthetic dyes to achieve its pink color and contains additives that dull the ginger's natural zing. When you prepare homemade pickled ginger for sushi, you control the ingredients and achieve that delicate balance of sweet, tangy, and spicy that complements raw fish perfectly. The natural pink color develops from the reaction between young ginger's enzymes and the vinegar solution—no artificial coloring needed.
Essential Ingredients for Perfect Pickled Ginger
The quality of your ingredients directly impacts the final product. For the best easy pickled ginger recipe, select these components carefully:
| Ingredient | Amount | Why It Matters |
|---|---|---|
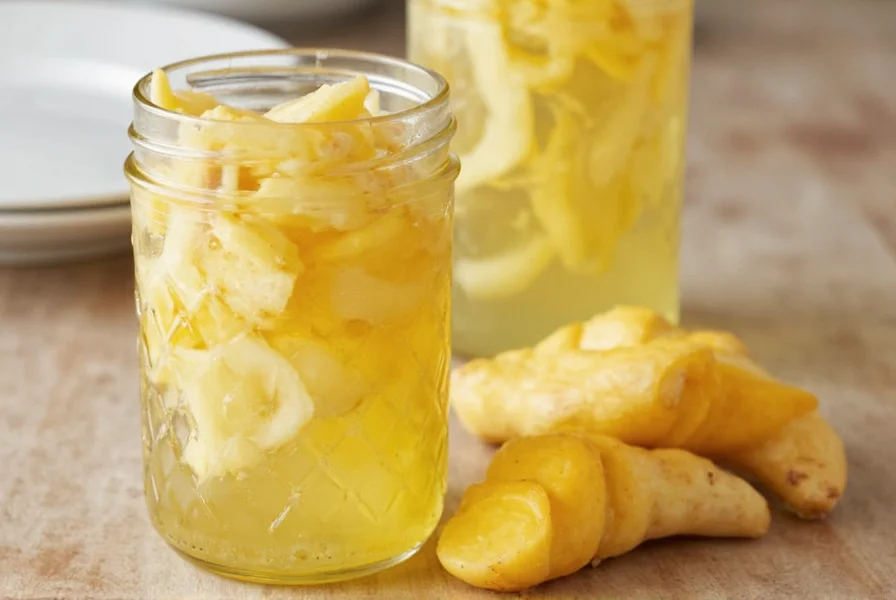
| Fresh young ginger | 8 oz (225g) | Young ginger has thinner skin and naturally develops pink hue when pickled |
| Rice vinegar | 1 cup (240ml) | Milder acidity than white vinegar, essential for authentic flavor |
| Granulated sugar | 1/2 cup (100g) | Creates the sweet-tangy balance characteristic of sushi ginger |
| Sea salt | 1 tsp (6g) | Enhances flavor and helps preserve texture |
For beginner-friendly pickled ginger preparation, avoid substituting rice vinegar with other vinegars—they'll create an overly sharp flavor that overwhelms the delicate ginger. If you can't find young ginger (which has a pinkish tint near the skin), regular ginger works but won't develop the same natural pink color.
Step-by-Step Pickling Process
Follow these precise steps for perfect homemade pickled ginger every time. The entire active preparation takes just 15 minutes, with 24 hours of resting time for optimal flavor development.
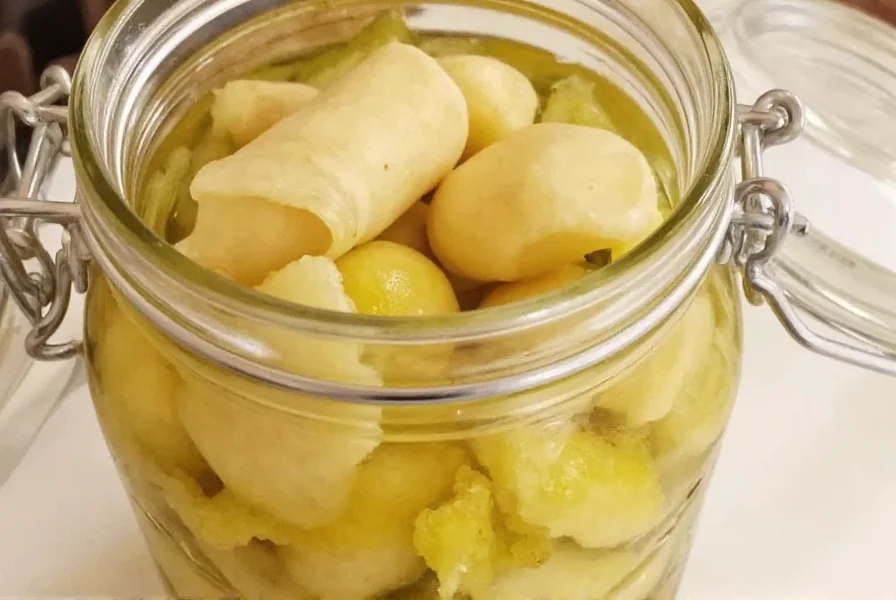
- Prepare the ginger: Peel young ginger using a spoon to avoid removing too much flesh. Slice extremely thin (1/16 inch) using a mandoline or sharp knife. Thinner slices absorb flavors better and become more tender.
- Blanch the ginger: Place slices in boiling water for exactly 1 minute. This crucial step removes raw heat while preserving texture. Immediately transfer to ice water to stop cooking.
- Create the pickling solution: In a small saucepan, combine rice vinegar, sugar, and salt. Heat over medium until sugar dissolves completely—do not boil. Cool to room temperature.
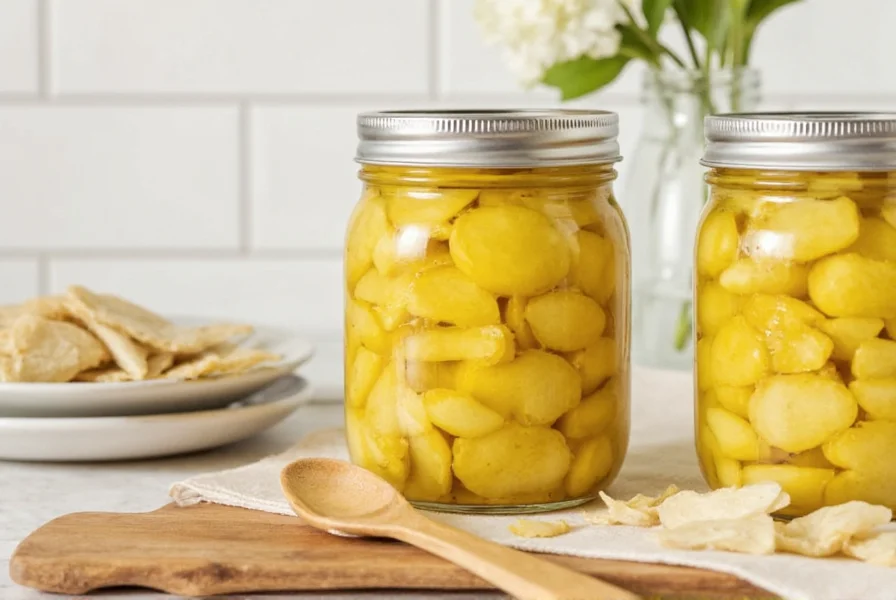
- Combine and store: Place ginger slices in a clean glass jar. Pour cooled solution over ginger, ensuring complete coverage. Seal tightly.
- Rest and develop flavor: Store at room temperature for 4 hours, then refrigerate. Wait at least 24 hours before using—flavor improves significantly after 48 hours.
Storage Guidelines and Shelf Life
Properly stored homemade sushi ginger maintains quality for 3-4 weeks in the refrigerator. Always use clean utensils when removing ginger from the jar to prevent contamination. The pickling liquid should completely cover the ginger at all times—if it doesn't, prepare additional solution using the same 2:1 vinegar-to-sugar ratio.
For longer preservation, freeze the pickled ginger in its liquid for up to 3 months. Thaw in the refrigerator before use. Freezing slightly alters the texture but preserves flavor effectively.
Troubleshooting Common Issues
Even with careful preparation, you might encounter these common challenges when making easy homemade pickled ginger:
- Ginger remains too spicy: Blanch for 15-30 seconds longer next time. Young ginger naturally has less heat, but blanching duration affects spiciness.
- No pink color develops: This happens with mature ginger. Use younger ginger next time, or add a small slice of beetroot to the pickling liquid (remove after 12 hours).
- Ginger becomes mushy: Over-blanching or using old ginger causes this. Reduce blanching time and ensure ginger is fresh.
- Liquid appears cloudy: This is normal with natural ingredients. As long as there's no mold or off smell, it's safe to use.
Variations for Different Culinary Applications
While traditional sushi ginger uses just vinegar, sugar, and salt, these customizable pickled ginger recipes work for various dishes:
- Spiced version: Add one star anise pod and a small cinnamon stick to the pickling liquid for complex flavor.
- Low-sugar option: Replace half the sugar with erythritol for a diabetic-friendly version (texture will be slightly different).
- Quick-pickled ginger: For immediate use, skip blanching and let sit for 4 hours—ideal for stir-fries but less tender than traditional method.
Using Your Homemade Pickled Ginger
The traditional use for authentic Japanese pickled ginger (gari) is as a palate cleanser between sushi pieces. Place a small mound on your plate and eat a piece between different types of fish to refresh your taste buds.
You can also use it in these creative ways:
- Add to rice bowls for a flavor boost
- Chop finely and mix into tuna or salmon salad
- Use as a garnish for Asian-inspired cocktails
- Add to marinades for fish or chicken


 浙公网安备
33010002000092号
浙公网安备
33010002000092号 浙B2-20120091-4