
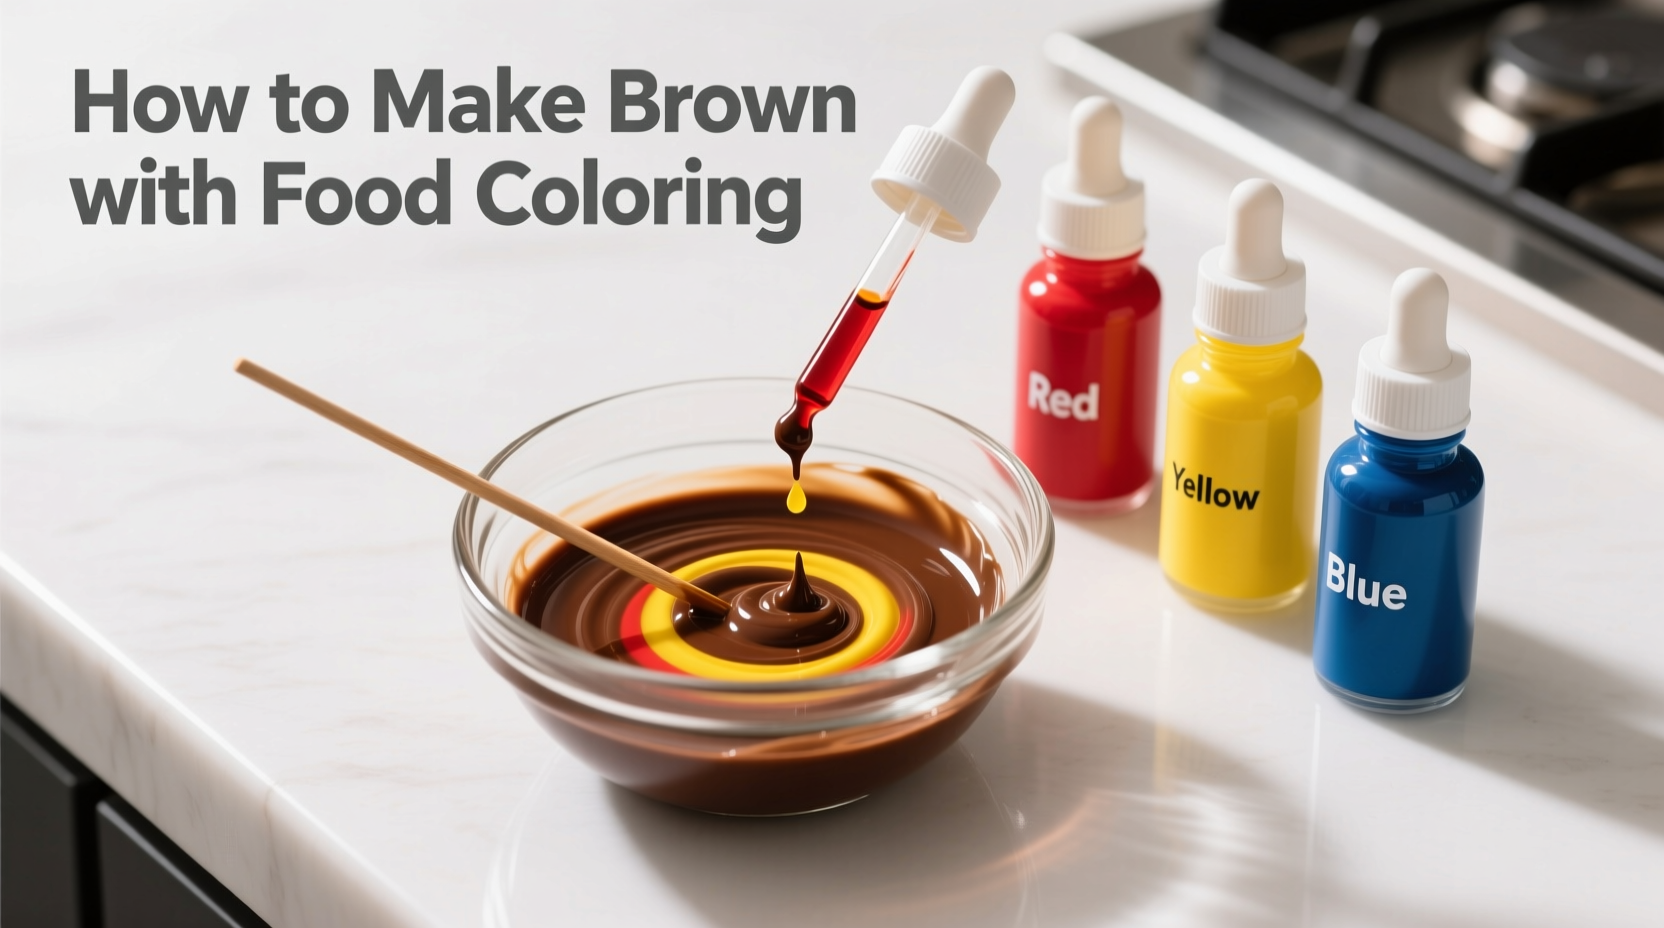
Combine equal parts red and green food coloring, or mix 3 drops red, 2 drops yellow, and 1 drop blue for rich brown. Adjust ratios to achieve light tan, chocolate, or espresso shades perfect for baking, decorating, or crafts.
The Ultimate Guide to Creating Perfect Brown Food Coloring
When your recipe calls for brown food coloring but you only have primary colors, don't panic. Creating custom brown shades is simpler than you think and gives you precise control over your final color. Whether you're baking chocolate cakes, decorating cookies, or crafting edible art, understanding how to mix your own brown solves the "missing color" problem while expanding your creative possibilities.
Why Mastering Brown Food Coloring Matters
Pre-made brown food coloring often produces muddy or artificial-looking results. By mixing your own, you can create:
- Rich chocolate browns for realistic cake decorations
- Warm caramel tones for dessert plating
- Natural-looking wood textures for edible crafts
- Tailored skin tones for character cookies
Professional bakers and cake decorators consistently report better results when creating custom brown shades rather than using store-bought options, according to International Food Information Council surveys of culinary professionals.
Understanding Food Coloring Basics
Before mixing, recognize these critical factors:
- Gel vs. Liquid: Gel colors provide more intense pigmentation with less liquid, preventing recipe disruption
- Color Strength: Professional gels are 3-4x more concentrated than liquid drops
- Batch Size: Always mix colors in small test batches before committing to large quantities
Four Reliable Methods to Make Brown
Method 1: The Primary Color Foundation (Most Versatile)
This approach gives you complete control over brown undertones. Start with these base ratios:
| Brown Shade | Red | Yellow | Blue | Best For |
|---|---|---|---|---|
| Light Tan | 2 drops | 3 drops | ½ drop | Caramel drizzle, skin tones |
| Medium Brown | 3 drops | 2 drops | 1 drop | Chocolate cakes, cookies |
| Dark Chocolate | 4 drops | 1 drop | 2 drops | Decadent desserts, espresso effects |
| Warm Mahogany | 5 drops | 1 drop | ½ drop | Wood textures, autumn themes |
Pro Tip: Add blue incrementally—too much creates gray rather than brown. Mix colors thoroughly using a toothpick for precision.
Method 2: The Complementary Shortcut (Fastest)
When you need brown immediately, combine equal parts red and green food coloring. This works because green (yellow + blue) complements red on the color wheel.
- Start with 2 drops red + 2 drops green
- Add yellow (¼ drop at a time) to warm the tone
- Add blue (tiny increments) to deepen the color
This method excels for last-minute baking emergencies but offers less control over final undertones compared to the primary color method.
Method 3: The Chocolate Enhancement Technique
When working with chocolate-based recipes, leverage existing ingredients:
- Mix 1 drop red + ½ drop yellow into chocolate batter
- Add espresso powder (¼ tsp) to deepen natural brown tones
- Use Dutch-processed cocoa for richer base color
This approach creates more authentic chocolate browns that avoid the artificial look of pure food coloring. According to FDA food safety guidelines, natural color enhancers like cocoa and coffee are preferable when possible.
Method 4: Natural Alternatives for Sensitive Diets
For those avoiding artificial colors:
- Coffee concentrate: 1 tbsp strong brew per cup of frosting
- Cocoa powder: 1-2 tsp per cup of base mixture
- Blackstrap molasses: ½ tsp for warm brown tones
These options produce more subtle brown shades but work well for health-conscious baking. Note that natural alternatives may affect flavor and texture more than food coloring.
Avoiding Common Brown Coloring Mistakes
Even experienced bakers struggle with these pitfalls:
| Mistake | Why It Happens | Solution |
|---|---|---|
| Muddy gray-brown | Excess blue in mixture | Add tiny yellow increments to warm color |
| Orange-tinged brown | Insufficient blue | Add blue in microscopic amounts |
| Inconsistent results | Uneven mixing or improper ratios | Use toothpick for precise drops; mix thoroughly |
| Color intensifies over time | Food coloring continues developing | Mix to slightly lighter shade than desired |
Application-Specific Brown Formulas
Tailor your brown to specific uses:
- Buttercream Frosting: Use gel colors; start with medium brown ratio and adjust
- Cookie Dough: Add color early in mixing process for even distribution
- Chocolate Ganache: Rely on Method 3 with minimal added color
- Edible Crafts: Create multiple brown shades for realistic dimension
Remember that different bases (frosting, dough, icing) affect final color appearance. Always test on a small portion first.
Advanced Color Refinement Techniques
Professional decorators use these methods to perfect brown shades:
- Undertone Adjustment: Add tiny amounts of purple to neutralize orange tones
- Color Layering: Apply lighter brown first, then darker accents for realism
- Light Reflection: Mix in edible luster dust for metallic brown effects
- Setting Time: Allow colors to rest 15 minutes for true shade to develop
These techniques transform basic brown into sophisticated, multi-dimensional colors that elevate your baking presentation.
Troubleshooting Brown Color Issues
When your brown isn't turning out right:
- Too dark? Add small amounts of white frosting or base mixture
- Too red? Introduce tiny blue increments using toothpick tip
- Not deep enough? Let mixture rest 10-15 minutes for full development
- Changing overnight? Some colors continue developing; mix slightly lighter than target
Document your successful ratios for future reference—this builds your personal color library for consistent results.
When to Use Pre-Made Brown vs. Mixing Your Own
While mixing offers superior control, pre-made brown has its place:
- Mix your own when: Creating custom shades, professional decorating, or achieving specific undertones
- Use pre-made when: Needing consistent results quickly, working with children, or making simple recipes
Understanding these context boundaries helps you choose the right approach for each project. Most professional bakers keep both options available depending on the task requirements.
Practical Brown Applications Across Baking
Master these brown-intensive projects:
- Create realistic wood-grain effects on cake sides
- Design authentic chocolate bar decorations
- Make convincing coffee bean accents
- Produce natural-looking animal features
- Develop autumn-themed dessert elements
Each application requires slightly different brown shades—having multiple brown variations in your repertoire makes you a more versatile decorator.


 浙公网安备
33010002000092号
浙公网安备
33010002000092号 浙B2-20120091-4