
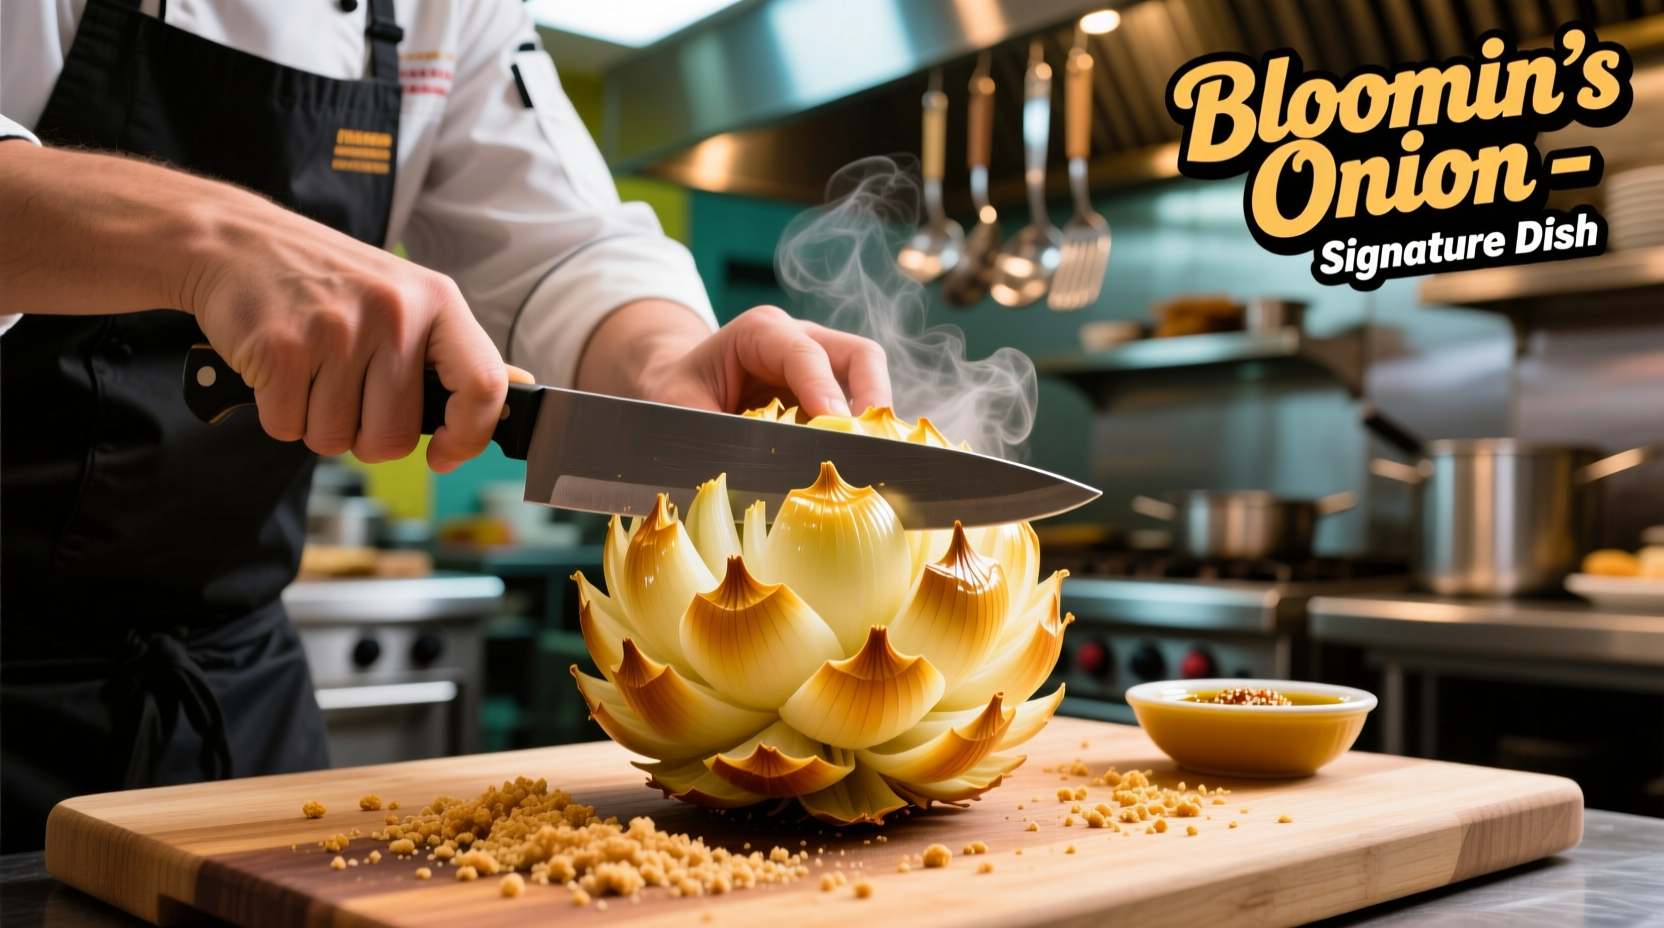
The Ultimate Guide to Making Restaurant-Style Bloomin Onion at Home
Creating a show-stopping bloomin onion at home is simpler than you think. This iconic appetizer—famous for its dramatic flower-like appearance when fried—requires precise technique but uses basic ingredients. Follow this comprehensive guide to master the art of bloomin onion preparation, from selecting the perfect onion to achieving that golden, crispy exterior with tender interior petals.
Why This Method Works: The Science Behind Perfect Blooming
The magic of a bloomin onion happens through controlled expansion during frying. When properly cut and coated, the onion's layers separate as the batter sets, creating the signature 'bloom.' Food science explains this phenomenon: the moisture inside the onion converts to steam during frying, gently pushing the layers apart while the batter forms a protective crust. Professional chefs emphasize maintaining consistent 375°F oil temperature—critical for proper expansion without greasiness.
| Oil Type | Smoke Point (°F) | Blooming Performance |
|---|---|---|
| Peanut Oil | 450°F | ★★★★★ Ideal for consistent temperature |
| Corn Oil | 450°F | ★★★★☆ Excellent alternative |
| Canola Oil | 400°F | ★★★☆☆ Good for occasional use |
| Olive Oil | 375°F | ★☆☆☆☆ Not recommended (smokes too soon) |
Source: USDA National Nutrient Database for Standard Reference, Basic Report: 04500, Fats and Oils
Essential Equipment Checklist
- 8-10 inch chef's knife (very sharp)
- Deep fry thermometer
- Heavy-bottomed Dutch oven or deep fryer
- Mesh frying basket or slotted spoon
- Buttermilk container (large enough for full onion immersion)
- Paper towel-lined baking sheet
Step-by-Step Preparation Process
1. Onion Selection and Preparation (The Critical First Step)
Choose a large Vidalia or Walla Walla sweet onion (2.5-3 inches in diameter). These varieties have the perfect sugar content and layered structure for blooming. Remove outer skin but keep root end intact—this anchors the layers during cutting. Place onion root-end down on cutting board.
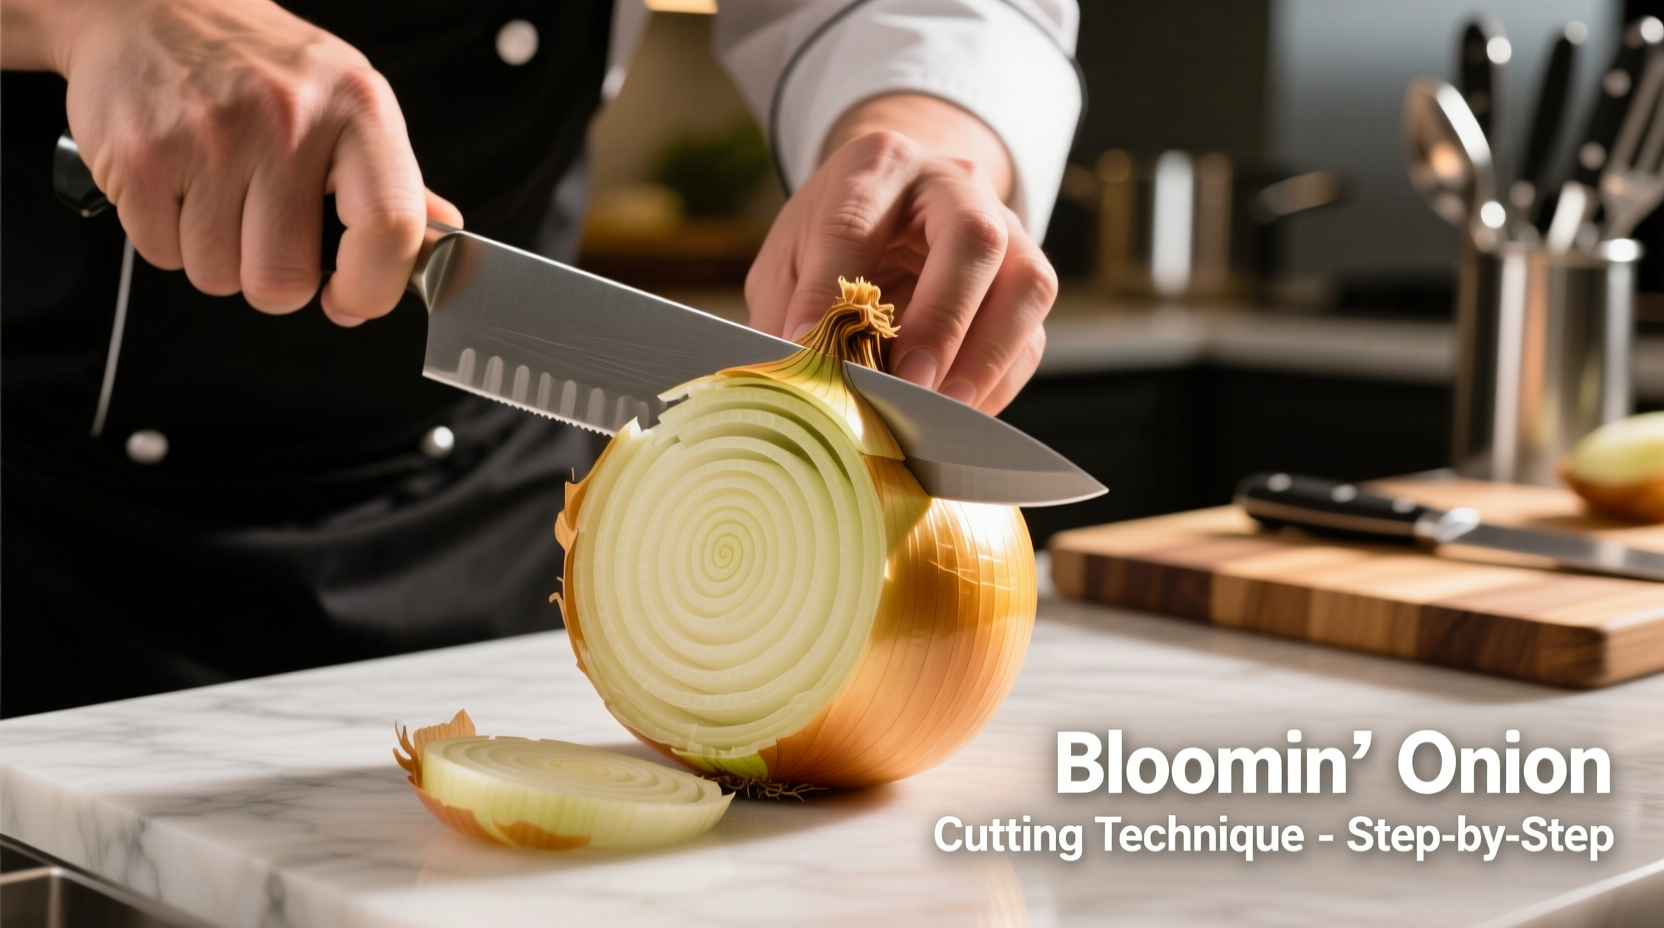
2. The Precision Cutting Technique
- Make 16-20 evenly spaced vertical cuts from top to root (¼ inch apart)
- Rotate onion 90 degrees and repeat cuts
- Submerge in cold water for 30 minutes to encourage blooming
Pro Tip: Keep knife blade parallel to board for uniform cuts. The root end must remain completely intact—any damage here prevents proper blooming.
3. Buttermilk Soak and Breading Process
Combine 2 cups buttermilk with 1 tablespoon hot sauce. Submerge onion for minimum 30 minutes (up to 2 hours for maximum tenderness). Prepare breading: 2 cups all-purpose flour, 2 tablespoons paprika, 1 tablespoon garlic powder, 1 tablespoon cayenne, 2 teaspoons black pepper, 1 teaspoon cumin.
Dip soaked onion in breading, working mixture between layers. Let rest 5 minutes before frying—this crucial step prevents coating slippage during cooking.
4. Perfect Frying Technique
Heat oil to 375°F in heavy pot (minimum 3 inches deep). Carefully lower onion into oil using basket. Fry 3-4 minutes until golden brown. Drain upright on wire rack—never flat, which causes sogginess. Season immediately with finishing salt.
5. Serving and Dipping Sauces
Serve immediately with classic remoulade (mayo, horseradish, lemon juice, paprika) or spicy ranch (buttermilk ranch with cayenne and garlic powder). For authentic presentation, place upright in tall glass with sauce in bottom.
Avoid These Common Bloomin Onion Mistakes
- Incorrect oil temperature: Below 360°F causes greasy results; above 390°F burns exterior before interior cooks
- Inadequate soaking: Minimum 30 minutes in buttermilk essential for tender layers
- Disturbing the root: Even minor root damage prevents proper blooming
- Skipping the rest period: Breading needs 5 minutes to adhere before frying
Historical Context and Evolution
The modern bloomin onion emerged in 1988 when Outback Steakhouse co-founder Bob Basham adapted a recipe from a Greek restaurant in Tampa. While similar onion dishes existed historically (like 19th century 'onion roses'), the deep-fried, flower-shaped version became iconic through Outback's popularization. Food historians note this dish represents American culinary innovation—transforming a simple vegetable into theatrical dining through precise technique.
Storage and Reheating Guidelines
Bloomin onions are best served immediately. If necessary, store leftovers in airtight container at room temperature for up to 2 hours. Reheat in 375°F oven for 3-4 minutes—never microwave, which creates sogginess. Note: reheated versions won't achieve original crispness but remain edible.
Customization Options for Different Diets
Gluten-free adaptation: Substitute rice flour and cornstarch (1:1 ratio). Vegan version: Replace buttermilk with almond milk + 1 tbsp vinegar. For reduced sodium: Omit added salt and use low-sodium seasonings. Remember that substitutions affect texture—gluten-free versions require extra breading time for proper adhesion.


 浙公网安备
33010002000092号
浙公网安备
33010002000092号 浙B2-20120091-4