
Garlic is ready to harvest when approximately one-third of the leaves have turned brown while two-thirds remain green, typically 7-8 months after planting. Key visual indicators include: 4-5 green leaves remaining on hardneck varieties, papery but intact bulb wrappers, and fully developed but not separated cloves. Harvest timing varies by climate zone and garlic type, with hardneck varieties ready in early summer and softneck in mid-to-late summer.
Getting the harvest timing right makes all the difference between plump, flavorful garlic bulbs and disappointing results. Harvest too early, and your bulbs will be undersized with thin wrappers that don't store well. Wait too long, and the cloves will separate, reducing shelf life and quality. This guide provides the precise visual cues and regional timing you need to harvest garlic at its peak.
Why Garlic Harvest Timing Matters
Garlic continues developing underground even as the top growth begins to decline. The transition period when leaves start yellowing but haven't completely died back represents the sweet spot for harvest. During this window, the bulb has reached maximum size while the protective wrappers remain intact. Research from the Oregon State University Extension Service confirms that harvesting at the optimal stage increases storage life by 30-50% compared to early or late harvesting.
Visual Indicators: What to Look For
Don't rely solely on calendar dates—your garlic plants will tell you when they're ready. Check these three critical indicators weekly as harvest approaches:
1. Leaf Condition: The One-Third Rule
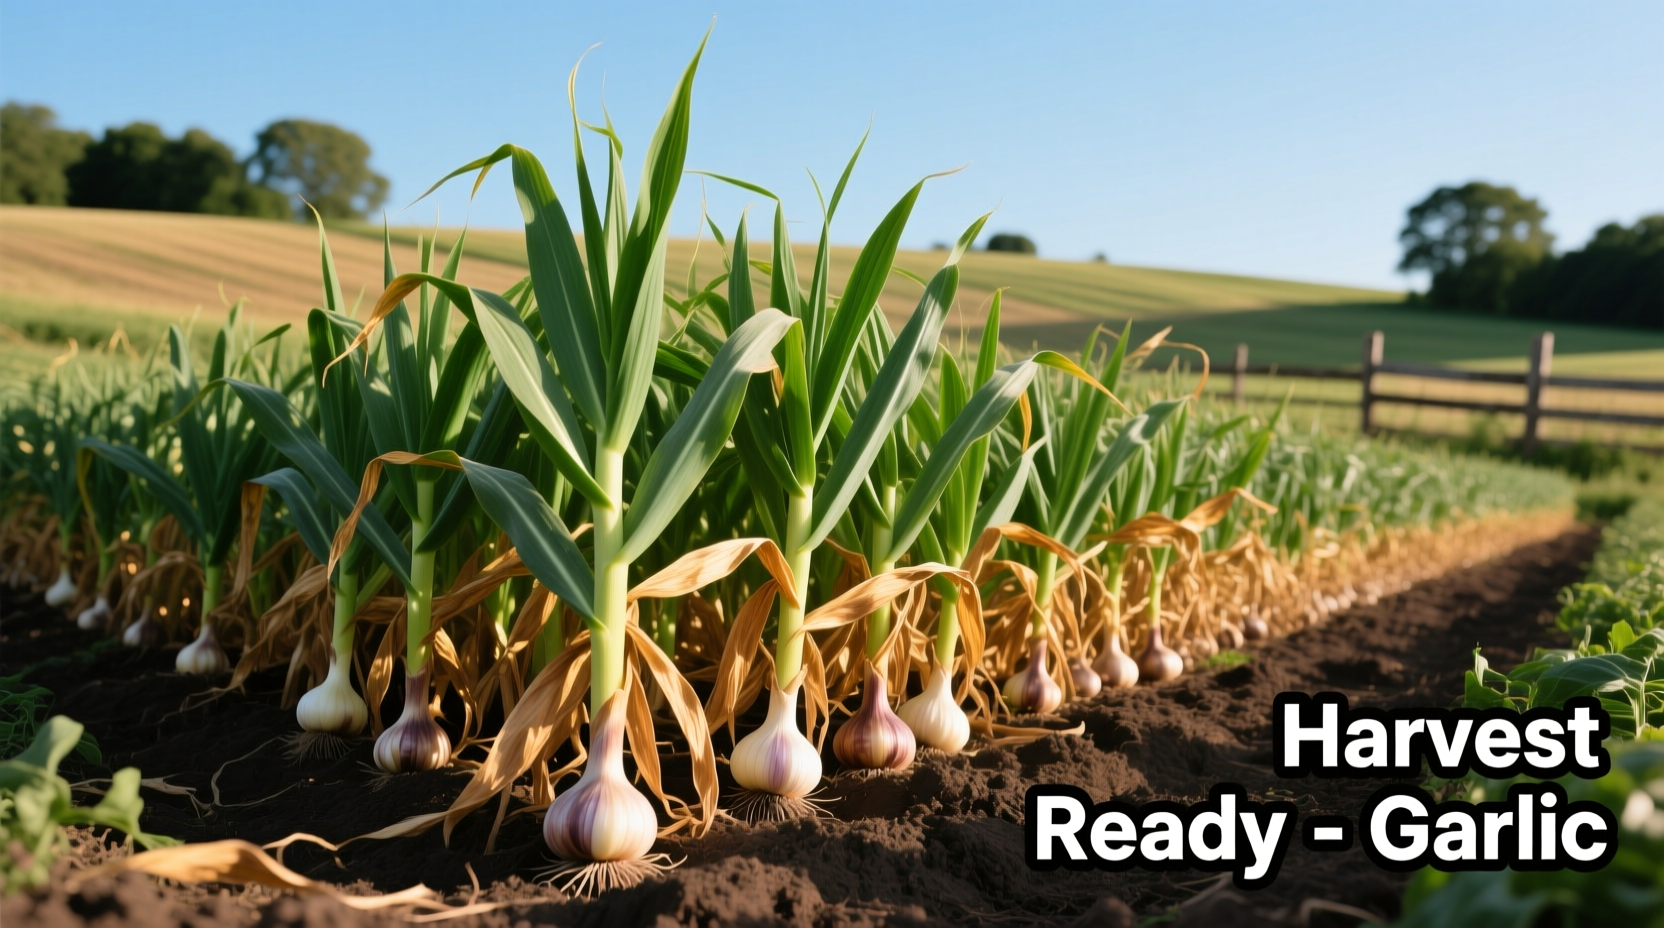
The most reliable indicator is leaf color and quantity. When approximately one-third of the leaves have turned brown or yellow while two-thirds remain green, your garlic is ready. For hardneck varieties, aim for 4-5 green leaves remaining. Softneck varieties may have 6-7 green leaves at harvest time.
2. Bulb Wrapper Integrity
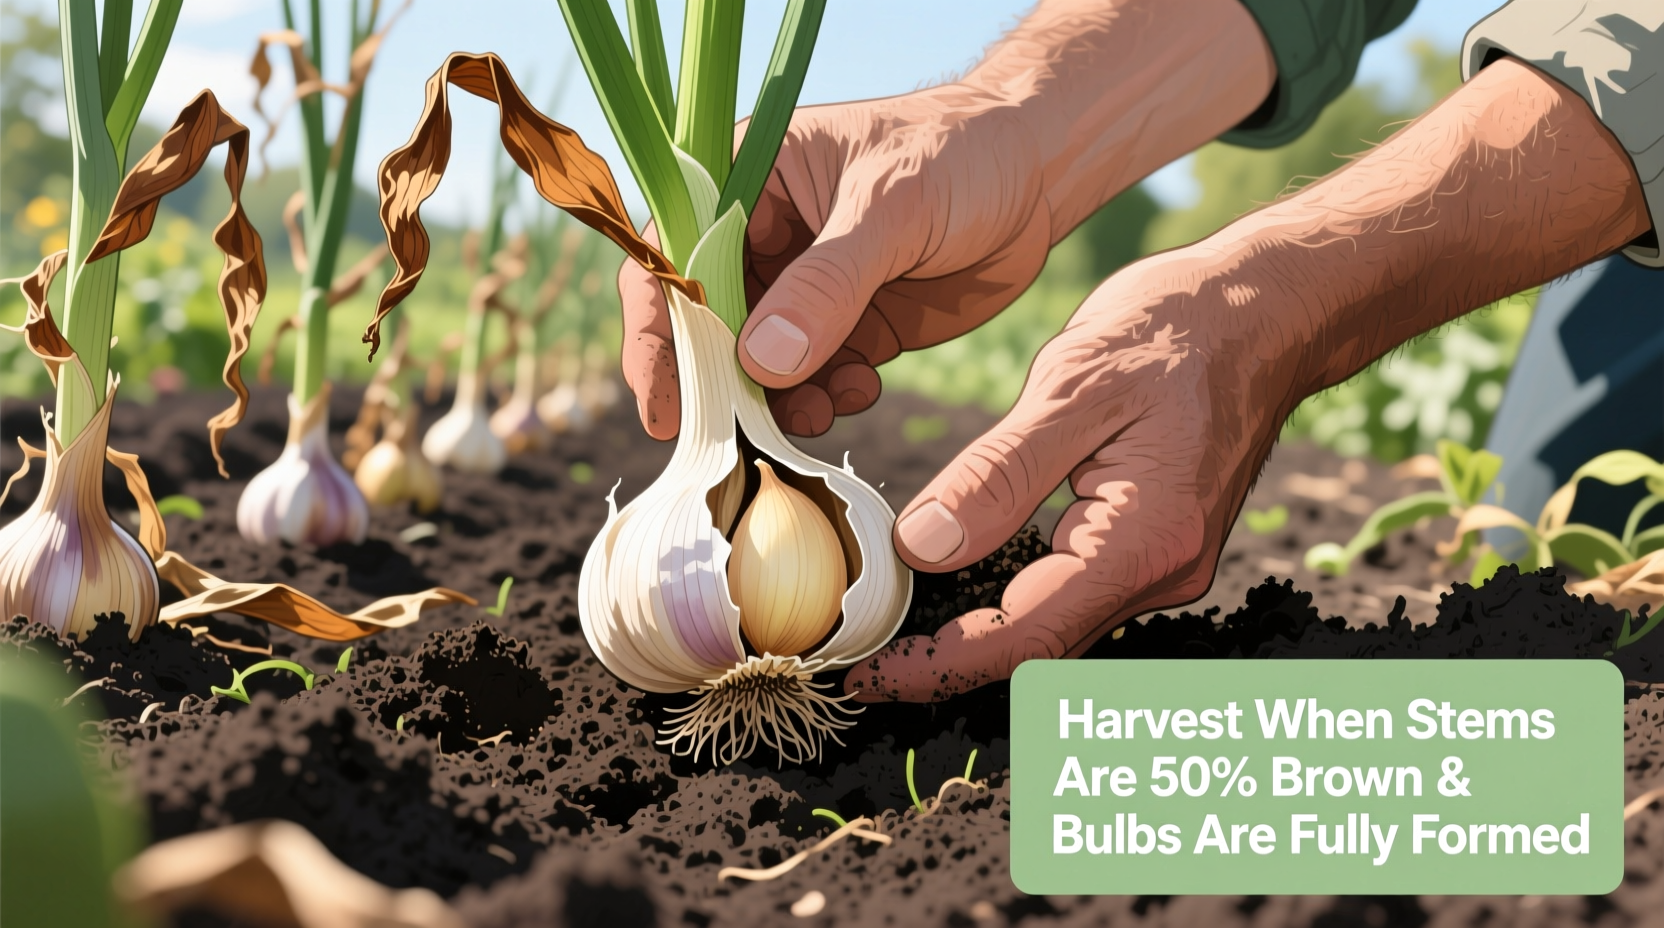
Carefully dig up one test bulb to check the wrappers. The outer layers should be dry and papery but still intact, completely covering the cloves. If wrappers are splitting or cloves are visible, you've waited too long. If wrappers are thick and fleshy, harvest is still weeks away.
3. Clove Development
Examine the cloves of your test bulb. They should be plump and well-defined, filling their compartments but not pressing against each other so hard that they're beginning to separate. Properly timed harvest yields cloves that are firm but not bursting from their skins.
| Garlic Type | Green Leaves at Harvest | Bulb Wrapper Condition | Typical Harvest Window |
|---|---|---|---|
| Hardneck (Rocambole, Porcelain) | 4-5 leaves | Papery but intact, no splitting | Early to mid-summer (June-July) |
| Softneck (Silverskin, Artichoke) | 6-7 leaves | Firm but beginning to dry | Mid to late summer (July-August) |
| Elephant Garlic (actually a leek) | 5-6 leaves | Thick and leathery | Late spring to early summer |
Regional Timing Guide
While visual indicators are universal, calendar timing varies significantly by climate. The table below shows typical harvest windows based on planting time and USDA hardiness zone:
| USDA Zone | Planting Time | Expected Harvest Window | Key Visual Cues to Monitor |
|---|---|---|---|
| 3-5 | Early fall (Sept-Oct) | June 15-July 15 | Watch for rapid leaf dieback in early June |
| 6-7 | Fall (Oct-Nov) | July 1-25 | Monitor leaf color changes starting late June |
| 8-10 | Late fall (Nov-Dec) | July 15-August 15 | Check bulb wrappers weekly in early July |
The Garlic Growth Timeline: From Planting to Harvest
Understanding garlic's growth cycle helps you anticipate harvest time. After planting cloves in fall or early spring:
- Weeks 1-4: Root development begins while cloves establish
- Weeks 5-12: Top growth emerges and accelerates with spring warmth
- Weeks 13-20: Bulb formation begins as daylight increases
- Weeks 21-28: Bulb enlargement peaks while leaves begin yellowing from tips
- Weeks 29-32: One-third of leaves turn brown—harvest time has arrived
This timeline varies by climate and garlic variety, but the progression from active top growth to leaf dieback signals approaching harvest. According to the USDA National Agricultural Library, hardneck varieties typically complete this cycle in 210-240 days, while softnecks take 240-270 days from planting to harvest.
Proper Harvesting Technique
Once you've confirmed your garlic is ready, follow these steps for optimal results:
- Choose the right day: Harvest in the early morning or on a cloudy day to reduce sun exposure stress
- Loosen the soil: Use a garden fork to gently lift bulbs from 6 inches away from the stalk
- Don't pull: Never yank plants by the leaves—this damages the neck and reduces storage life
- Handle carefully: Brush off excess soil but don't wash bulbs at this stage
- Leave stalks intact: Keep stems attached for proper curing
Curing: The Critical Post-Harvest Step
Harvesting is only half the battle—proper curing ensures your garlic stores well. Follow these steps:
- Dry in shade: Hang bundles of 8-10 plants in a well-ventilated, dry, shaded area
- Monitor conditions: Ideal curing environment is 75-85°F with 60-75% humidity
- Check progress: After 2-3 weeks, wrappers should be crisp and necks completely dry
- Trim carefully: Cut roots to ¼ inch and stems to 1-2 inches once fully cured
- Store properly: Keep in mesh bags in a cool (55-65°F), dark place with good air circulation
Skipping proper curing is the most common mistake home gardeners make. The University of Minnesota Extension reports that properly cured garlic stores 2-3 times longer than uncured bulbs.
Common Harvest Mistakes to Avoid
Even experienced gardeners sometimes get garlic harvest timing wrong. Watch out for these pitfalls:
- Harvesting by calendar alone: Weather variations mean calendar dates can be off by 2-3 weeks
- Ignoring regional differences: Coastal gardeners often harvest 2-3 weeks later than inland gardeners in the same zone
- Waiting for all leaves to die: This results in separated cloves and poor storage
- Harvesting during wet weather: Moisture promotes mold during curing
- Washing bulbs before curing: This traps moisture and encourages rot
Special Considerations for Different Garlic Types
While the basic harvest principles apply to all garlic, specific varieties have unique requirements:
- Hardneck varieties: Harvest scapes 2-3 weeks before bulb harvest to redirect energy to bulbs
- Softneck varieties: These stay green longer—rely more on wrapper condition than leaf count
- Elephant garlic: Harvest earlier than true garlic when 50% of leaves have yellowed
- Container-grown garlic: Monitor closely as pots dry out faster, accelerating maturity
Remember that microclimates in your garden can create variations. South-facing beds typically mature 7-10 days earlier than north-facing areas. The Royal Horticultural Society recommends checking multiple plants across different garden areas to determine average readiness.
What to Do If You Missed the Harvest Window
If you notice your garlic has gone past ideal harvest time:
- Slightly late (wrappers intact but some splitting): Harvest immediately and use bulbs within 2-3 months
- Moderately late (clove separation beginning): Harvest, cure thoroughly, and prioritize using these bulbs first
- Very late (fully separated cloves): These won't store well—use immediately or freeze for cooking
Don't let a late harvest discourage you—garlic is resilient. Even bulbs harvested past prime can still be delicious, though their storage life will be reduced.


 浙公网安备
33010002000092号
浙公网安备
33010002000092号 浙B2-20120091-4