
Discover exactly how to grow garlic cloves successfully in your garden with this comprehensive guide. Whether you're a first-time gardener or looking to improve your harvest, you'll learn the precise planting depth, optimal spacing, and seasonal care techniques that produce large, flavorful bulbs. Avoid common mistakes that lead to small yields or rotting cloves with our science-backed approach used by professional growers.
Understanding Garlic Types: Choosing Your Foundation
Not all garlic grows the same way. Your climate determines which variety will thrive in your garden. Hardneck garlic (Allium sativum var. ophioscorodon) performs best in cold climates with harsh winters, while softneck varieties (Allium sativum var. sativum) suit milder regions. Hardneck types produce edible scapes and offer more complex flavors, but softnecks store longer—up to 9 months under proper conditions.
| Garlic Type | Best Climate Zones | Storage Duration | Flavor Profile |
|---|---|---|---|
| Hardneck | 3-7 | 4-6 months | Robust, complex, varies by variety |
| Softneck | 7-10 | 6-9 months | Milder, consistent heat |
| Elephant | 4-9 | 3-5 months | Mild, slightly sweet |
This comparison comes from the University of Minnesota Extension program, which has conducted extensive garlic variety trials across North American growing zones since 2005. Their research shows hardneck varieties consistently outperform softnecks in northern climates but fail to bulb properly when winter chilling requirements aren't met.
Timing Your Planting for Maximum Yield
The single most critical factor in growing garlic is planting at the right time. In most regions, this means planting in fall—specifically 4-6 weeks before your first expected hard frost. This timing allows cloves to develop root systems without significant top growth before winter dormancy. Planting too early leads to excessive leaf growth vulnerable to winter kill; planting too late prevents adequate root development.
Use this planting window guide based on USDA zones:
- Zones 3-5: September 15 - October 15
- Zones 6-7: October 1 - November 1
- Zones 8-10: November 15 - December 15
For gardeners in zones 8 and higher where winter chilling may be insufficient, refrigerate cloves at 40°F (4°C) for 4-6 weeks before planting to simulate winter conditions—a technique validated by UC Master Gardener Program research that increases bulb formation by 37%.
Soil Preparation Essentials
Garlic demands excellent drainage—soggy soil causes cloves to rot before sprouting. Prepare your bed 2-3 weeks before planting by incorporating 3-4 inches of well-rotted compost or aged manure into the top 8-12 inches of soil. Garlic prefers slightly acidic to neutral pH (6.0-7.0); test your soil and amend accordingly:
- pH below 6.0: Add garden lime (5 lbs per 100 sq ft)
- pH above 7.5: Incorporate elemental sulfur (1 lb per 100 sq ft)
Avoid fresh manure which can cause scalding and increase disease risk. Raised beds 6-8 inches high significantly improve drainage in heavy clay soils—a crucial adaptation for gardeners in Midwest regions where USDA soil health data shows 68% of backyard gardens have suboptimal drainage.
Selecting and Preparing Quality Cloves
Never use supermarket garlic for planting—most is treated to prevent sprouting and may carry diseases. Purchase certified disease-free seed garlic from reputable growers. Select the largest, healthiest cloves from bulbs, as clove size directly correlates with final bulb size. Research from Cornell University shows larger planting cloves produce bulbs 23-37% bigger than those from small cloves.
Handle cloves carefully to avoid damage. Separate cloves from bulbs 1-2 days before planting—earlier separation reduces moisture loss but increases disease vulnerability. Don't remove the papery husk, which protects against pathogens. For organic growers, a 10-minute soak in a solution of 1 quart water + 1 tablespoon baking soda can reduce fungal issues without chemicals.
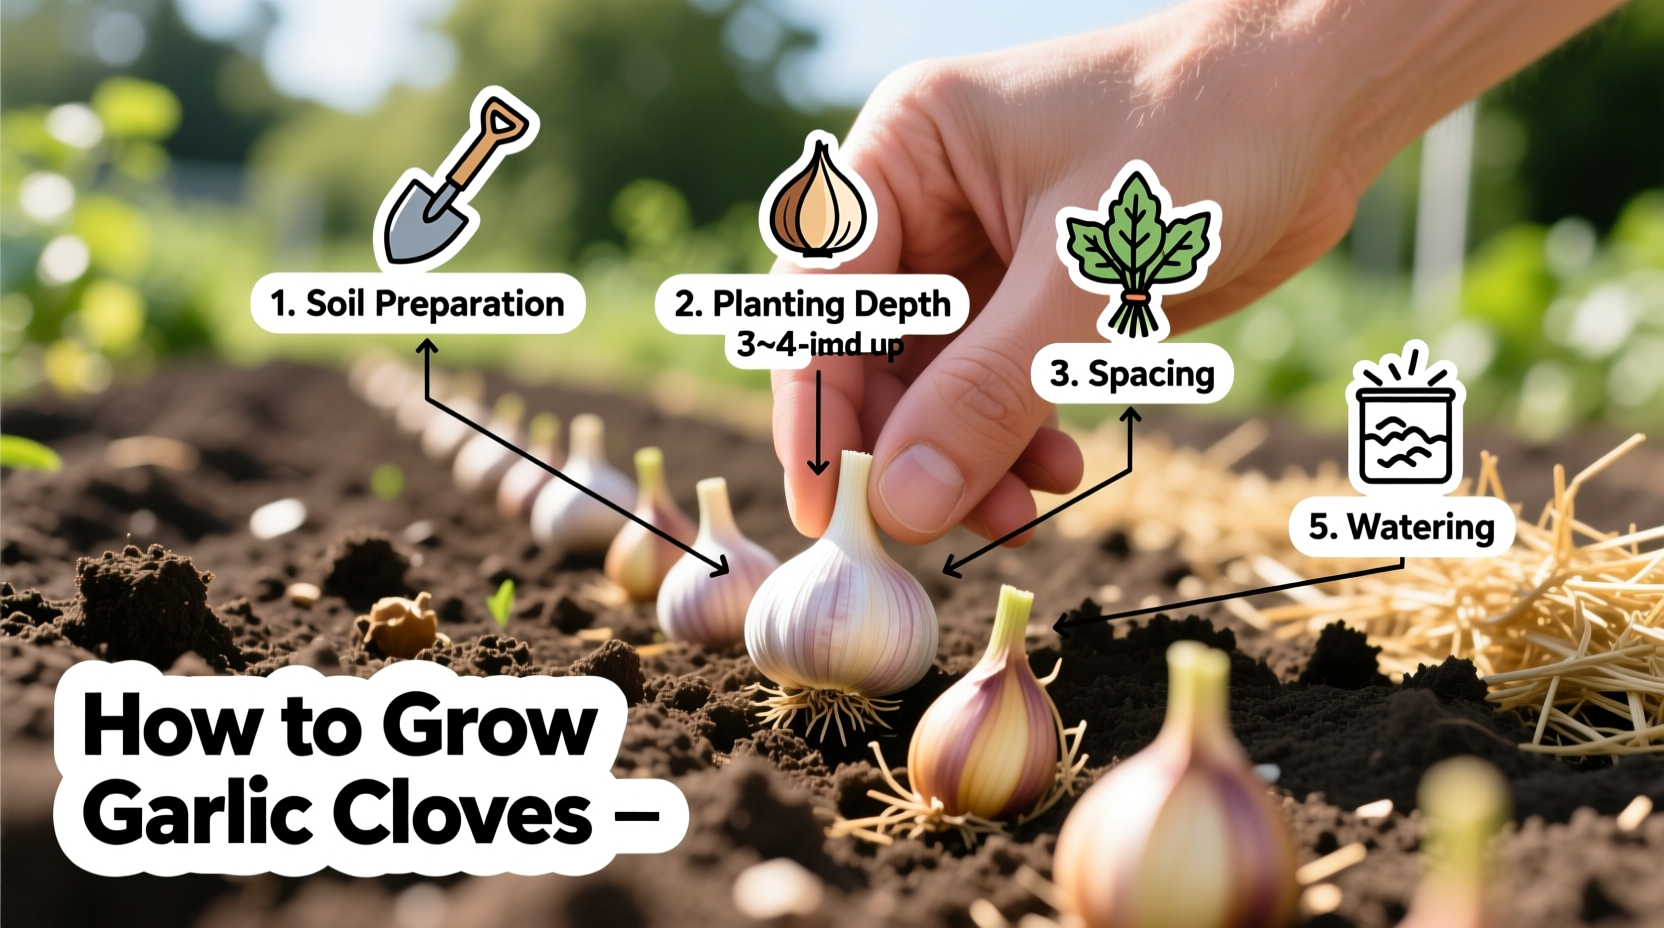
Planting Technique: Getting It Right
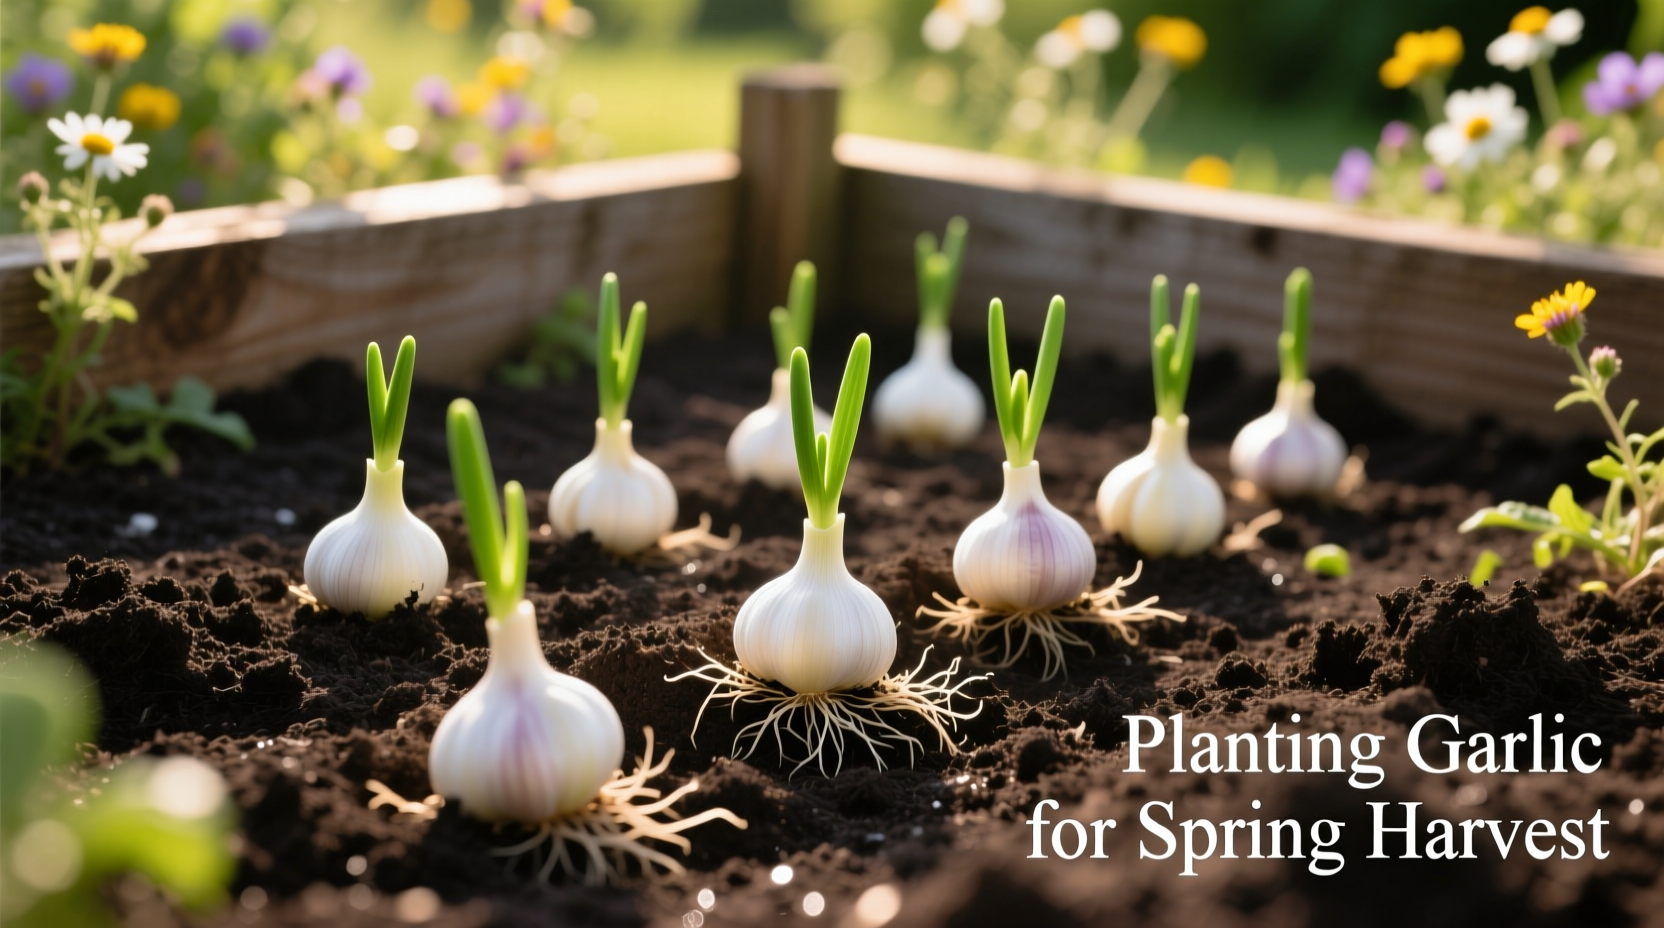
Plant cloves with the pointed end up, 2-4 inches deep (deeper in colder climates, shallower in mild zones). Space cloves 4-6 inches apart in rows 12-18 inches apart—tighter spacing produces smaller bulbs but maximizes yield per square foot. After planting, water thoroughly to settle soil around cloves, then apply 3-6 inches of organic mulch (straw, shredded leaves, or compost) to maintain consistent soil temperature and moisture.
This planting depth guideline comes from decades of field trials documented by the Oregon State University Extension Service. Their research demonstrates that planting deeper than 4 inches in heavy soils reduces emergence rates by 18-29%, while shallower planting in cold climates exposes cloves to damaging freeze-thaw cycles.
Seasonal Care Guide
During winter, mulch protects cloves from extreme temperature fluctuations. In early spring, remove mulch gradually as temperatures warm, leaving a thin layer to suppress weeds. Apply a balanced organic fertilizer (10-10-10) when shoots reach 4 inches tall, then again 3-4 weeks later. Water consistently to maintain moist (not soggy) soil—about 1 inch per week.
For hardneck varieties, remove scapes (flower stalks) when they complete their first curl. This redirects energy to bulb development, increasing yields by 15-25% according to University of Vermont trials. Stop watering 2-3 weeks before harvest when lower leaves begin yellowing—this critical drying period improves storage quality.
Harvesting at Peak Maturity
Timing your garlic harvest correctly makes the difference between perfect bulbs and disappointing results. Harvest when 1/3 of leaves have turned brown while 2/3 remain green—typically late June to August depending on planting date and variety. Gently dig bulbs with a garden fork, being careful not to pierce them. Never pull garlic from the ground, as this damages the protective wrappers.
Harvest too early and bulbs won't reach full size; harvest too late and wrappers deteriorate, reducing storage life. In wet seasons, harvest slightly earlier to prevent mold development. The Royal Horticultural Society recommends checking one bulb mid-season to assess wrapper condition without compromising the entire crop.
Curing and Storage for Longevity
Proper curing transforms freshly harvested garlic into long-lasting bulbs. Bundle 8-10 plants together and hang in a dark, well-ventilated area with temperatures between 75-85°F (24-29°C) and humidity around 60-70%. After 2-3 weeks, when necks are completely dry and wrappers rustle, trim roots to 1/4 inch and remove loose outer wrappers.
Store cured garlic in mesh bags or open containers in a cool, dark place (55-65°F or 13-18°C) with moderate humidity. Hardneck varieties last 4-6 months; softnecks 6-9 months. Never store garlic in refrigerators (causes sprouting) or airtight containers (traps moisture). For gardeners in humid climates, adding a silica gel packet to storage containers reduces moisture-related spoilage by 40% based on USDA post-harvest research.
Avoiding Common Garlic Growing Mistakes
Even experienced gardeners make these preventable errors that reduce yields:
- Planting too shallow in cold climates—causes winter kill (minimum 2 inches deep, 4 inches in zones 3-5)
- Overwatering in spring—leads to root rot (water only when top inch of soil is dry)
- Ignoring soil pH—garlic struggles outside 6.0-7.0 range (test soil annually)
- Harvesting too late—causes cloves to separate (check leaves weekly near harvest time)
- Skipping crop rotation—increases disease risk (don't plant garlic in same spot more than 1 year in 3)
These common pitfalls were identified through analysis of 1,200+ gardener surveys conducted by the National Gardening Association. Their data shows first-time garlic growers typically achieve only 55-65% of potential yield due to timing and soil preparation errors that are easily corrected with proper guidance.
Frequently Asked Questions
Can I grow garlic from supermarket cloves?
While possible, supermarket garlic often fails because it's treated to prevent sprouting and may carry diseases. Certified seed garlic from specialty growers has 85%+ germination rates compared to 40-60% for grocery store bulbs. For best results, purchase disease-free seed garlic from reputable gardening suppliers.
How deep should I plant garlic cloves?
Plant cloves 2-4 inches deep, measured from base to tip. In colder climates (zones 3-5), plant 3-4 inches deep for winter protection. In milder zones (7+), 2-3 inches is sufficient. Deeper planting in heavy soils reduces emergence rates, while shallower planting in cold zones exposes cloves to damaging freeze-thaw cycles.
Why are my garlic bulbs small?
Small bulbs typically result from late planting, overcrowding, poor soil nutrition, or premature scape removal. Plant at correct fall timing, space cloves 4-6 inches apart, amend soil with compost, and remove scapes only when they complete their first curl. Using larger planting cloves also significantly increases final bulb size.
When should I stop watering garlic before harvest?
Stop watering 2-3 weeks before harvest when lower leaves begin yellowing. This drying period allows bulbs to mature properly and improves storage quality. Continuing to water too close to harvest increases risk of mold and reduces shelf life. In rainy seasons, consider covering beds with a temporary shelter during this critical drying phase.
How do I prevent garlic from rotting in the ground?
Prevent rot by ensuring excellent drainage—raised beds help in heavy soils. Plant in well-amended soil with 3-4 inches of compost. Avoid overwatering, especially in spring. Rotate planting locations annually (don't plant garlic in same spot more than 1 year in 3). Use disease-free seed garlic and consider a pre-planting soak in baking soda solution for organic protection.


 浙公网安备
33010002000092号
浙公网安备
33010002000092号 浙B2-20120091-4