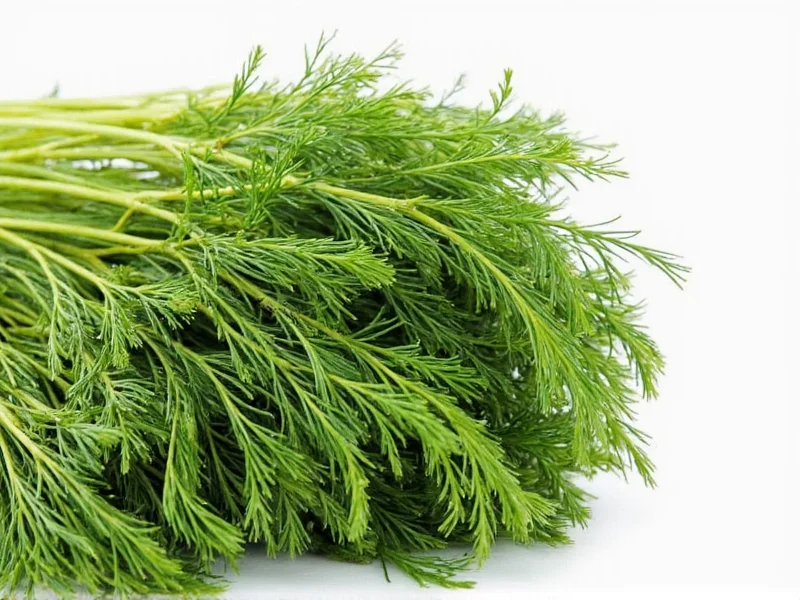
Drying dill properly preserves its distinctive flavor for year-round culinary use. Whether you've harvested an abundant garden crop or want to extend the shelf life of store-bought dill, understanding the optimal drying techniques ensures you maintain the herb's aromatic compounds and vibrant character. This comprehensive guide details proven methods that professional chefs and home gardeners use to dry dill while maximizing flavor retention and shelf stability.
Why Proper Drying Technique Matters for Dill
Dill's delicate essential oils—particularly carvone and limonene—are highly volatile and degrade quickly when exposed to excessive heat or moisture. Research from the Journal of Agricultural and Food Chemistry shows that drying temperatures above 95°F (35°C) significantly reduce these flavor compounds. The ideal drying process maintains temperatures between 70-90°F (21-32°C) with 40-60% humidity to slowly evaporate moisture without damaging volatile oils.
Optimal Timing for Harvesting Dill
Harvest dill in the morning after dew evaporates but before midday heat when essential oil concentration peaks. For leaf drying (dill weed), cut stems when flower buds first appear but haven't opened. For seed drying, wait until seed heads turn brown but before they shatter. Use sharp scissors to avoid crushing stems, which releases enzymes that accelerate oxidation.
Four Proven Methods for Drying Dill
Air Drying: The Flavor-Preserving Gold Standard
This traditional method yields the most flavorful dried dill when executed correctly:
- Wash dill gently and pat completely dry with clean towels
- Bundle 5-6 stems together with twine or rubber bands (loosely—rubber bands shrink as stems dry)
- Hang bundles upside down in a dark closet or paper bag with holes
- Maintain 70-80°F (21-27°C) temperature and moderate airflow
- Check weekly—drying completes in 10-14 days when stems snap brittle
Oven Drying: Accelerated Method with Caution
Use only as a last resort when humidity prevents air drying:
- Preheat oven to absolute minimum temperature (150-170°F / 65-77°C)
- Spread single stem layer on parchment-lined baking sheet
- Prop oven door open 2-3 inches with wooden spoon
- Rotate sheets hourly for even drying
- Complete in 2-4 hours when leaves crumble easily
Warning: Oven temperatures often fluctuate above settings. Use an independent oven thermometer and never exceed 170°F to prevent flavor degradation.
Dehydrator Method: Consistent Results
Food dehydrators provide controlled conditions ideal for drying dill:
- Set dehydrator to 95°F (35°C)—never higher
- Place stems in single layer on mesh trays
- Dry for 4-8 hours, checking hourly after first 4 hours
- Stems should feel papery but not brittle
- Store immediately in airtight containers after cooling
| Drying Method | Drying Time | Flavor Retention | Best For |
|---|---|---|---|
| Air Drying | 10-14 days | Excellent (90-95%) | Large harvests, optimal flavor |
| Dehydrator | 4-8 hours | Good (80-85%) | Humid climates, consistent results |
| Oven Drying | 2-4 hours | Fair (65-75%) | Emergency drying only |
| Micro-drying | 2-3 minutes | Poor (40-50%) | Not recommended |
Critical Storage Techniques for Maximum Shelf Life
Improper storage causes 70% of dried herb quality loss according to USDA research. Follow these steps:
- Completely cool dried dill before storage (any warmth creates condensation)
- Store whole stems rather than crumbled leaves to preserve oils
- Use amber glass jars with airtight seals—never plastic containers
- Place in complete darkness (light degrades chlorophyll)
- Add silica gel packets to maintain 15% moisture level
- Store below 70°F (21°C)—refrigeration extends life 50%
Properly stored dried dill maintains peak flavor for 12-18 months. After 24 months, flavor diminishes significantly though remains safe to consume.
Dried vs. Fresh Dill: Substitution Guide and Culinary Applications
Understanding flavor concentration differences prevents dish imbalances:
- 1 tablespoon fresh dill = 1 teaspoon dried dill (3:1 ratio)
- Add dried dill early in cooking to rehydrate and release flavors
- Use dried dill in pickling, soups, and stews where long cooking times allow rehydration
- Reserve fresh dill for finishing dishes, salads, and delicate sauces
- Reconstitute dried dill in 2 tsp warm water per tsp herb for 10 minutes before use
Troubleshooting Common Drying Problems
Mold development: Caused by insufficient airflow or high humidity. Solution: Increase ventilation, reduce bundle size, add moisture absorbers.
Brown or black spots: Indicates sun exposure during drying. Always dry in complete darkness to preserve chlorophyll.
Bitter flavor: Results from drying after flowers fully open. Harvest when buds first appear for optimal flavor profile.
Crumbly texture: Over-drying occurs when humidity drops below 30%. Store with half-used silica packet to restore moisture balance.


 浙公网安备
33010002000092号
 浙B2-20120091-4