
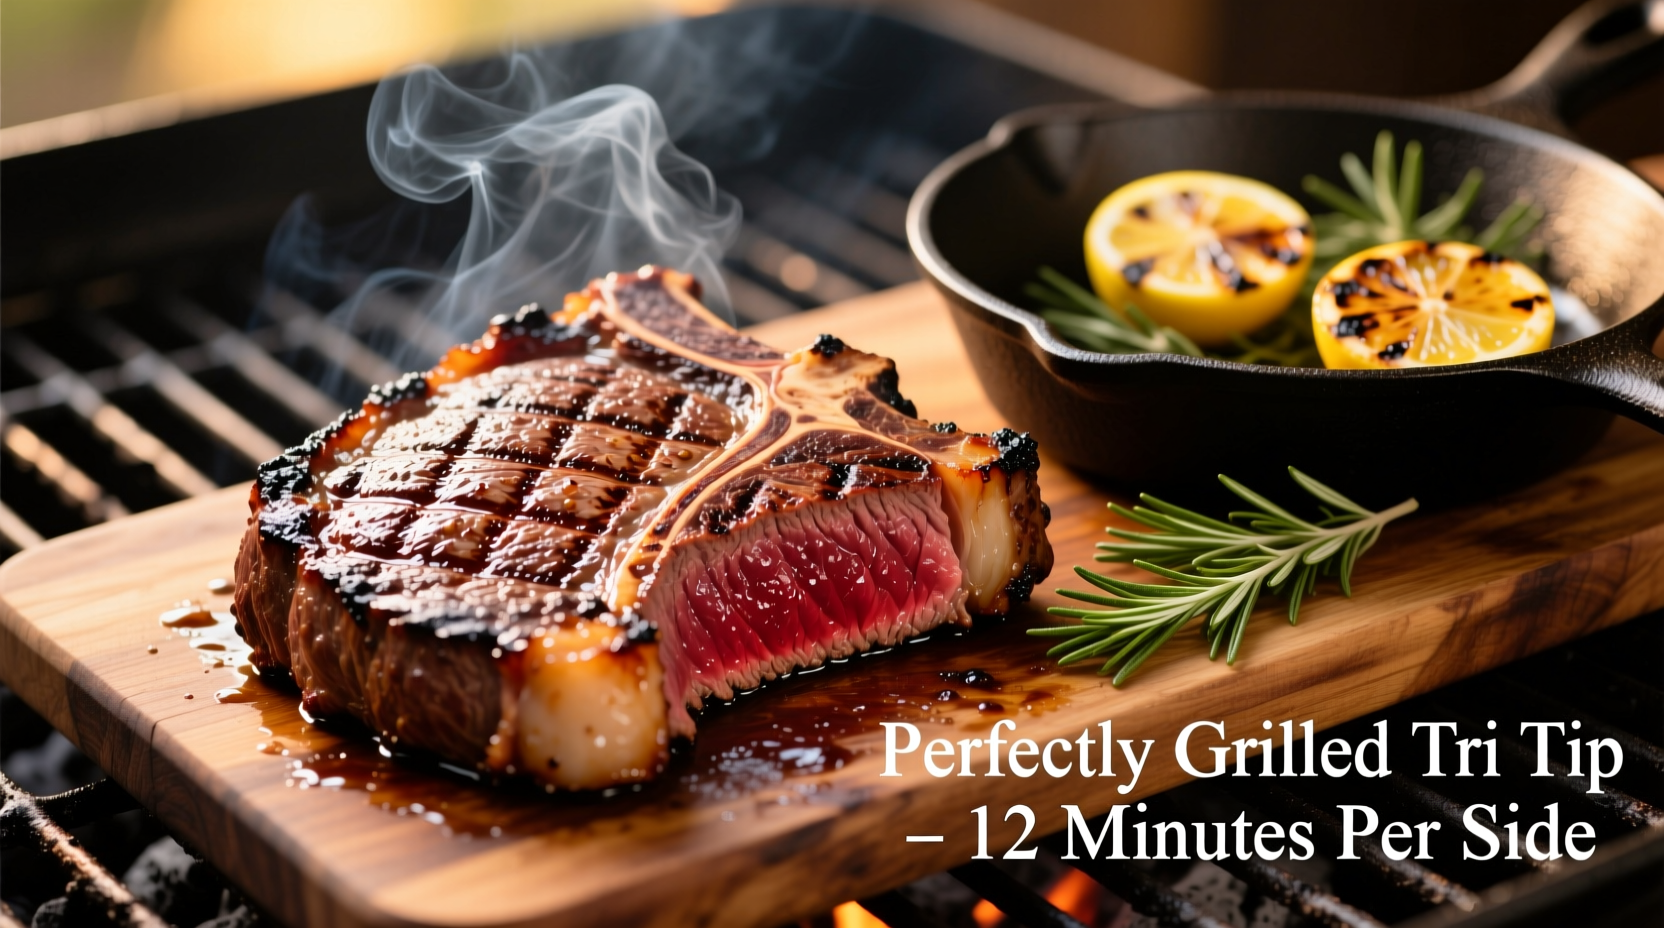
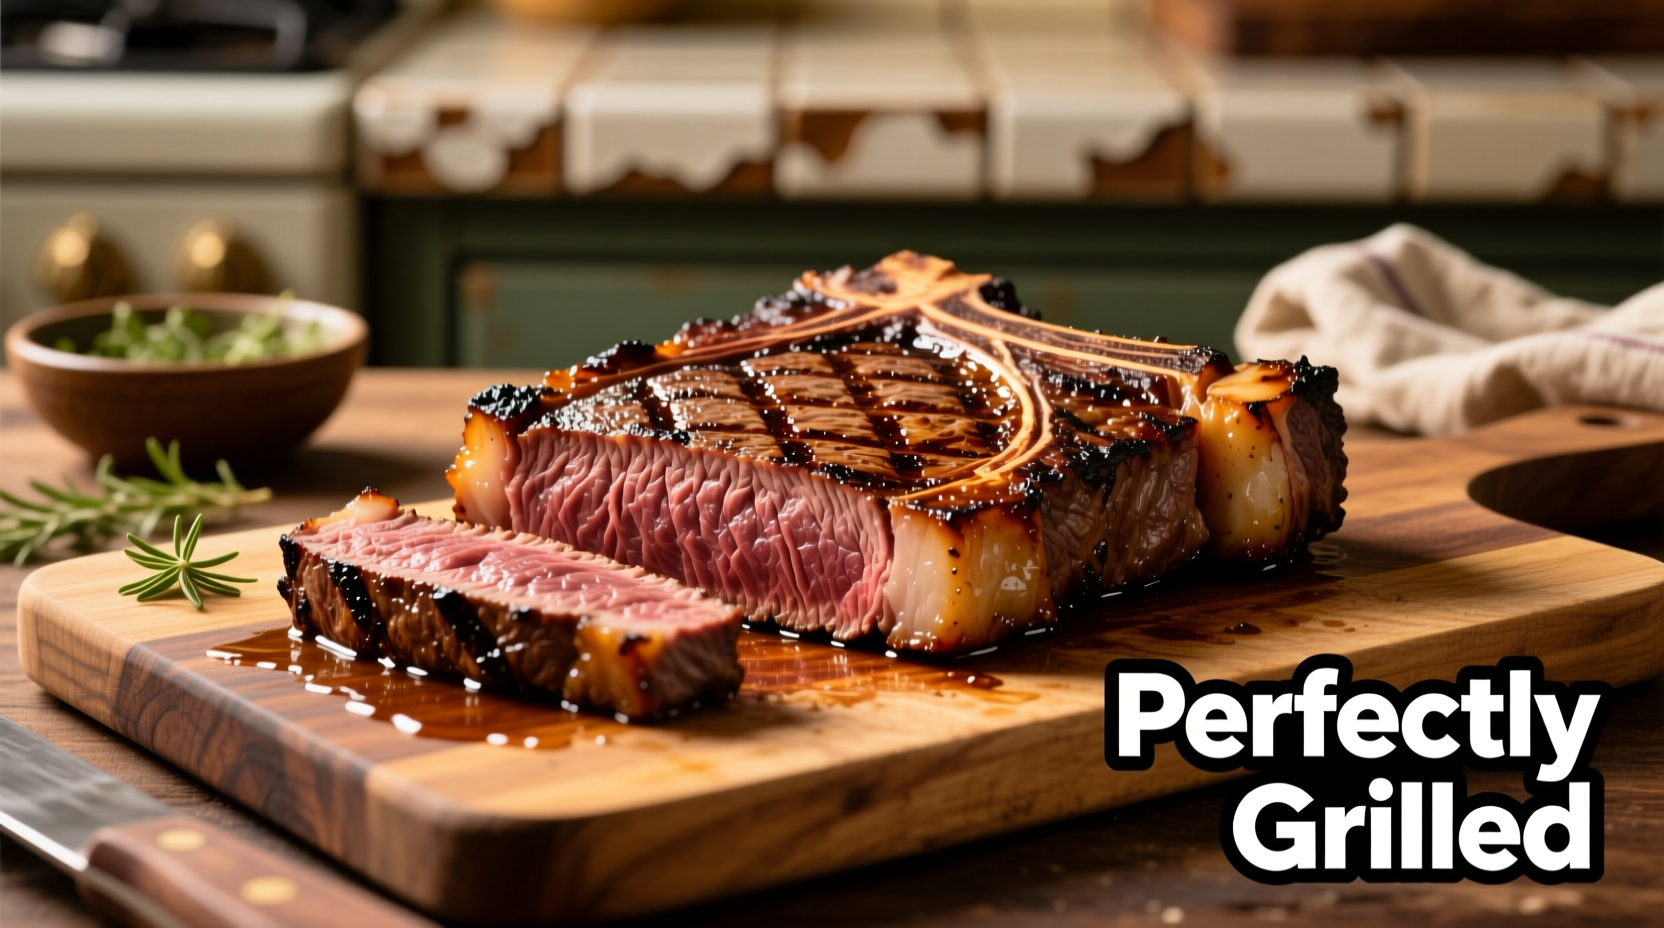
Achieving perfectly grilled tri tip requires proper temperature control, strategic searing, and precise internal temperatures. Start by seasoning your 2-3 pound cut with coarse salt and pepper, then sear over direct high heat (450-500°F) for 4-5 minutes per side before moving to indirect heat until reaching 125-130°F for medium-rare. Allow 10-15 minutes of resting time before slicing against the grain for maximum juiciness.
Mastering Tri Tip Grilling: Your Complete Step-by-Step Guide
Tri tip, that flavorful cut from the bottom sirloin, transforms into an extraordinary meal when grilled properly. This guide delivers exactly what you need to know to achieve restaurant-quality results in your backyard, whether you're using charcoal or gas. Forget dry, tough meat—follow these proven techniques for consistently juicy, perfectly cooked tri tip every time.Why Tri Tip Deserves Your Attention
This triangular cut offers exceptional value and flavor, but its unique grain structure demands specific handling. Unlike other steaks, tri tip has two different grain directions running perpendicular to each other, making proper slicing technique crucial. When cooked correctly, it delivers rich beef flavor with less fat than ribeye but more tenderness than flank steak.| Doneness Level | Internal Temperature | Visual Characteristics |
|---|---|---|
| Medium-Rare | 125-130°F | Warm red center, slightly firm |
| Medium | 135-140°F | Pink center, tender |
| Medium-Well | 145-150°F | Slightly pink center, firmer |
Essential Preparation: Setting Up for Success
Selecting Your Tri TipChoose a cut with even marbling throughout and a deep red color. The ideal weight ranges from 2-3 pounds—large enough for multiple servings but small enough to cook evenly. According to USDA food safety guidelines, always purchase meat from reputable sources that maintain proper refrigeration (below 40°F). Trimming Technique
Remove only excessive hard fat—not the marbling within the meat. The USDA Meat and Poultry Hotline recommends trimming fat after cooking for optimal juiciness, but removing thick exterior fat patches before grilling prevents flare-ups. Seasoning Strategy
Keep it simple: coarse kosher salt and freshly ground black pepper work wonders. For enhanced flavor, add garlic powder and smoked paprika. Apply seasoning at least 45 minutes before grilling to allow penetration. Avoid sugar-based rubs initially—they'll burn during the high-heat sear.
Grill Configuration: Creating the Perfect Cooking Environment
Two-Zone Fire SetupWhether using charcoal or gas, create distinct cooking zones:
- Direct heat zone: 450-500°F for searing
- Indirect heat zone: 325-350°F for finishing
Preheat your grill for 15-20 minutes to ensure consistent temperature. Proper preheating creates the Maillard reaction necessary for that beautiful crust. A well-preheated grill also prevents sticking—when the grates are properly hot, proteins release naturally.
The Cooking Process: Timing, Temperature, and Technique
Searing Phase (4-5 minutes per side)Place tri tip fat-side down first over direct heat. Resist the urge to move it—let that crust develop. Flip only once when you see liquid pooling on top. This initial sear creates flavor through the Maillard reaction, a chemical process that develops complex flavors at high temperatures. Indirect Cooking Phase (15-25 minutes)
Move to indirect heat and insert a probe thermometer into the thickest part. Cook until reaching your target temperature:
- Medium-rare: 125-130°F (recommended for best results)
- Medium: 135-140°F
Resting and Slicing: The Often-Missed Final Steps
Resting ProtocolTransfer to a cutting board and tent loosely with foil for 10-15 minutes. This allows juices to redistribute—skipping this step causes precious juices to spill out when slicing. The American Meat Science Association confirms that proper resting time equals approximately 10-15% of total cooking time. Slicing Technique
This is where most home cooks fail with tri tip. Locate the two different grain directions (they run perpendicular to each other), then slice each section against its respective grain. Use a sharp carving knife and make ¼-inch slices for optimal tenderness. Cutting against the grain shortens the muscle fibers, making the meat more tender.
Troubleshooting Common Tri Tip Problems
Problem: Uneven CookingSolution: Rotate the tri tip periodically during indirect cooking. The thicker end needs more exposure to heat than the tapered end. Problem: Excessive Flare-Ups
Solution: Move to indirect heat immediately when flare-ups occur. Trim excess fat before grilling next time, and avoid sugary marinades during the searing phase. Problem: Dry Meat
Solution: Overcooking is the primary culprit. Always use a reliable thermometer and remove at 125°F for medium-rare. Proper resting time is equally important—don't skip it!
Perfect Pairings and Serving Suggestions
Tri tip shines with simple accompaniments that won't overpower its rich flavor. Consider these options:- Grilled seasonal vegetables with lemon-herb dressing
- Creamy horseradish sauce (perfect complement to beef)
- Classic Caesar salad for a refreshing contrast


 浙公网安备
33010002000092号
浙公网安备
33010002000092号 浙B2-20120091-4