
Ever wondered why your stew meat turns out tough despite hours of cooking? You're not alone. Millions of home cooks struggle with this common kitchen challenge. The secret isn't just cooking longer—it's understanding meat science and applying precise techniques that transform chewy cuts into melt-in-your-mouth perfection. In this guide, you'll discover professional methods that guarantee tender, flavorful stew every time, whether you're using a Dutch oven, slow cooker, or pressure cooker.
Understanding Stew Meat Cuts and Selection
Not all meat works equally well for stewing. The magic happens when you select cuts rich in connective tissue that transforms during slow cooking. Muscles that work harder during the animal's life—like chuck, round, and brisket—contain more collagen, which melts into gelatin during cooking, creating that signature rich mouthfeel.
| Cut of Beef | Marbling Level | Best Cooking Time | Flavor Profile |
|---|---|---|---|
| Chuck Roast | High | 2-2.5 hours | Rich, beefy, excellent fat distribution |
| Round Steak | Medium | 2.5-3 hours | Leaner, milder flavor, requires careful monitoring |
| Brisket | Very High | 3-4 hours | Intense beef flavor, substantial fat content |
This comparison, based on USDA Meat and Poultry Laboratory guidelines, shows why chuck consistently delivers the best balance of flavor, texture, and cooking time for most home cooks. Avoid lean cuts like sirloin that lack sufficient connective tissue—they'll become dry and stringy rather than tender.
Essential Equipment and Time Management
Your cooking vessel significantly impacts results. Professional chefs prefer heavy-bottomed Dutch ovens for even heat distribution, but modern appliances offer convenient alternatives. Understanding the time-temperature relationship is crucial for planning.
| Cooking Method | Prep Time | Cook Time | Active Monitoring | Best For |
|---|---|---|---|---|
| Traditional Stovetop | 20 min | 2-3 hours | High (stirring, temperature checks) | Weekend cooking, flavor development |
| Slow Cooker | 15 min | 6-8 hours | Low (mostly set-and-forget) | Busy schedules, hands-off cooking |
| Pressure Cooker | 15 min | 45-60 min | Medium (pressure monitoring) | Time-sensitive situations |
According to the American Meat Science Association, slow cooking at lower temperatures (170-200°F) for extended periods allows collagen to convert to gelatin without squeezing out moisture—critical for tender results. High heat causes proteins to contract violently, expelling moisture and creating tough meat.
Step-by-Step Perfect Stew Meat Technique
Follow these professional steps for guaranteed tender stew meat:
1. Proper Preparation (15 minutes)
Cut meat into uniform 1.5-inch cubes—too small and they'll overcook, too large and centers won't tenderize properly. Pat cubes completely dry with paper towels; moisture prevents proper browning. Season generously with salt and freshly ground black pepper.
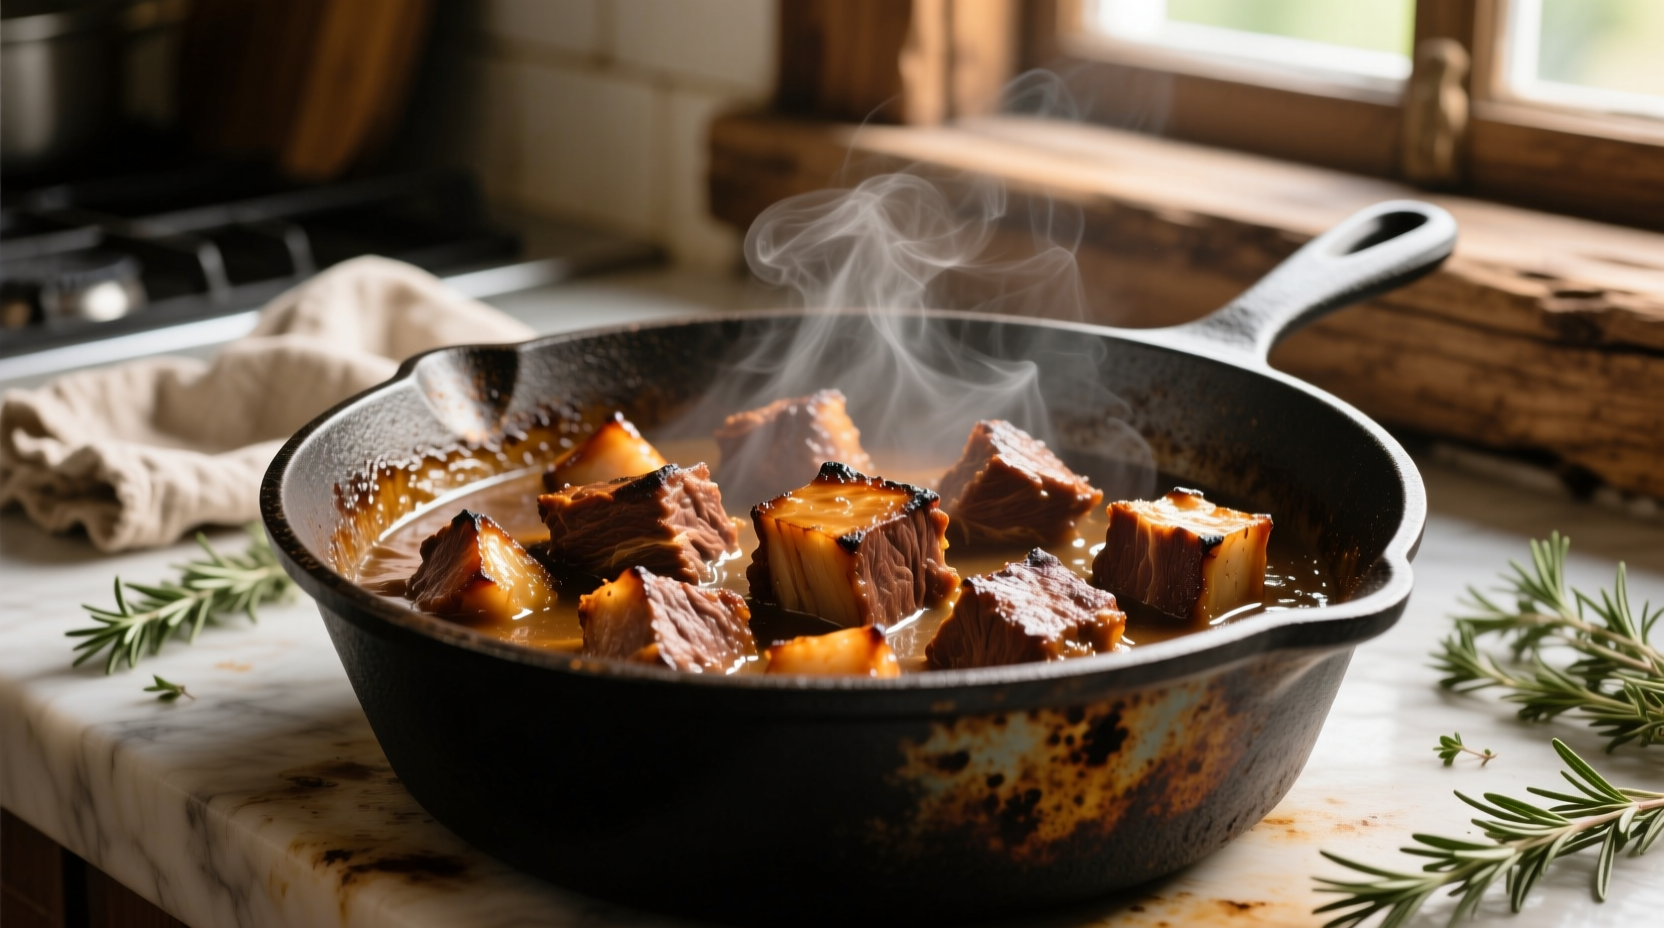
2. Critical Browning Process (10-15 minutes)
Heat 2 tablespoons of oil in your cooking vessel over medium-high heat until shimmering. Working in batches to avoid overcrowding, sear meat on all sides until deeply browned (about 3-4 minutes per side). This Maillard reaction creates complex flavor compounds essential for rich-tasting stew. Never skip this step—proper browning makes the difference between bland and exceptional results.
3. Building Flavor Foundation (10 minutes)
Remove browned meat and set aside. In the same pot, sauté 1 diced onion, 2 chopped carrots, and 2 celery stalks until softened. Add 2 minced garlic cloves and cook until fragrant. Deglaze with 1 cup of liquid (beef broth, red wine, or tomato juice), scraping up all browned bits from the bottom of the pot—these contain concentrated flavor.
4. Slow Cooking to Perfection (2-3 hours)
Return meat to the pot along with any accumulated juices. Add enough liquid to barely cover the meat (about 2-3 cups). Bring to a gentle simmer—never a rolling boil—then reduce heat to maintain a bare simmer where bubbles occasionally break the surface. Cover and cook for 2-3 hours until meat is fork-tender. Check after 1.5 hours and adjust liquid if needed.
Troubleshooting Common Stew Meat Problems
Even with proper technique, issues can arise. Here's how to fix them:
- Tough meat after cooking: Return to heat and continue cooking in 30-minute increments. The collagen simply needs more time to break down.
- Washed-out flavor: Remove lid for final 30 minutes to concentrate flavors, or add flavor boosters like tomato paste, soy sauce, or Worcestershire.
- Too thin: Mix 2 tablespoons cornstarch with equal parts cold water and stir into stew, cooking until thickened.
- Too thick: Gradually add small amounts of warm broth or water until desired consistency.
Important context boundary: These techniques work best with collagen-rich cuts. If you've used lean steak cuts, no amount of additional cooking will make them tender—they'll only become drier. Always start with appropriate cuts for stewing.
Advanced Flavor Enhancement Techniques
Elevate your stew from good to exceptional with these professional methods:
- Acid balance: Add 1-2 tablespoons of vinegar or wine during the last 30 minutes to brighten flavors without making the stew taste sour.
- Umami boosters: Include dried mushrooms, tomato paste, or a Parmesan rind during cooking for deeper savory notes.
- Finishing fats: Stir in 1-2 tablespoons of butter or olive oil just before serving for luxurious mouthfeel.
- Herb infusion: Tie fresh thyme, rosemary, and bay leaves in cheesecloth for easy removal after cooking.
Remember that stew often tastes better the next day as flavors continue to meld. Store cooled stew in an airtight container in the refrigerator for up to 4 days, or freeze for up to 3 months. When reheating, do so gently over low heat to preserve texture.


 浙公网安备
33010002000092号
浙公网安备
33010002000092号 浙B2-20120091-4