
Why This Simple Stovetop Method Works
Understanding the science behind rice cooking transforms this basic task from hit-or-miss to consistently perfect. When rice meets water, starch granules absorb moisture and swell. The critical phase happens when steam pressure builds under the lid, allowing even heat distribution without scorching. Professional chefs at the Culinary Institute of America emphasize that the resting period after cooking—often overlooked by home cooks—allows residual steam to complete the cooking process while excess moisture evaporates, preventing mushiness.
| Rice Type | Water Ratio | Cooking Time | Special Notes |
|---|---|---|---|
| White long-grain | 1:1.5 | 15-18 min | Rinse thoroughly to remove excess starch |
| Brown rice | 1:2 | 40-45 min | Add 5 min extra resting time |
| Basmati | 1:1.75 | 12-15 min | Soak 30 min before cooking |
| Jasmine | 1:1.25 | 15 min | Minimal rinsing preserves fragrance |
Step-by-Step Stovetop Rice Cooking Process
Preparation Phase: Setting Up for Success
Rinsing isn't optional—it removes surface starch that causes clumping. Place rice in a fine-mesh strainer and run cool water through it while gently stirring with your fingers until water runs clear (about 30 seconds). This professional technique, documented in the USDA's Food Safety for Rice guidelines, prevents gummy texture. Always measure rice before rinsing since water absorption begins immediately.
Cooking Execution: The Critical Temperature Transitions
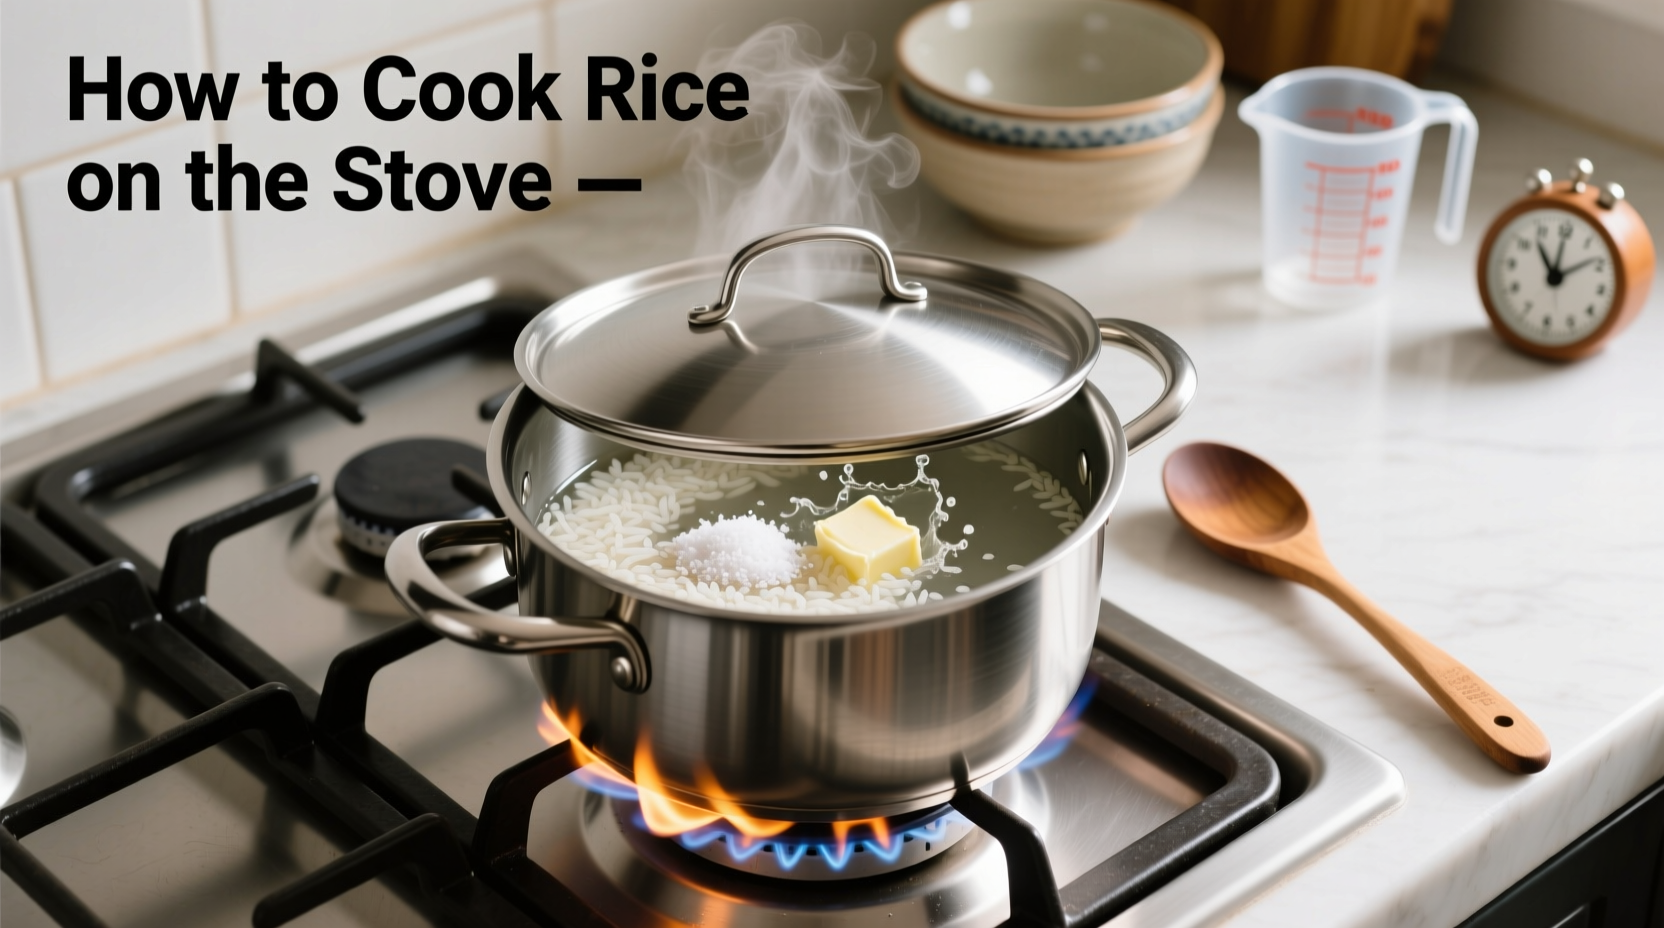
Combine rinsed rice, measured water, and 1/4 teaspoon salt in a heavy-bottomed pot with tight-fitting lid. Bring to a rapid boil over medium-high heat—this initial aggressive boiling ensures even heat distribution. As soon as boiling begins, immediately reduce heat to the lowest possible setting. This precise temperature transition prevents the bottom layer from scorching while maintaining sufficient steam pressure.
The simmering phase requires patience: set timer for 15 minutes (for white rice) without lifting the lid. Peeking releases crucial steam that disrupts the cooking environment. The James Beard Foundation's cooking resources confirm that consistent temperature during this phase determines whether rice becomes perfectly separate or turns to mush.
Resting and Finishing: The Professional Secret
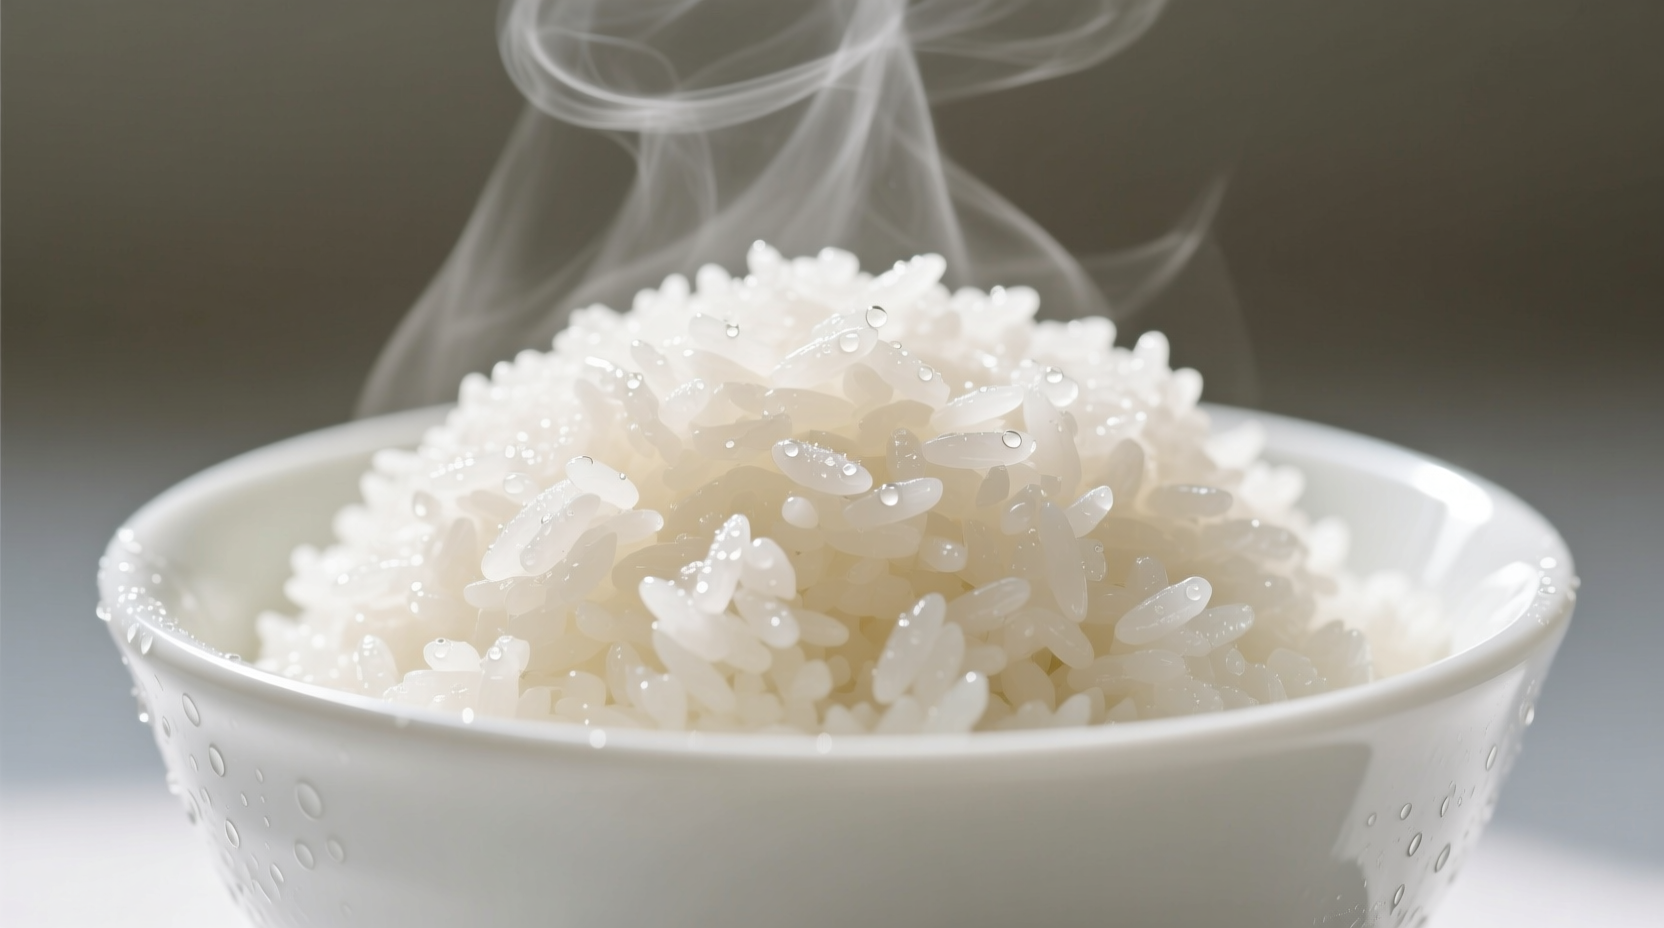
When timer ends, remove pot from heat but do not lift the lid. Let rice rest undisturbed for 10 minutes—this allows residual steam to complete cooking while moisture redistributes evenly. After resting, use a rice paddle or fork to gently fluff from top to bottom, releasing trapped steam. Never use a spoon which crushes grains.
Common Stovetop Rice Problems and Solutions
Problem: Rice sticks to bottom
Solution: Your heat was too high during simmering. Next time, reduce heat immediately after boil and ensure your pot has adequate bottom thickness. Cast iron or tri-ply stainless steel works best.
Problem: Rice remains crunchy
Solution: Water ratio was insufficient or heat too low. Add 2 tablespoons water, return to very low heat for 5 minutes, then rest.
Problem: Mushy, overcooked rice
Solution: You likely lifted the lid during cooking or used too much water. Follow the no-peek rule and measure water precisely after rinsing.
When This Method Applies (and When It Doesn't)
This stovetop technique works perfectly for standard white rice varieties in home kitchens, but has specific context boundaries. The University of California Cooperative Extension notes that high-altitude cooking (above 3,000 feet) requires increased water ratios and longer cooking times due to lower boiling points. Similarly, older rice varieties with reduced moisture content may need slightly more water. For specialty rices like sushi rice that require vinegar seasoning, add the seasoning mixture during the resting phase rather than before cooking to preserve texture.
Professional chefs adjust this basic method based on environmental factors: in humid climates, reduce water by 2-3 tablespoons; when using newer non-stick pots, decrease heat further to prevent scorching. These nuanced adaptations demonstrate why understanding the principles behind the method matters more than rigidly following measurements.
Advanced Variations for Flavor Enhancement
Elevate basic rice by incorporating flavor elements during the cooking process. Substitute water with vegetable or chicken broth for richer taste. Add whole spices like cardamom pods, cinnamon sticks, or bay leaves to the cooking water—they infuse subtle flavor without overpowering. For coconut rice, replace half the water with coconut milk and add a pandan leaf if available.
The key to successful flavor additions is timing: delicate ingredients like fresh herbs go in during the resting phase, while robust elements like spices join at the beginning. This technique aligns with flavor layering principles taught at culinary schools worldwide, ensuring balanced taste rather than overwhelming any single component.


 浙公网安备
33010002000092号
浙公网安备
33010002000092号 浙B2-20120091-4