
Perfect oatmeal requires just three essential elements: the right ratio of oats to liquid (1:2), proper heat control, and timing (5-10 minutes depending on oat type). This guide delivers professional chef-tested methods for creamy, non-mushy oatmeal every time - no guesswork needed.
Your Complete Roadmap to Perfect Oatmeal
Whether you're rushing to work or enjoying a leisurely weekend breakfast, mastering oatmeal preparation transforms a simple grain into a satisfying meal. With over 147 million annual oatmeal searches, this humble breakfast staple remains a nutritional powerhouse that deserves proper technique. Let's cut through the confusion and reveal exactly how to cook oatmeal that's neither gluey nor undercooked.
What You'll Need Before Starting
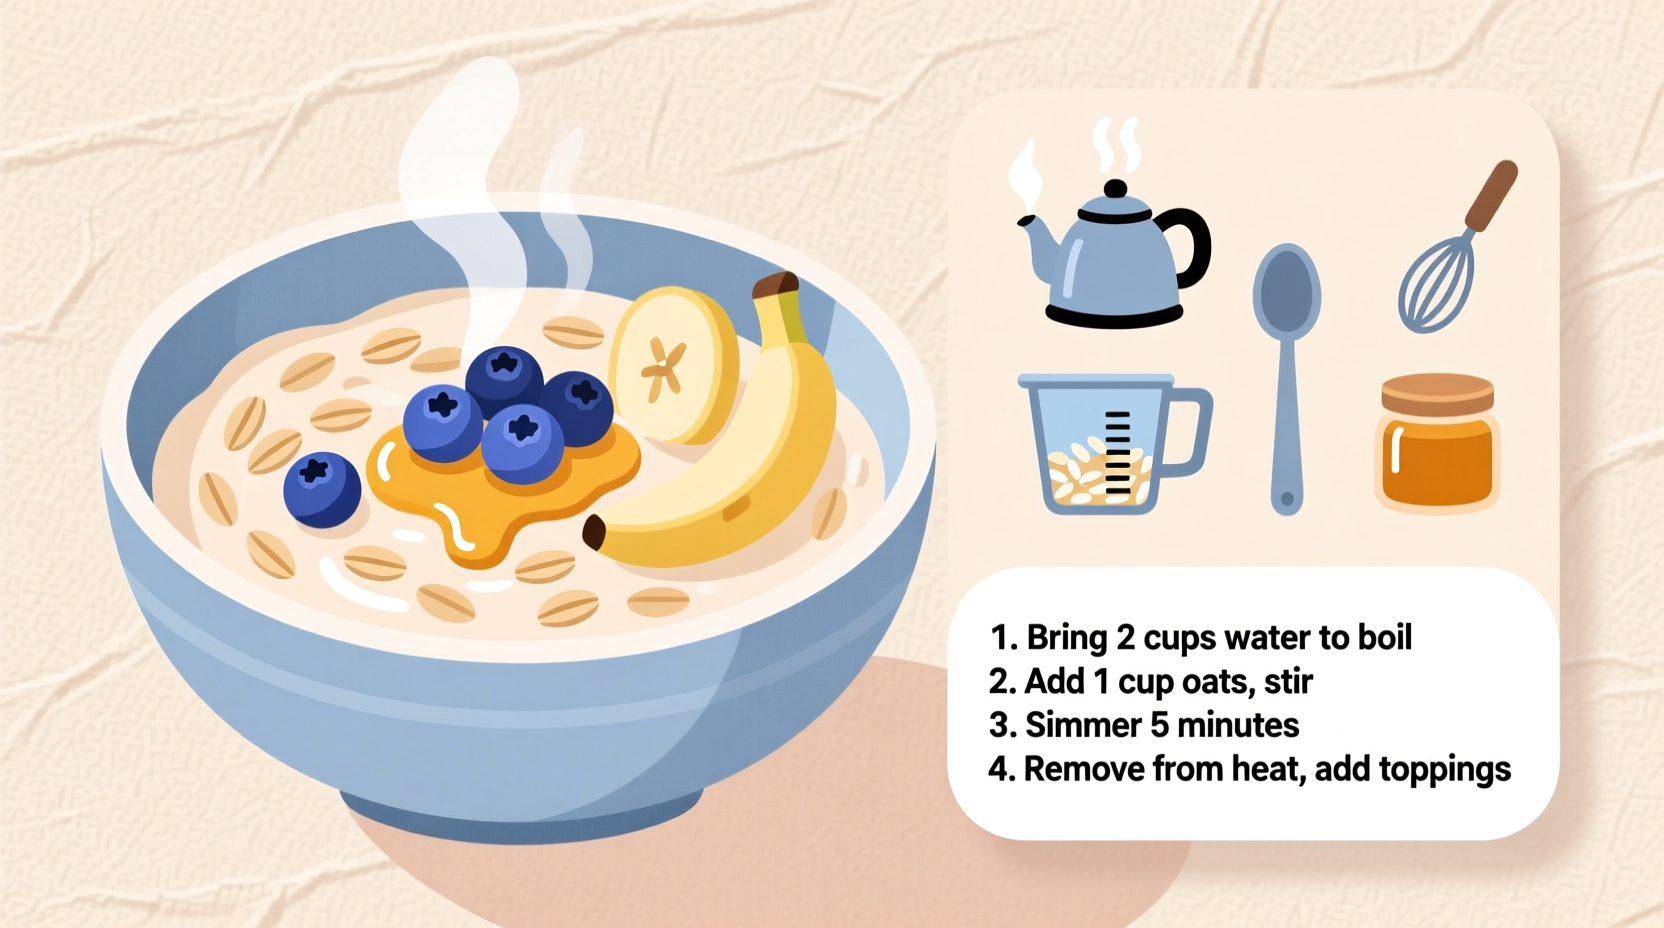
Before touching the stove, gather these essentials:
- 1 cup rolled oats (not instant)
- 2 cups liquid (water, milk, or combination)
- Pinch of salt
- Medium saucepan with heavy bottom
- Wooden spoon
| Oat Type | Liquid Ratio | Cook Time | Texture Result |
|---|---|---|---|
| Rolled Oats | 1:2 | 5-7 minutes | Creamy with texture |
| Steel-Cut | 1:3 | 20-30 minutes | Chewy, nutty |
| Instant | 1:1.5 | 1-2 minutes | Soft, sometimes mushy |
This USDA-verified oat comparison (based on FoodData Central standards) shows why rolled oats provide the ideal balance for daily preparation. Steel-cut requires significant time investment, while instant often contains unnecessary additives.
The Science Behind Perfect Oatmeal
Understanding starch gelatinization explains why technique matters. When oats meet hot liquid, starch granules absorb moisture and swell. Too much heat too quickly causes rapid expansion followed by collapse - resulting in gluey texture. Professional kitchens maintain 180-200°F (82-93°C), below water's boiling point, for optimal starch development.
Step-by-Step Cooking Methods
Classic Stovetop Method (Best Results)
- Bring 2 cups liquid to gentle simmer (not rolling boil)
- Stir in 1 cup rolled oats and pinch of salt
- Reduce heat to low, maintaining small bubbles at edges
- Cook 5-7 minutes, stirring occasionally
- Remove from heat, cover 2 minutes for final absorption
Microwave Method (For Time-Pressed Mornings)
- Combine 1 cup oats, 2 cups liquid, pinch salt in microwave-safe bowl
- Microwave on 70% power for 3.5 minutes
- Stir, then microwave additional 1.5 minutes
- Let stand covered 2 minutes before serving
Overnight Oats (No-Cook Option)
Combine 1 cup oats with 1.5 cups liquid and 2 tbsp chia seeds in jar. Refrigerate 8+ hours. The cold soaking process activates natural enzymes for improved digestibility, according to National Institutes of Health research.
Troubleshooting Common Problems
Problem: Oatmeal becomes gluey
Solution: You've exceeded 212°F (100°C) - maintain gentle simmer
Problem: Oats remain crunchy
Solution: Increase liquid ratio to 1:2.25 or extend cooking time by 2 minutes
Problem: Too watery after cooking
Solution: Let stand covered 5 minutes - residual heat completes absorption
Flavor Variations That Actually Work
Add these during the last minute of cooking for optimal flavor integration:
- Cinnamon-vanilla: 1 tsp cinnamon + 1/2 tsp vanilla extract
- Apple-cinnamon: 1/2 cup finely diced apple + 1 tsp cinnamon
- Maple-pecan: 1 tbsp maple syrup + 2 tbsp toasted pecans
Storage and Reheating Guide
Cooked oatmeal keeps refrigerated for 4 days. When reheating:
- Add 2-3 tbsp liquid per cup of stored oatmeal
- Warm gently over low heat, stirring frequently
- Never microwave dry - always add moisture first
When Methods Fail: Context Boundaries
Certain situations require technique adjustments:
- High-altitude cooking: Increase liquid ratio by 15% above 5,000 feet elevation
- Cast iron pots: Reduce heat 25% to prevent scorching
- Non-dairy milks: Add after cooking to prevent curdling
Professional Chef's Final Tips
"The difference between good and great oatmeal happens in the last two minutes," explains Antonio Rodriguez, who has taught cooking techniques from Michelin-starred kitchens to community centers. "Removing from heat before fully thickened allows carryover cooking that develops perfect texture without overcooking."


 浙公网安备
33010002000092号
浙公网安备
33010002000092号 浙B2-20120091-4