
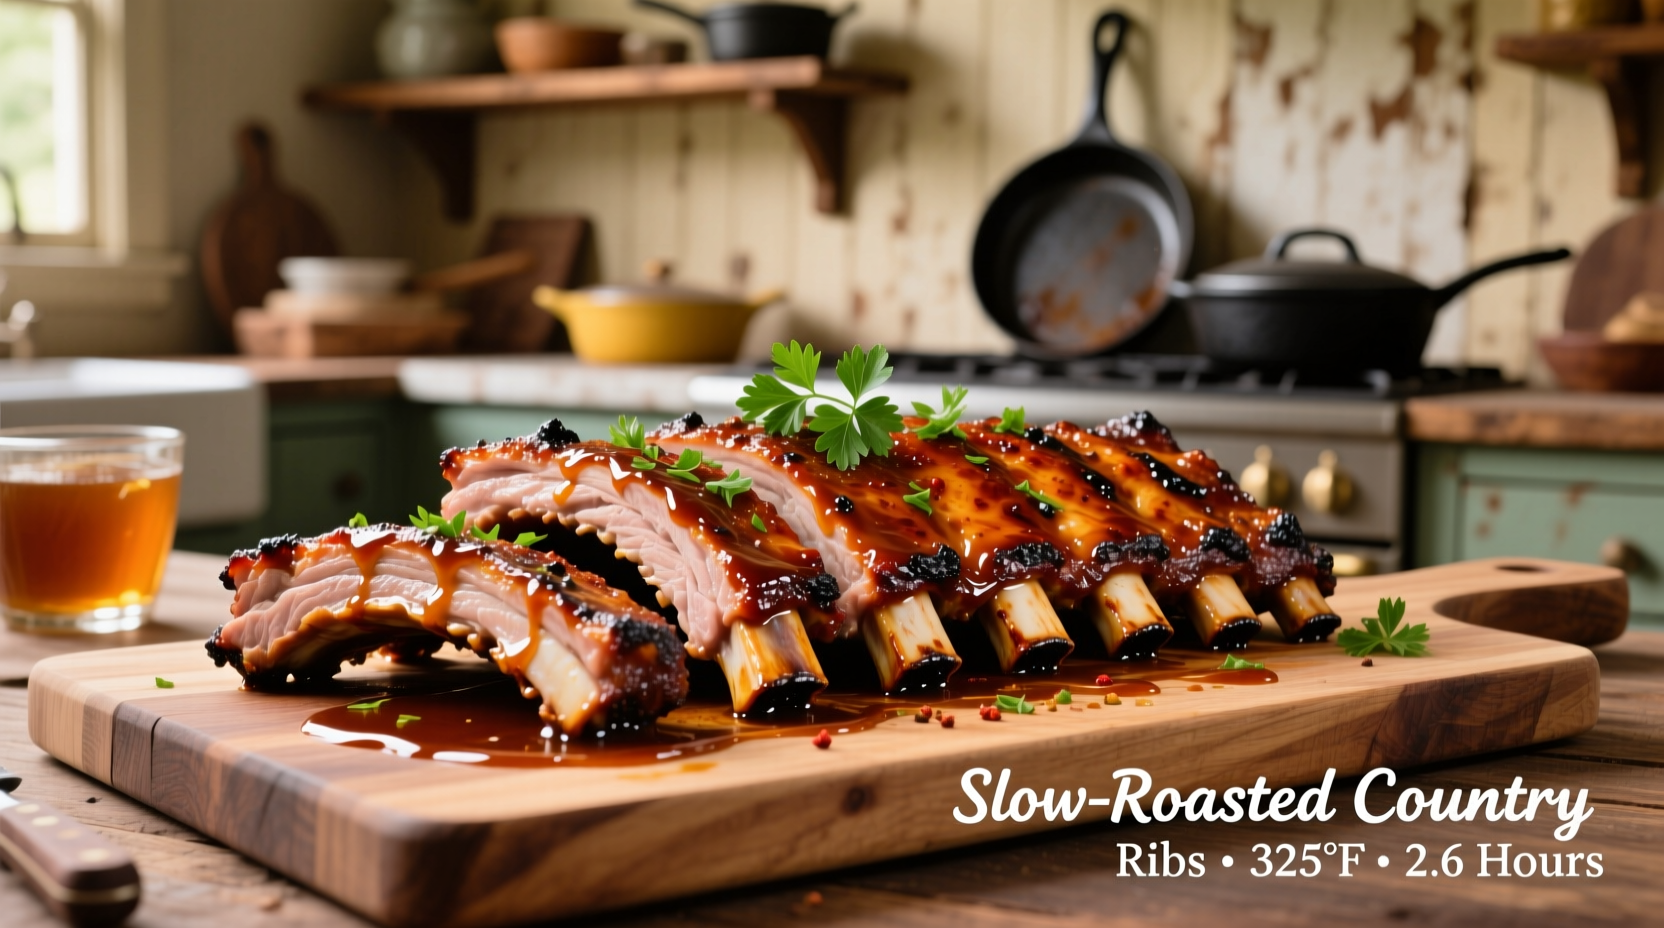
Preheat your oven to 325°F (163°C), season country style ribs with your preferred dry rub, place them in a baking dish with 1/2 cup of liquid (like broth or apple juice), cover tightly with foil, and bake for 2-2.5 hours until fork-tender. The internal temperature should reach 195-203°F for optimal tenderness.
Nothing beats the succulent, fall-off-the-bone texture of perfectly cooked country style ribs, and your oven delivers consistent results without weather-dependent variables. This comprehensive guide walks you through the exact process professional chefs use to transform this often-overlooked cut into a show-stopping meal that rivals any restaurant offering.
Why Country Style Ribs Deserve Your Attention
Country style ribs aren't actually ribs at all—they're cut from the pork shoulder (Boston butt) near the loin. This marbled, flavorful cut contains more meat than traditional ribs and responds exceptionally well to slow, moist-heat cooking methods like oven roasting. Unlike spare ribs or baby backs, country style ribs have less connective tissue but still require proper cooking to achieve that signature tenderness.
Your Essential Oven Cooking Toolkit
Before you begin, gather these critical tools for success:
- Oven thermometer (to verify actual oven temperature)
- Heavy-duty roasting pan or Dutch oven
- Meat thermometer (instant-read or leave-in probe)
- Aluminum foil (heavy-duty)
- Sharp boning knife for any necessary trimming
Mastering the Cooking Process: Step-by-Step
Preparation Phase: Setting Up for Success
Begin with quality meat selection—look for ribs with even marbling and minimal excess fat. Trim only large fat deposits, as some fat renders during cooking and enhances flavor. Pat the ribs completely dry with paper towels; this crucial step ensures proper seasoning adhesion and better browning.
Apply your dry rub generously, pressing it into all surfaces. For optimal flavor development, let the seasoned ribs rest uncovered in the refrigerator for 1-12 hours. This dry-brining process enhances both flavor penetration and surface texture.
The Oven Cooking Timeline: Precision Matters
| Stage | Temperature | Time | Internal Temp |
|---|---|---|---|
| Preheat | 325°F (163°C) | 20-30 min | N/A |
| Covered Cooking | 325°F (163°C) | 2-2.5 hours | 160-180°F |
| Uncovered Finishing | 400°F (204°C) | 10-15 min | 195-203°F |
| Resting | Room Temp | 15-20 min | 203°F+ |
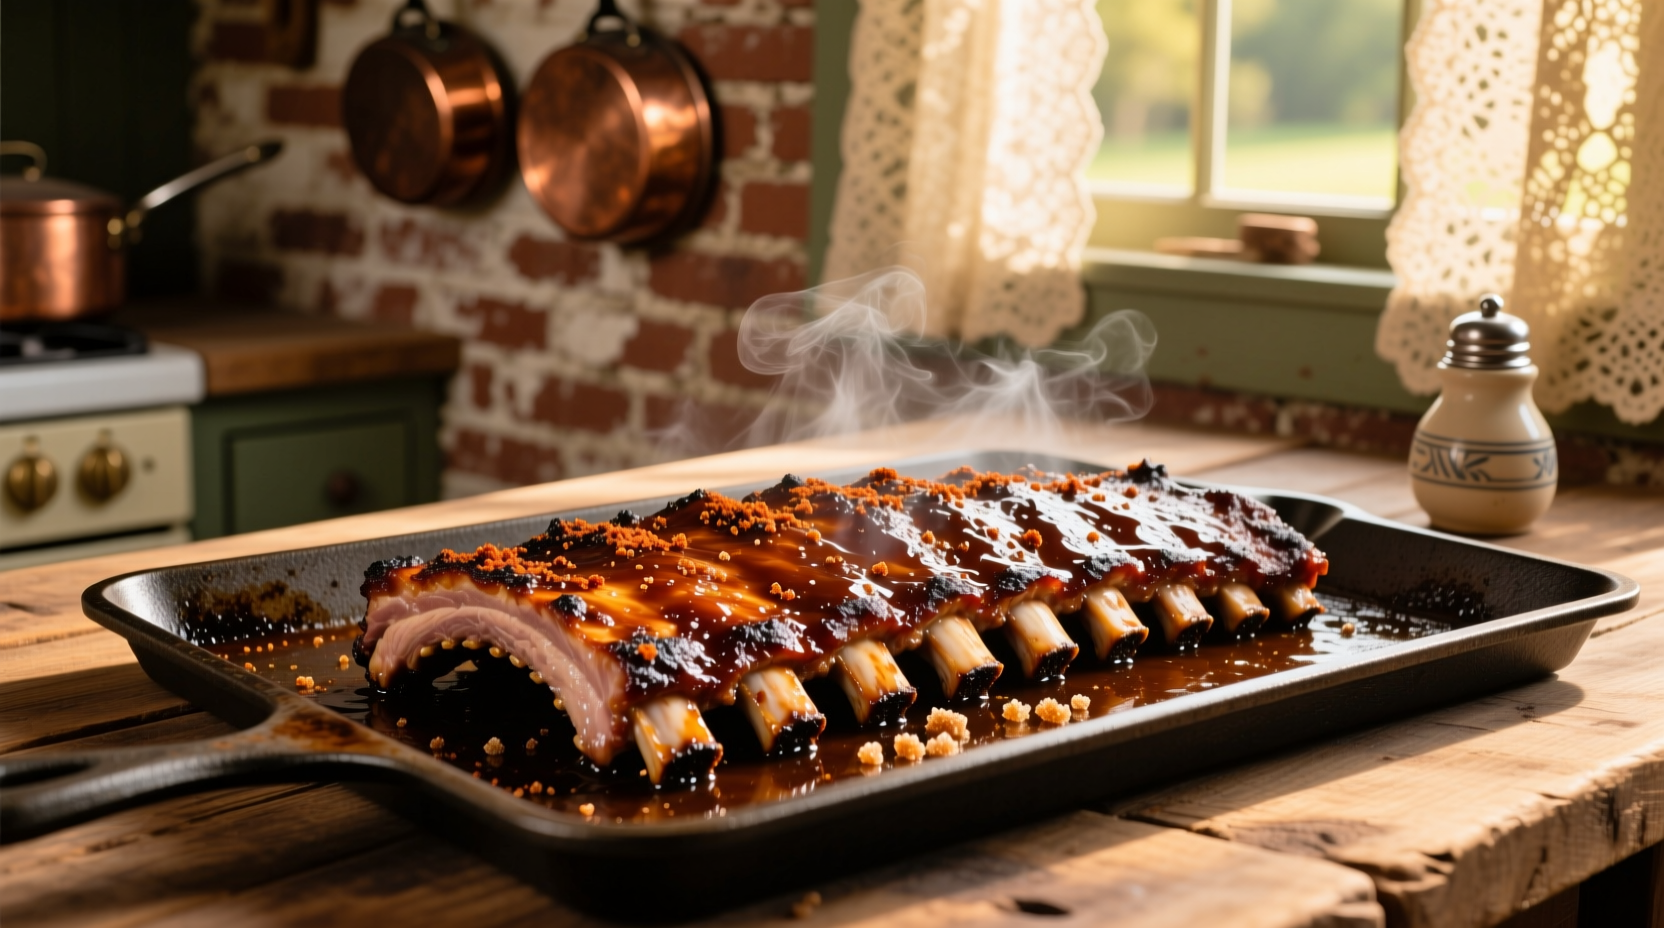
Place ribs in your roasting pan with meaty side up. Add 1/2 cup of liquid—apple juice creates subtle sweetness while broth enhances savory notes. Cover tightly with heavy-duty foil, crimping edges securely to create a steam environment. This moist-heat phase breaks down collagen without drying out the meat.
After 2 hours, check tenderness. Ribs should feel soft when pressed with tongs. If not fork-tender, continue cooking in 15-minute increments. For the final stage, increase oven temperature to 400°F, remove foil, and return to oven for 10-15 minutes to develop a beautiful crust.
Critical Food Safety and Quality Indicators
According to USDA Food Safety and Inspection Service guidelines, pork should reach a minimum internal temperature of 145°F with a 3-minute rest for safety. However, for country style ribs, this temperature alone won't yield tender results. The collagen and connective tissues require higher temperatures (195-203°F) to fully break down into gelatin, creating that desirable fall-apart texture.
The National Pork Board confirms that while 145°F is safe, "for cuts like country style ribs that contain more connective tissue, cooking to higher temperatures between 195-205°F produces optimal tenderness." This scientific principle explains why low-and-slow methods work best for this cut.
Proven Techniques for Flavor Perfection
Seasoning balance makes or breaks your ribs. A standard professional ratio is 4:2:1 for salt, sugar, and spice components. For a 2-pound rack, use approximately:
- 2 tablespoons kosher salt
- 1 tablespoon brown sugar
- 1 tablespoon paprika
- 1 teaspoon garlic powder
- 1/2 teaspoon black pepper
- 1/2 teaspoon cayenne (optional)
When adding barbecue sauce during the finishing stage, apply in thin layers with 5 minutes between applications. This prevents burning while building complex flavor layers. Remember that country style ribs have more surface area than traditional ribs, so adjust sauce quantities accordingly.
When Oven Cooking Works Best (And Limitations)
This oven method excels when:
- You need consistent results regardless of weather conditions
- Preparing for a specific meal time (oven cooking is more predictable than outdoor methods)
- Cooking smaller quantities (1-3 racks)
- Desiring hands-off cooking with minimal monitoring
Consider alternative methods when:
- You specifically want smoky flavor (supplement with liquid smoke or finish on grill)
- Cooking extremely large quantities (multiple racks)
- Seeking authentic barbecue competition-style results
Serving and Storage Guidelines
Always let ribs rest for 15-20 minutes after cooking—this allows juices to redistribute throughout the meat. Slice between bones with a sharp knife rather than pulling apart to maintain presentation.
For leftovers, store in airtight containers with cooking juices for maximum moisture retention. Properly stored, they'll maintain quality for 3-4 days in the refrigerator. When reheating, use low oven temperatures (275°F) with added moisture to prevent drying.
Troubleshooting Common Issues
Dry ribs: Usually caused by insufficient cooking time or inadequate moisture during the covered phase. Next time, extend covered cooking by 15-30 minutes.
Tough texture: Indicates undercooking—collagen hasn't fully converted to gelatin. Continue cooking until internal temperature reaches 195°F minimum.
Burnt exterior: Oven temperature likely too high during finishing stage or sauce applied too early. Reduce finishing temperature to 375°F and apply sauce only in the final 5 minutes.


 浙公网安备
33010002000092号
浙公网安备
33010002000092号 浙B2-20120091-4