
Properly cooked chitterlings require thorough cleaning, a 3-4 hour simmering process at 160°F (71°C), and careful handling to ensure food safety. This guide provides step-by-step preparation instructions, traditional seasoning methods, and critical safety protocols used by experienced cooks for preparing this traditional Southern dish.
The Complete Guide to Preparing Chitterlings Safely and Deliciously
Chitterlings (or chitlins) have been a cornerstone of Southern and soul food traditions for generations, transforming humble pig intestines into a flavorful delicacy. While the preparation requires patience and attention to detail, mastering this technique connects you to centuries of culinary heritage. This guide walks you through every step with professional techniques that ensure both safety and authentic flavor.
Why Proper Chitterling Preparation Matters
Chitterlings require special handling due to their nature as organ meat. According to USDA food safety guidelines, pork products must reach an internal temperature of 160°F (71°C) to eliminate harmful bacteria. Unlike other cuts, chitterlings need extensive cleaning before they're safe to cook. This isn't just about taste—it's a critical food safety requirement.
| Preparation Stage | Traditional Method | Modern Safety Enhancement |
|---|---|---|
| Cleaning | Multiple cold water rinses | Add vinegar or baking soda solution (1 cup per gallon) |
| Initial Boil | 30-minute boil, discard water | Boil 5 minutes, discard water, repeat before final cooking |
| Cooking Time | 3-4 hours simmering | Maintain 160°F+ throughout cooking process |
| Storage | Cool at room temperature | Refrigerate within 2 hours of cooking |
Your Essential Chitterling Preparation Toolkit
Before you begin, gather these items to streamline your process:
- Two large stockpots (one for cleaning, one for cooking)
- Heavy-duty rubber gloves (recommended for cleaning)
- Sharp kitchen scissors or knife
- White vinegar or baking soda for cleaning solution
- Meat thermometer (critical for food safety)
- Traditional seasonings: onions, garlic, bay leaves, hot peppers
Step-by-Step Chitterling Preparation Process
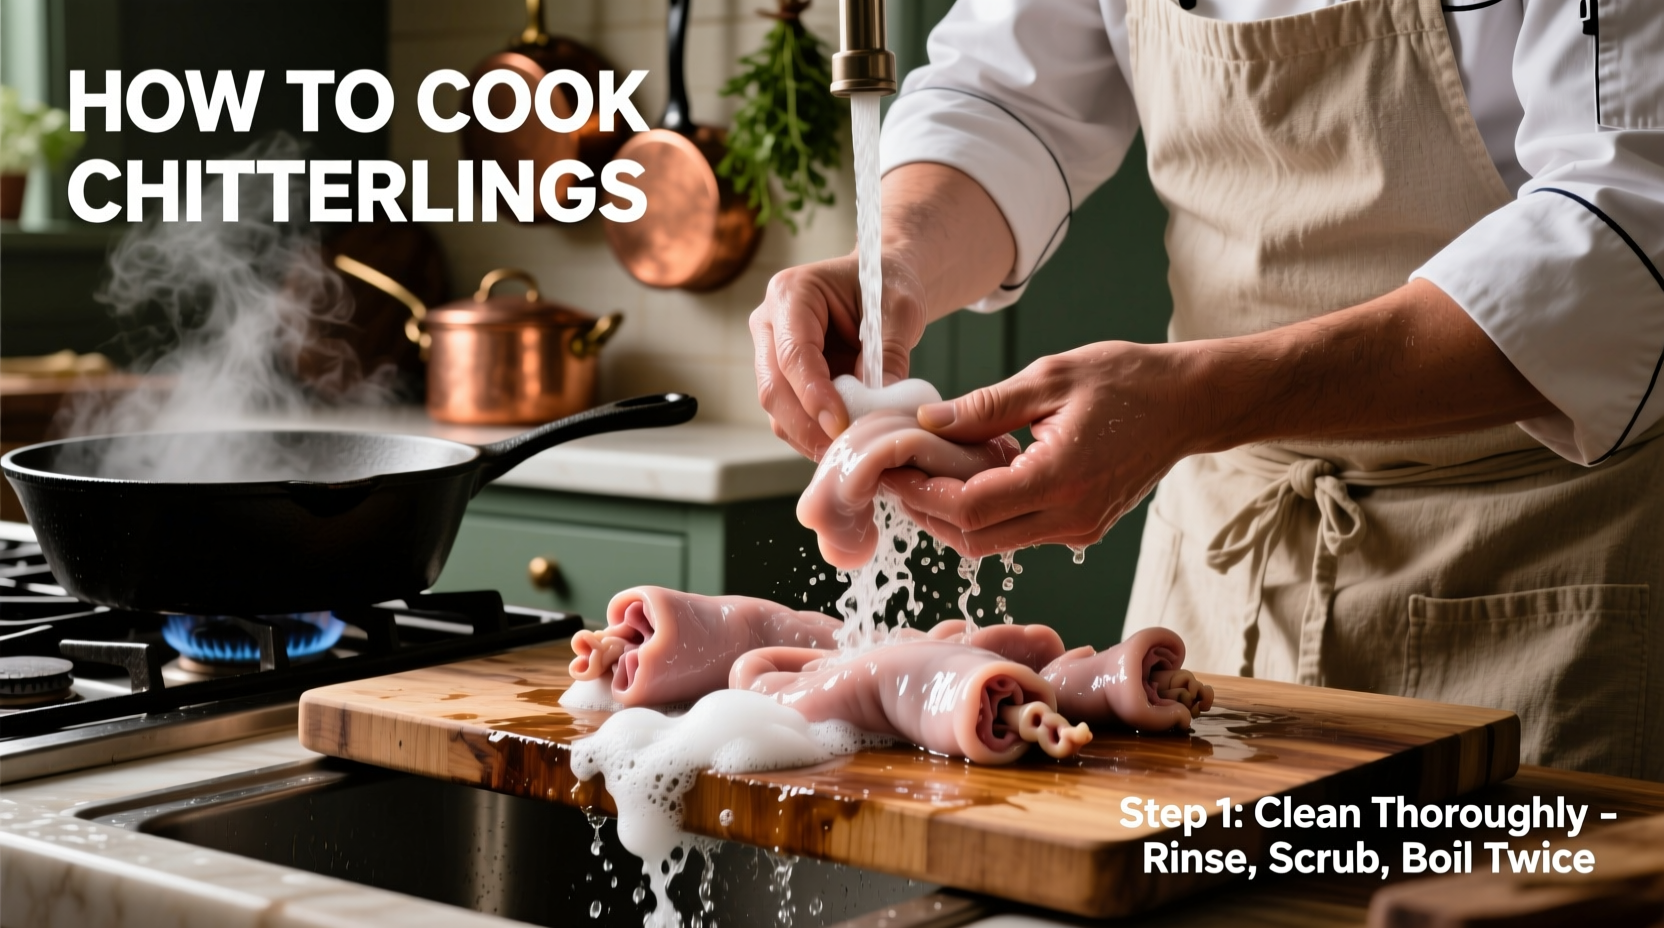
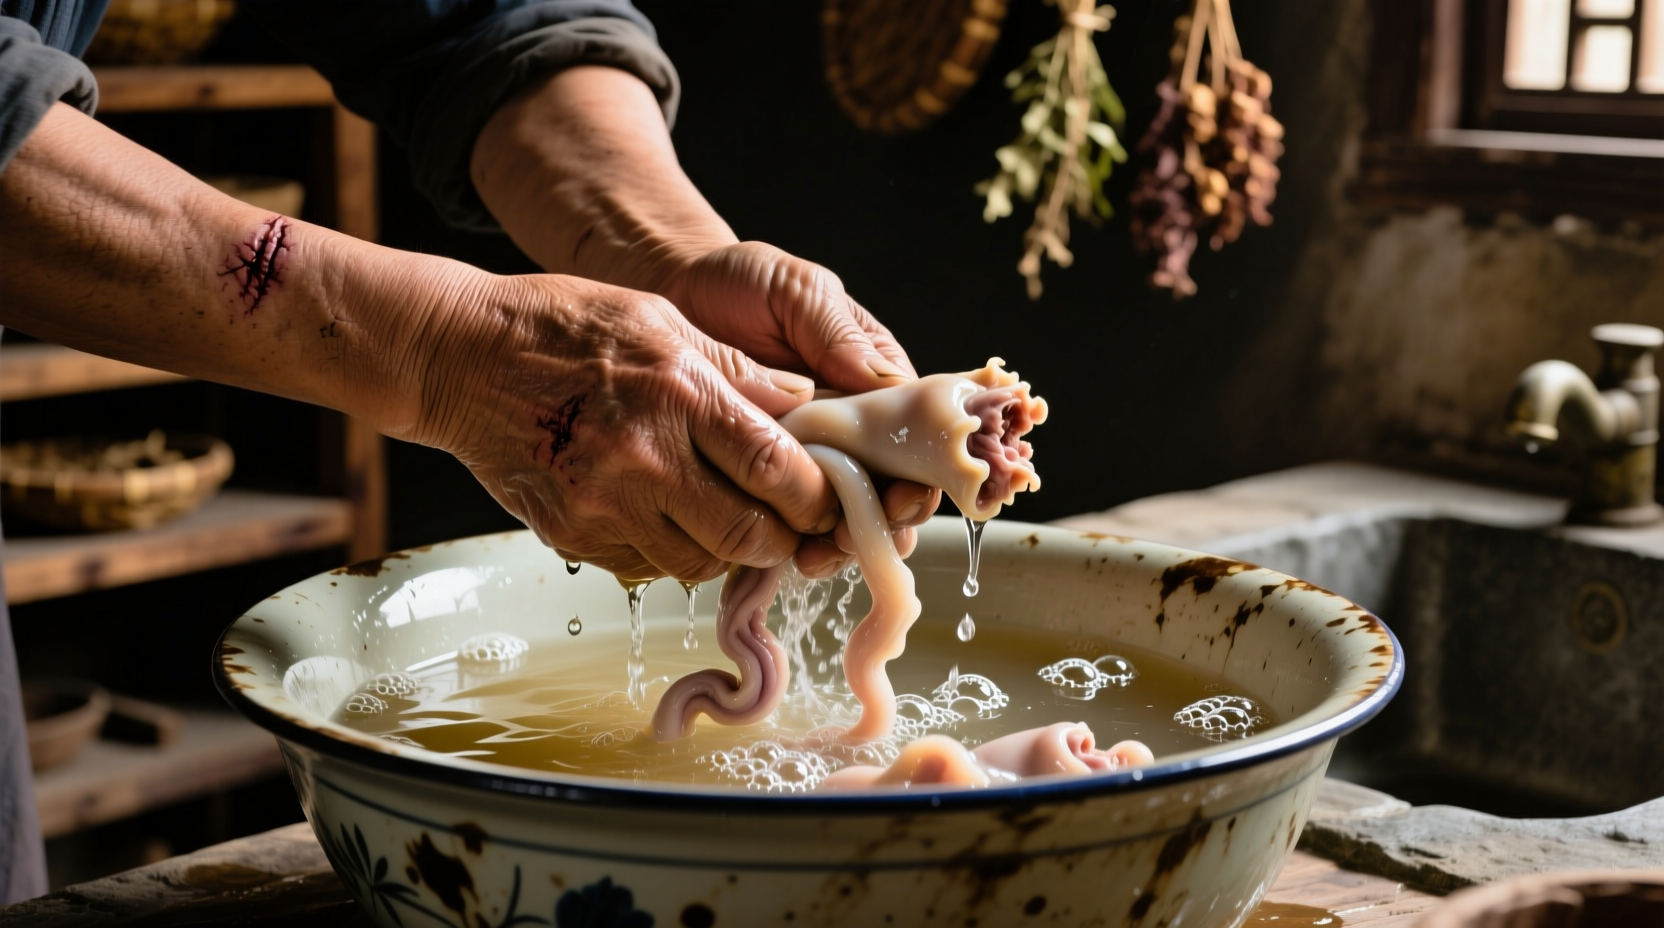
Phase 1: Thorough Cleaning (The Critical First Step)
Cleaning chitterlings properly determines both safety and flavor. Start by inspecting for any remaining fat or membrane. Place chitterlings in a large bowl of cold water with 1 cup of vinegar or baking soda. Gently rub sections between your fingers to remove impurities. Drain and repeat this process 4-5 times until the water runs clear—this typically takes 20-30 minutes.
Phase 2: Initial Blanching Process
After cleaning, blanch chitterlings to further remove impurities:
- Place cleaned chitterlings in a large pot and cover with cold water
- Bring to a boil for 5 minutes (do not skip this step)
- Drain and discard the water—this first boil water will be cloudy
- Rinse chitterlings once more under cold water
- Repeat the brief boiling process one additional time
This double-blanching technique, recommended by food safety experts at the National Center for Home Food Preservation, significantly reduces bacteria before the main cooking process.
Phase 3: Flavorful Simmering Process
Now that your chitterlings are properly cleaned and blanched, it's time for the main cooking process:
- Place chitterlings in a clean pot and cover with fresh water
- Add aromatics: 2 chopped onions, 4 garlic cloves, 2 bay leaves, and 1-2 hot peppers
- Bring to a gentle simmer (do not boil vigorously)
- Cover and cook for 3-4 hours, checking periodically
- Maintain temperature at or above 160°F (71°C) throughout cooking
- Skim any foam that forms on the surface during cooking
The chitterlings are done when they reach a tender but firm texture—similar to well-cooked pasta. Use your meat thermometer to verify the internal temperature has reached 160°F (71°C) before serving.
Traditional Flavor Enhancements
While basic preparation focuses on safety and texture, authentic flavor comes from these traditional techniques:
- Add smoked ham hock during the last hour of cooking for depth
- Finish with a splash of apple cider vinegar for brightness
- For extra flavor, sauté the cooked chitterlings in bacon grease for 5-10 minutes
- Traditional side dishes: collard greens, black-eyed peas, and cornbread
Critical Safety Considerations
Chitterlings present specific food safety challenges that require attention:
- Cross-contamination risk: Use separate cutting boards and utensils for raw chitterlings
- Temperature danger zone: Never let cleaned chitterlings sit at room temperature for more than 2 hours
- Proper storage: Refrigerate leftovers within 2 hours; consume within 3-4 days
- Special populations: The CDC recommends that young children, elderly individuals, and those with compromised immune systems avoid chitterlings due to higher foodborne illness risks
According to the Centers for Disease Control and Prevention (CDC), improper handling of chitterlings has been linked to several foodborne illness outbreaks. Following these safety protocols isn't optional—it's essential for protecting yourself and others.
Common Mistakes to Avoid
Even experienced cooks sometimes make these errors when preparing chitterlings:
- Insufficient cleaning: Skipping rinse cycles leads to unpleasant flavors
- Rushing the process: Cooking at too high temperature creates tough, rubbery texture
- Skipping the blanching step: Increases risk of foodborne illness
- Over-seasoning early: Salt added at the beginning can toughen the meat
- Improper storage: Leaving cooked chitterlings at room temperature too long
Respecting the Cultural Heritage
Chitterlings carry deep cultural significance in African American communities, originating from resourceful use of available ingredients during difficult historical periods. A 2022 culinary anthropology study published by the Smithsonian's National Museum of African American History and Culture documented how preparation methods have evolved while maintaining core techniques. Today, chitterlings represent both culinary tradition and cultural resilience.
When preparing this dish, remember you're participating in a living tradition that connects generations. Many families have specific preparation rituals passed down through decades—honor these traditions while incorporating modern food safety practices for the best results.
Final Tips for Perfect Chitterlings
- Test tenderness by gently squeezing a piece—it should yield but hold its shape
- If cooking frozen chitterlings, thaw in the refrigerator for 24 hours first
- For richer flavor, save some of the cooking liquid to use as broth for side dishes
- Leftovers can be fried for a crispy texture variation
- Always wash hands thoroughly after handling raw chitterlings


 浙公网安备
33010002000092号
浙公网安备
33010002000092号 浙B2-20120091-4