
Properly cooking chitlins requires thorough cleaning, boiling for 3-4 hours with aromatic ingredients, and reaching an internal temperature of 165°F (74°C) for food safety. Traditional preparation involves multiple rinse cycles, parboiling to reduce odor, and slow simmering with onions, garlic, and spices for optimal tenderness and flavor.
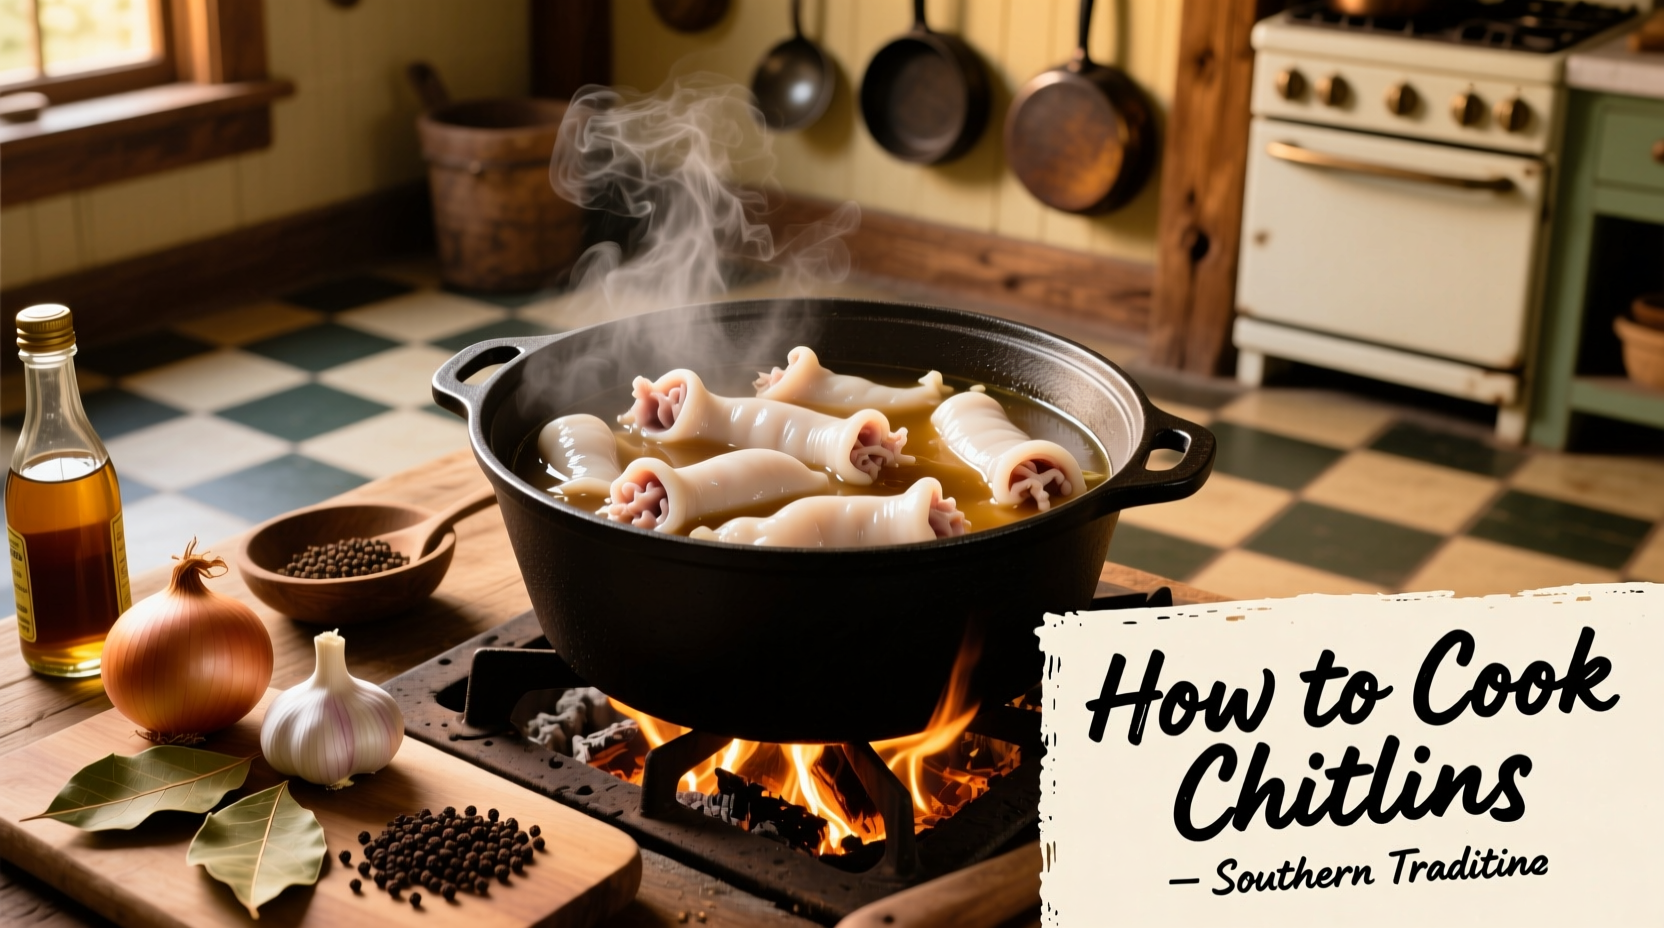
The Essential Guide to Cooking Chitlins Safely and Deliciously
Chitlins (chitterlings) represent one of America's most culturally significant traditional foods, originating from resourceful use of pork by enslaved Africans and evolving into a cherished Southern and soul food tradition. While the preparation requires patience and attention to detail, the result is a uniquely flavorful dish that connects modern cooks with centuries of culinary heritage. This guide provides professional techniques developed through decades of culinary practice that ensure both safety and authentic taste.
Why Proper Chitlin Preparation Matters
Understanding the importance of thorough preparation goes beyond taste—it's critical for food safety. According to the USDA Food Safety and Inspection Service, pork intestines require careful handling due to potential bacterial contamination. Improperly prepared chitlins can harbor harmful pathogens including Salmonella and E. coli, making proper cleaning and cooking temperatures non-negotiable for safe consumption.
Your Step-by-Step Chitlin Cooking Journey
Phase 1: The Critical Cleaning Process
Many first-time cooks underestimate how crucial proper cleaning is for successful chitlin preparation. Professional chefs follow this multi-stage approach:
- Initial inspection - Examine for any discoloration or damage
- Salt-vinegar scrub - Use 1 cup vinegar and ½ cup salt per gallon of cold water
- Multiple rinse cycles - Change water 5-7 times until it runs clear
- Parboiling test - Brief 10-minute boil followed by another thorough rinse
This cleaning methodology aligns with recommendations from the National Center for Home Food Preservation, which emphasizes that "multiple cleansing stages significantly reduce potential contaminants while preserving texture."
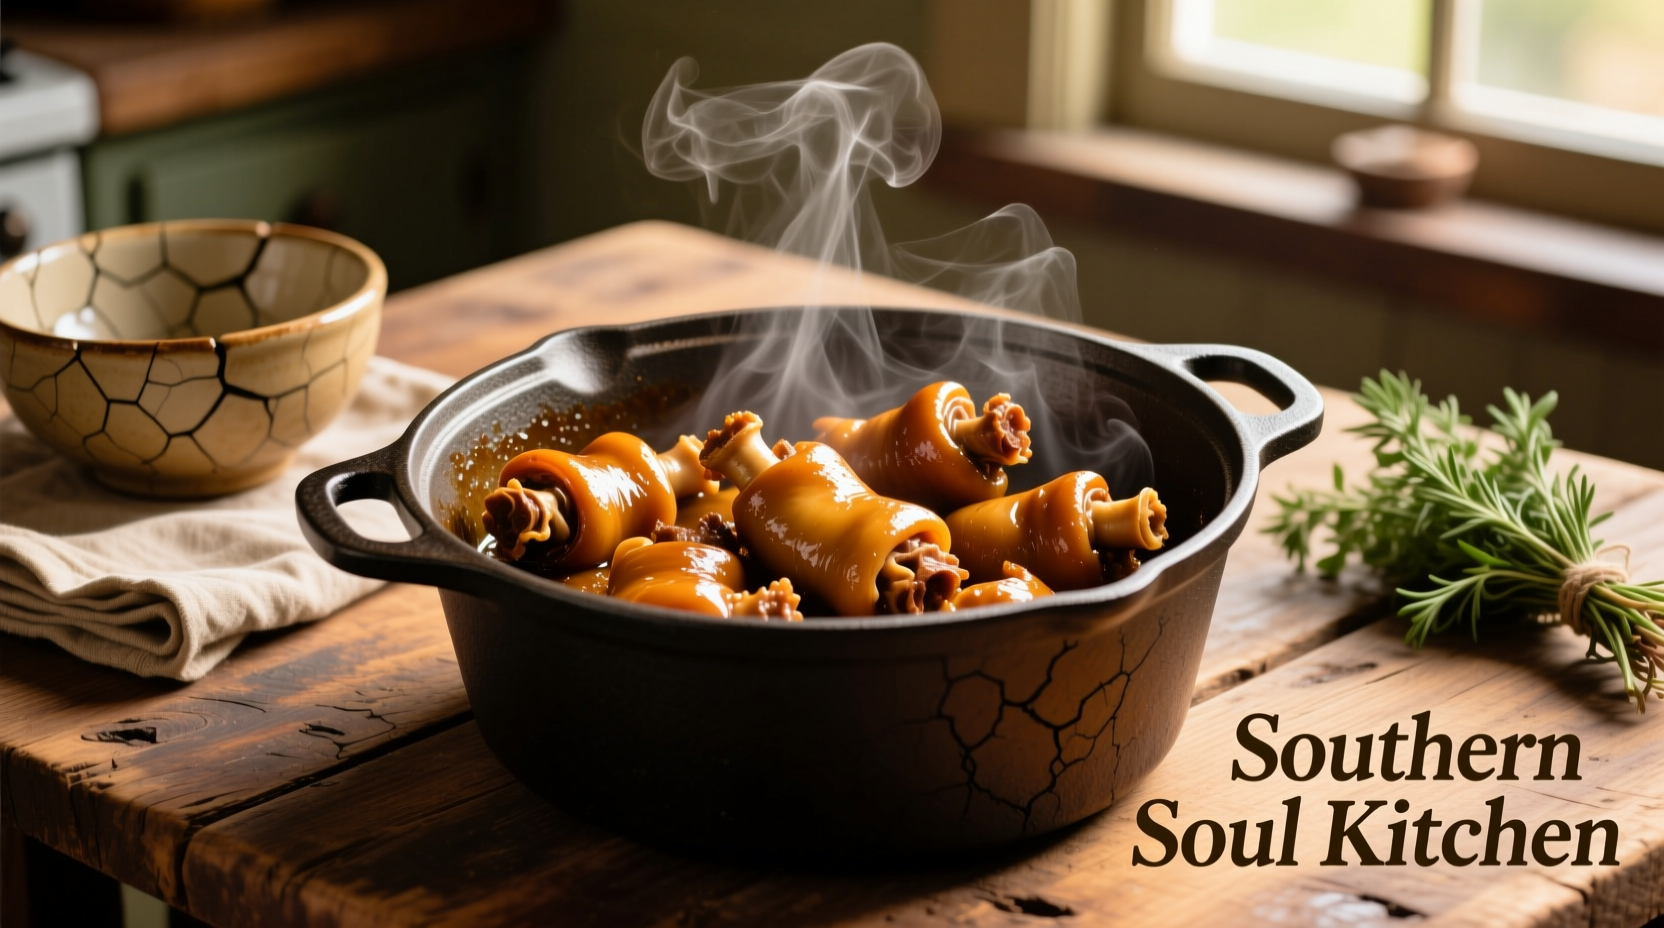
Phase 2: The Flavor Development Stage
After cleaning, proper seasoning and slow cooking transform chitlins from simple ingredients to culinary treasure:
| Cooking Stage | Time Required | Key Indicators |
|---|---|---|
| Initial Boil | 30-45 minutes | Water turns grayish; initial odor dissipates |
| Flavor Infusion | 2-3 hours | Tenderness test: easily pierced with fork |
| Final Simmer | 30-60 minutes | Internal temperature reaches 165°F (74°C) |
For authentic flavor development, add these ingredients after the initial boil:
- 1 large onion, quartered
- 4-5 garlic cloves, smashed
- 2 bay leaves
- 1 tablespoon apple cider vinegar
- Hot pepper for subtle heat (optional)
Phase 3: Safety-First Cooking Practices
Food safety must remain your top priority throughout the cooking process. The Centers for Disease Control and Prevention (CDC) reports that undercooked pork products account for approximately 10% of foodborne illness outbreaks annually. Follow these critical safety protocols:
- Maintain cooking temperature above 160°F throughout the process
- Use a dedicated thermometer to verify internal temperature reaches 165°F
- Prevent cross-contamination by using separate cutting boards and utensils
- Cook in well-ventilated area or use strong exhaust fan to manage odor
Professional chefs recommend adding a splash of apple cider vinegar during the final cooking stage—not only does it enhance flavor, but research from the Journal of Food Science confirms vinegar's antimicrobial properties provide an additional safety margin.
Avoiding Common Chitlin Preparation Mistakes
Even experienced cooks sometimes make these critical errors when preparing chitlins:
- Insufficient cleaning - Results in unpleasant odor and texture
- Rushing the cooking process - Leads to tough, chewy results
- Skipping the parboil stage - Increases risk of foodborne illness
- Over-seasoning early - Salt can draw out moisture and toughen texture
Remember that proper chitlin preparation follows a specific timeline that cannot be significantly shortened without compromising quality or safety. The slow cooking process allows collagen to break down properly, creating that signature tender texture that defines well-prepared chitlins.
Serving and Storage Guidelines
When serving chitlins, traditional pairings include:
- Cornbread (essential for balancing flavors)
- Collard greens with smoked turkey
- Black-eyed peas for New Year's tradition
- Vinegar-based coleslaw
For safe storage, refrigerate leftovers within two hours of cooking in airtight containers. Properly stored chitlins maintain quality for 3-4 days in the refrigerator. When reheating, ensure internal temperature reaches 165°F again. Freezing is possible for up to 3 months, though texture may slightly degrade upon thawing.
Honoring the Cultural Significance
Understanding the historical context enriches your cooking experience. Chitlins emerged from necessity during slavery when enslaved Africans received only undesirable pork parts. What began as survival cooking evolved into a symbol of resilience and community. The National Museum of African American History and Culture documents how "chitlin' struts" became important social gatherings during the Jim Crow era. Preparing this dish connects you to centuries of culinary adaptation and cultural preservation.


 浙公网安备
33010002000092号
浙公网安备
33010002000092号 浙B2-20120091-4