
The Ultimate Guide to Grilling Chicken Breast Perfectly
Grilled chicken breast is a summer staple that often ends in disappointment—dry, tough, or unevenly cooked meat. But with the right technique, you can achieve restaurant-quality results at home. This comprehensive guide walks you through every step of the process based on food science principles and professional chef techniques.
Why Most Home Cooks Fail at Grilling Chicken Breast
Chicken breast is notoriously easy to overcook because it's lean with little fat to keep it moist. According to USDA food safety guidelines, chicken must reach 165°F internally, but exceeding this temperature by even 5 degrees causes significant moisture loss. The key is precise temperature control and proper resting.
Essential Equipment Checklist
- Gas or charcoal grill (with functioning thermometer)
- Instant-read digital thermometer (critical for accuracy)
- Grill tongs with locking mechanism
- Meat mallet or rolling pin (for even thickness)
- Aluminum foil (for creating indirect heat zone)
Step-by-Step Process: From Fridge to Plate
Preparation: The 20-Minute Game Changer
Remove chicken from refrigerator 20 minutes before grilling. This simple step allows the meat to come closer to room temperature, ensuring more even cooking. While your chicken rests, prepare your grill and seasoning.
Creating the Perfect Grill Setup
Set up a two-zone fire:
- Direct heat zone: Medium-high heat (375-450°F) for searing
- Indirect heat zone: Cooler area (around 300°F) for finishing
This configuration prevents burning while ensuring thorough cooking. For gas grills, turn off one burner. For charcoal, pile coals on one side.
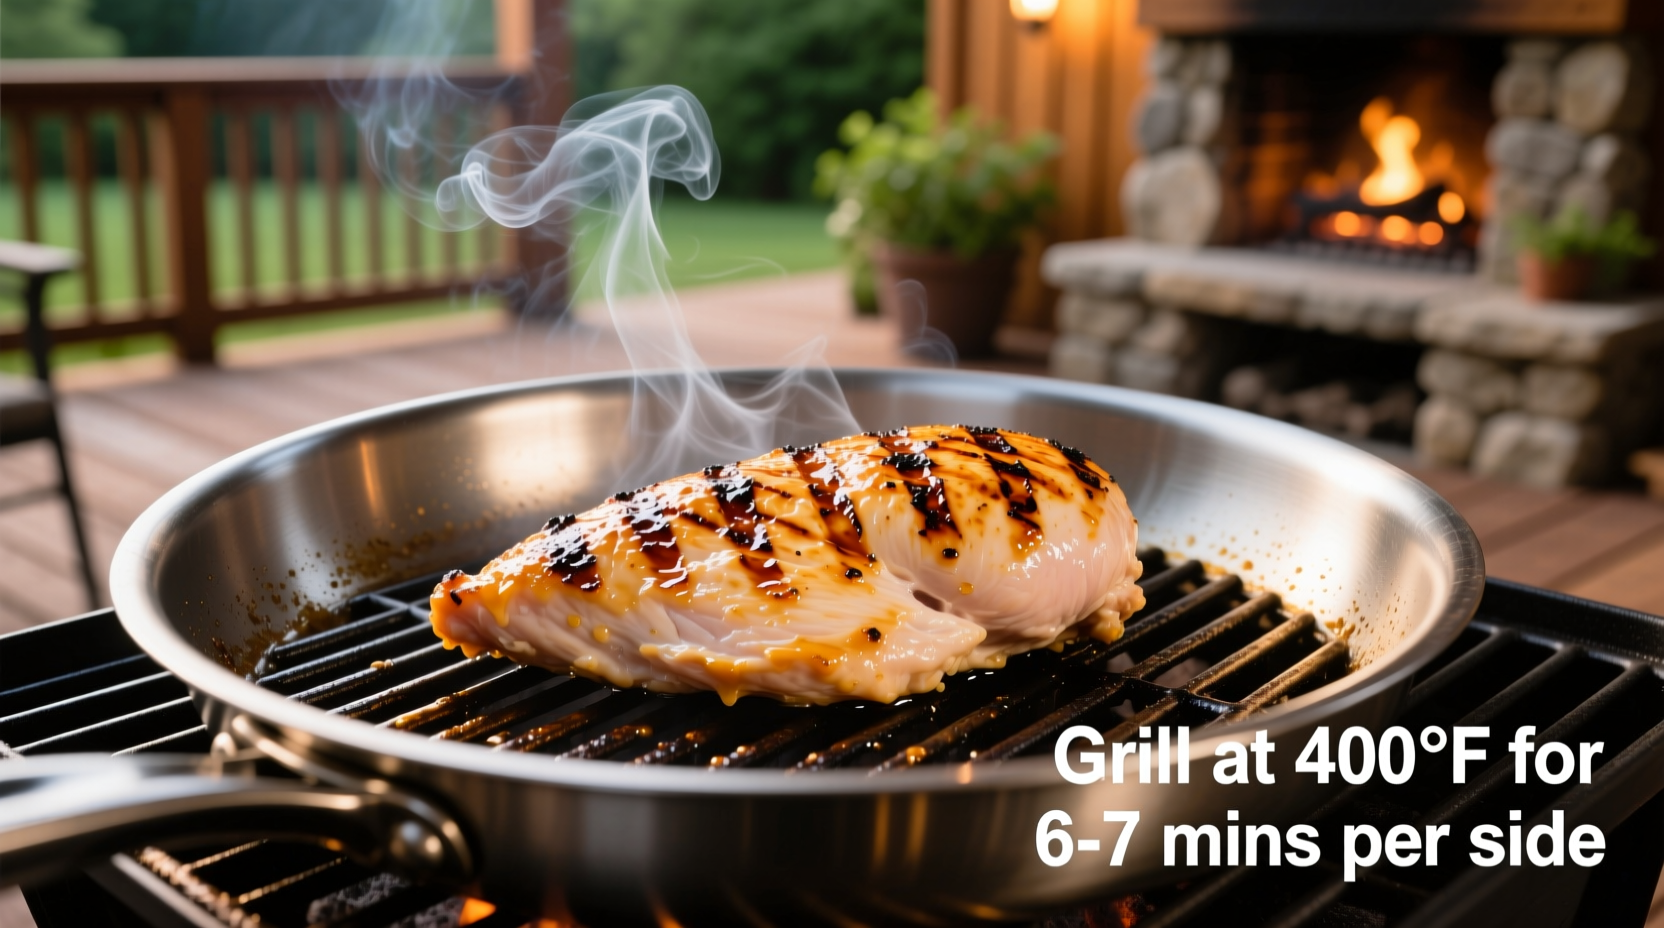
Perfect Chicken Breast Grilling Timeline
| Stage | Time | Action | Internal Temp |
|---|---|---|---|
| Prep | 20 min | Bring chicken to near room temperature | N/A |
| Searing | 3-4 min | Direct heat, first side | 110°F |
| Searing | 3-4 min | Direct heat, flip and rotate 90° for crosshatch marks | 125°F |
| Finishing | 4-6 min | Move to indirect heat | 150°F |
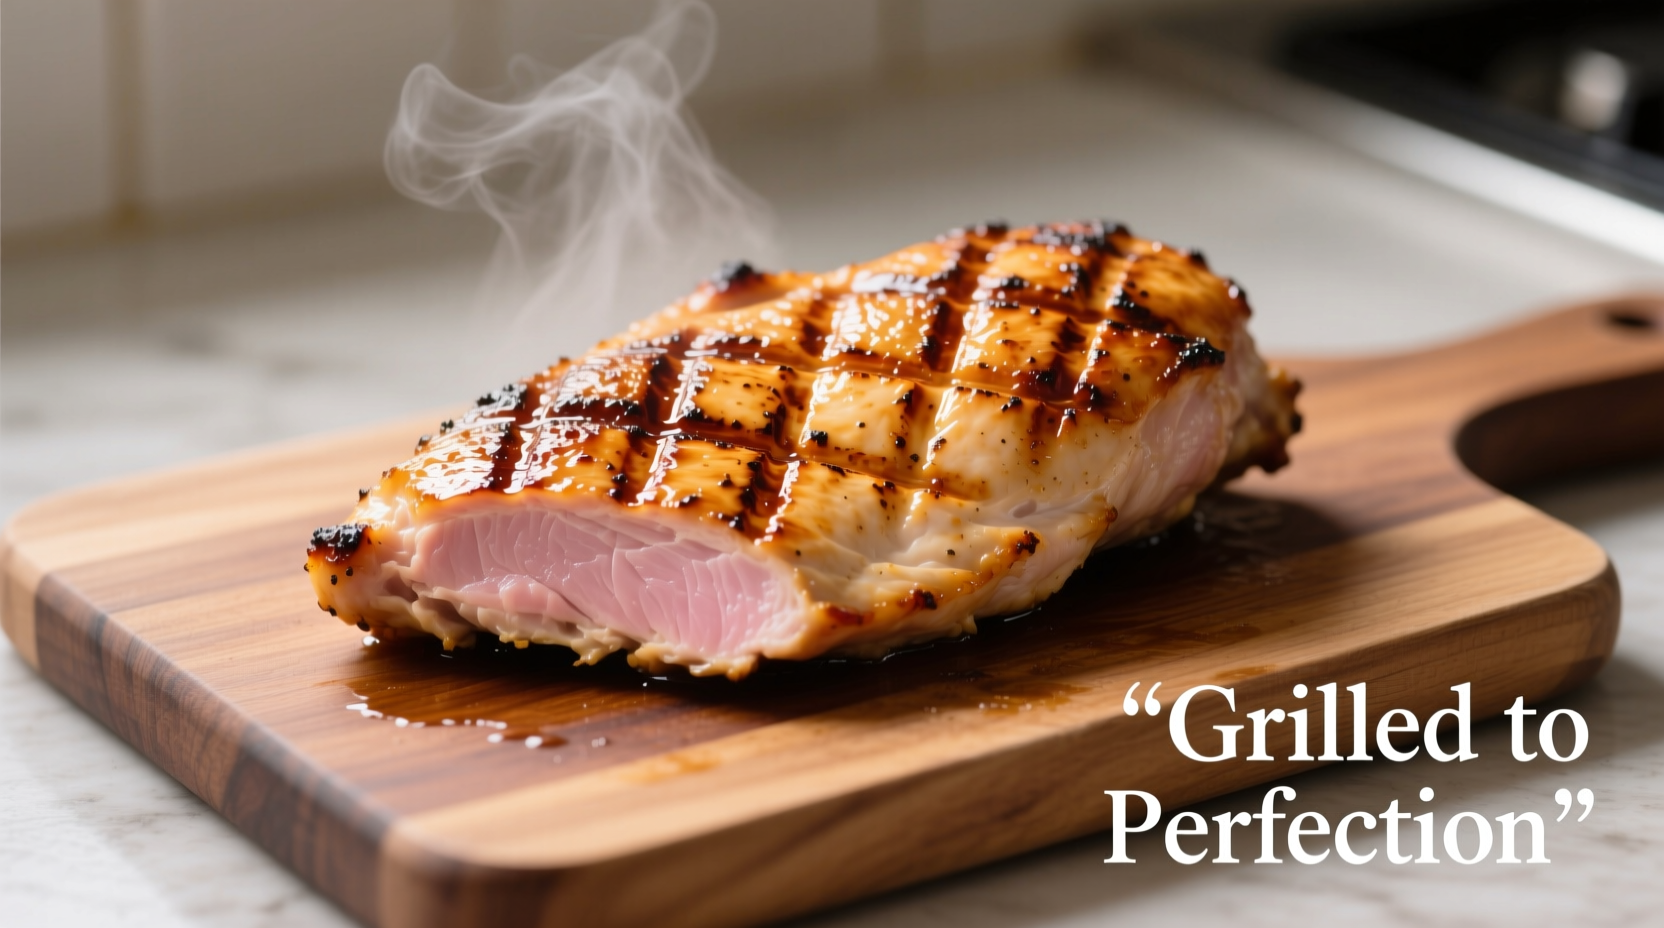
| Resting | 5-10 min | Off grill, tented loosely with foil | 165°F |
Avoiding Common Grilling Mistakes
Problem: Chicken sticks to the grill
Solution: Clean and oil the grates thoroughly before heating. Wait until chicken releases naturally before flipping—forcing it will tear the meat.
Problem: Uneven thickness causes uneven cooking
Solution: Use a meat mallet to pound thicker portions to match the thinnest part, creating uniform 3/4-inch thickness throughout.
Problem: Burning before reaching safe temperature
Solution: Move chicken to indirect heat zone immediately if exterior is browning too quickly while interior remains undercooked.
Flavor Boosters That Actually Work
While simple salt and pepper works wonders, these evidence-based enhancements deliver maximum flavor:
- Dry brine (best method): Rub 3/4 tsp salt per pound of chicken 1-4 hours before grilling—this seasons throughout without making exterior wet
- Acidic marinades: Limit to 30-60 minutes (longer makes texture mushy)—try lemon juice, vinegar, or yogurt-based mixtures
- Oil-based marinades: Can go longer (2-4 hours)—olive oil with herbs penetrates better than acidic options
According to research from the Serious Eats Food Lab, dry brining outperforms wet brining for chicken breast because it seasons the meat without introducing excess moisture that steams rather than sears.
Food Safety Essentials You Must Know
Follow these critical safety guidelines from the USDA Food Safety and Inspection Service:
- Always use a digital thermometer—color isn't a reliable indicator of doneness
- Chicken must reach 165°F internally to be safe
- Clean all surfaces that contact raw chicken with hot, soapy water
- Never place cooked chicken back on the plate that held raw chicken
- Refrigerate leftovers within 2 hours (1 hour if over 90°F outside)
Troubleshooting Guide: Fixing Common Problems
If your chicken is dry: You likely overcooked it. Try reducing cooking time by 1-2 minutes per side next time. Remember that carryover cooking continues during resting.
If your chicken is undercooked: Return to indirect heat zone immediately. Never microwave partially cooked chicken as it creates uneven texture.
If grill marks aren't forming: Your grill isn't hot enough or you're moving the chicken too soon. Wait until it releases naturally from the grates.
Pro Tips for Consistent Results
- Pat chicken completely dry before seasoning for better sear
- Season under the skin for more flavorful results
- Let chicken rest covered loosely with foil—tight wrapping causes steaming
- Always cut against the grain when serving for maximum tenderness


 浙公网安备
33010002000092号
浙公网安备
33010002000092号 浙B2-20120091-4