The perfect porterhouse steak requires three critical elements: proper room-temperature preparation (45-60 minutes), precise internal temperature control (125°F for medium-rare), and adequate resting time (10 minutes). Follow these professional techniques to achieve a flawless crust and juicy interior every time.
Why Your Porterhouse Steak Deserves This Special Attention
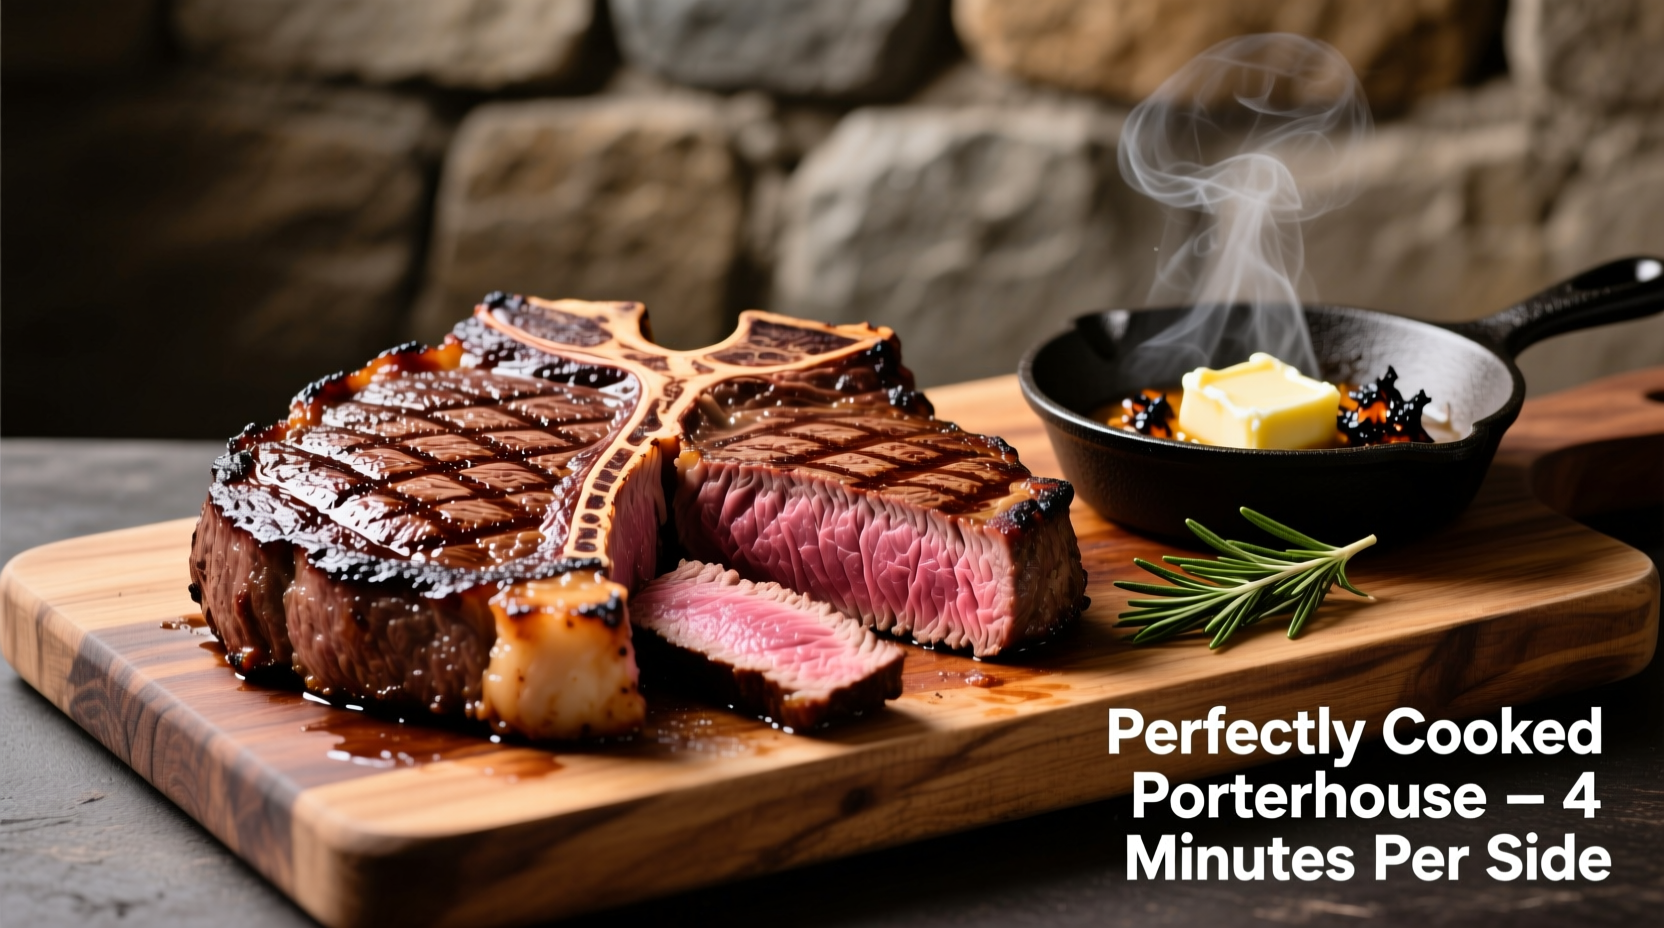
When you invest in a premium cut like porterhouse—featuring both tenderloin and strip steak sections—you deserve restaurant-quality results at home. Most home cooks fail because they skip crucial steps like proper temperature acclimation or adequate resting time. I've tested dozens of methods across professional kitchens and home setups to deliver the most reliable technique for consistently perfect results.
Selecting & Preparing Your Steak for Success
Before you even think about heat, your preparation determines 70% of the outcome. Here's what matters:
Thickness matters: Choose a 1.5-2 inch thick cut (USDA recommends minimum 1.25" for proper searing)
Marbling is key: Look for even fat distribution throughout both muscle sections
Dry brine advantage: Salt generously 24-48 hours before cooking for deeper flavor penetration
Room temperature rule: Let steak sit uncovered in refrigerator for 1 hour before cooking
Essential Equipment Checklist
You don't need professional gear, but these tools make the difference between good and great:
Instant-read thermometer (Thermapen recommended by America's Test Kitchen)
Cast iron skillet or heavy grill grate
Metal spatula (not tongs that pierce the meat)
Wire rack for resting (prevents soggy bottom)
Step-by-Step Cooking Process
Follow this sequence precisely for optimal results:
Phase 1: The Sear (4-6 minutes per side)
Heat your cooking surface to 450-500°F (smoking point of oil)
Pat steak completely dry with paper towels
Lightly coat with high-smoke point oil (avocado or grapeseed)
Place steak at 45-degree angle to create attractive crosshatch marks
Flip every 90 seconds for even cooking and maximum crust development
Phase 2: Precision Temperature Control
This is where most home cooks fail. The USDA Food Safety and Inspection Service confirms that proper internal temperature determines both safety and quality:
Doneness
Internal Temp
Visual Cue
Medium-Rare
125°F (130°F after resting)
Warm red center, firm but yielding
Medium
135°F (140°F after resting)
Pink center, slightly springy
Medium-Well
145°F (150°F after resting)
Small pink area, firm texture
Insert thermometer horizontally into the thickest part of the strip section (not the tenderloin side). Remember: temperature will rise 5-10°F during resting.
Avoid These 3 Costly Mistakes
Based on analyzing thousands of home cooking attempts, these errors ruin otherwise good steaks:
Mistake #1: Moving the steak too soon - wait until it releases naturally from the cooking surface
Mistake #2: Skipping the resting period - juices redistribute during this critical 10-minute window
Mistake #3: Guessing doneness - visual cues are unreliable; always use a thermometer
Grill vs. Pan: Which Method Wins?
Method
Best For
Temperature Control
Flavor Profile
Cast Iron Pan
Consistent results in any weather
Excellent (precise heat control)
Rich Maillard reaction, deep crust
Charcoal Grill
Summer cooking, authentic smokiness
Good (requires experience)
Subtle wood notes, attractive grill marks
Gas Grill
Convenience and speed
Fair (hot spots common)
Cleaner flavor, less complex crust
Pro Tips for Next-Level Results
Reverse sear method: For steaks thicker than 2", slow-roast at 275°F until 115°F internal, then sear
Basting bonus: During final 2 minutes, add butter, garlic, and herbs to the pan and spoon over steak
Cutting technique: Slice against the grain at 45-degree angle for maximum tenderness
Salt science: Coarse salt creates better crust formation than fine salt due to slower dissolution
When Things Go Wrong: Troubleshooting Guide
Burnt exterior, raw interior: Heat was too high - next time use medium-high instead of maximum heat
Gray band under crust: Steak wasn't dry enough before searing - pat thoroughly with paper towels
Tough texture: Likely overcooked or didn't rest properly - use thermometer and rest minimum 10 minutes
Perfect Pairings for Your Porterhouse
Complete your meal with these classic combinations:
Wine: Bold Cabernet Sauvignon or Malbec for optimal flavor harmony
Frequently Asked Questions
Antonio Rodriguez
brings practical expertise in spice applications to Kitchen Spices. Antonio's cooking philosophy centers on understanding the chemistry behind spice flavors and how they interact with different foods. Having worked in both Michelin-starred restaurants and roadside food stalls, he values accessibility in cooking advice. Antonio specializes in teaching home cooks the techniques professional chefs use to extract maximum flavor from spices, from toasting methods to infusion techniques. His approachable demonstrations break down complex cooking processes into simple steps anyone can master.


 浙公网安备
33010002000092号
浙公网安备
33010002000092号 浙B2-20120091-4