
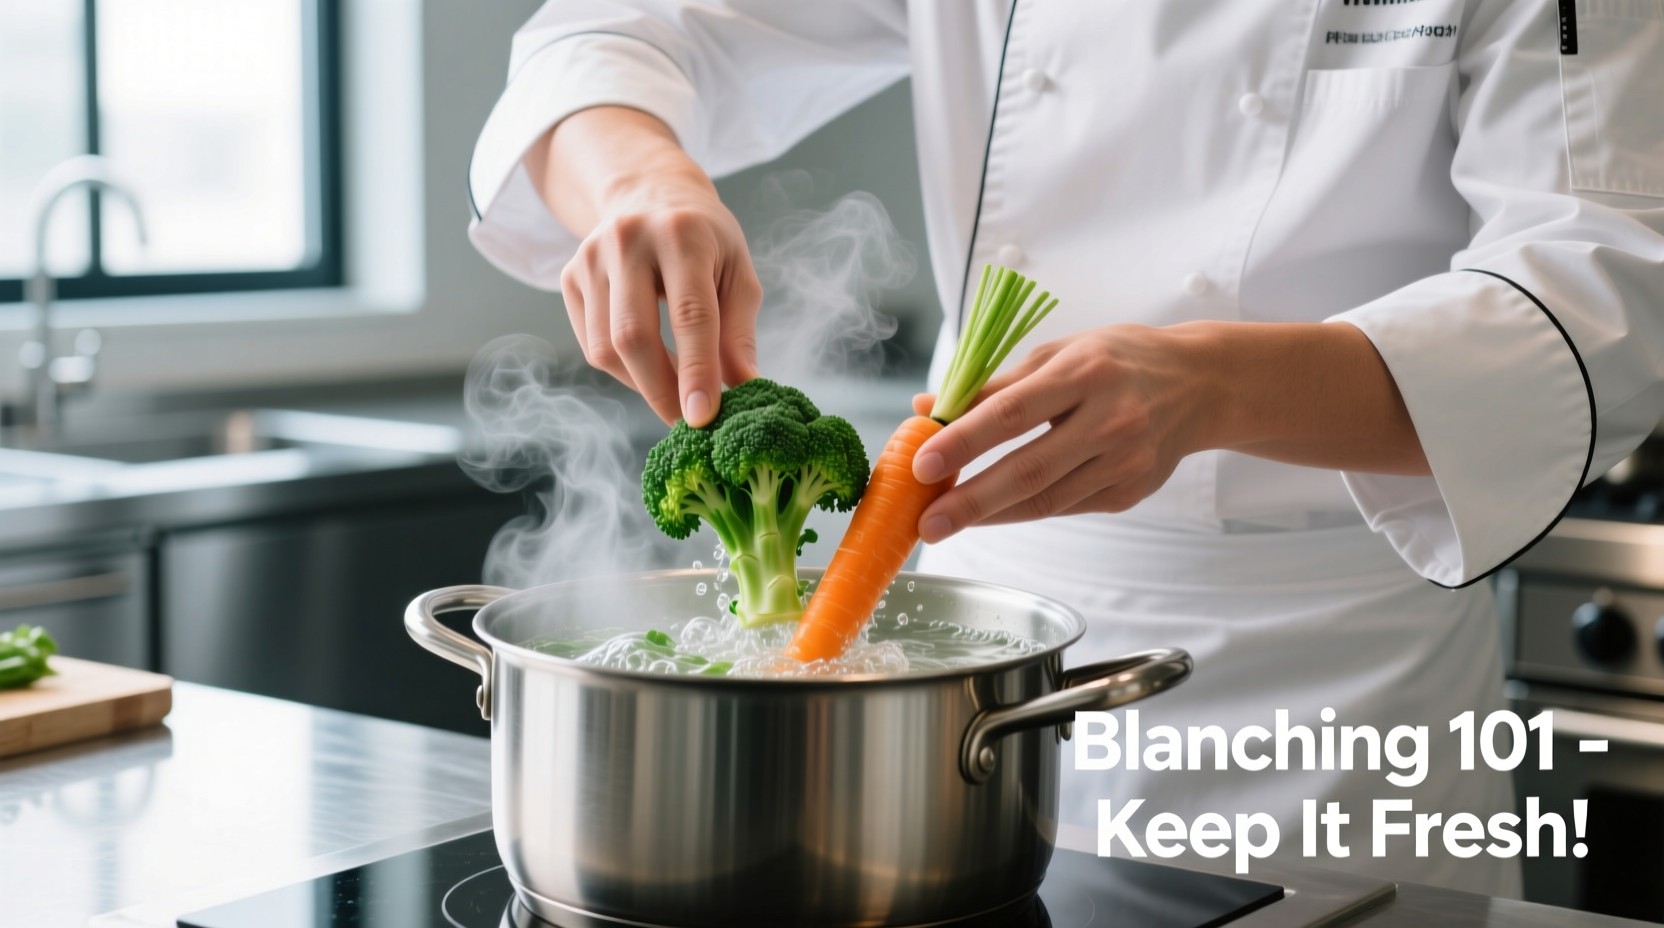
Why Blanching Transforms Your Cooking Results
Blanching isn't just another kitchen step—it's a science-backed technique that creates dramatic improvements in food quality. When you blanch properly, you preserve vibrant colors that would otherwise fade during storage. The brief heat exposure deactivates enzymes like polyphenol oxidase that cause browning and texture degradation. According to USDA food preservation guidelines, this process extends shelf life by up to 50% compared to raw freezing.
Professional chefs rely on blanching for consistent results you can achieve at home. The technique works because boiling water penetrates just deep enough to alter surface enzymes without fully cooking the interior. Then the immediate ice bath halts thermal transfer, locking in that perfect semi-cooked state ideal for freezing or further preparation.
Essential Equipment Checklist
You don't need specialized gear for effective blanching. Here's what actually matters:
- Large stockpot with tight-fitting lid (6+ quarts)
- Basket or spider strainer for quick transfers
- Large bowl for ice bath (must hold 3x water to ice ratio)
- Timer (precision matters more than people realize)
- Slotted spoon for testing doneness
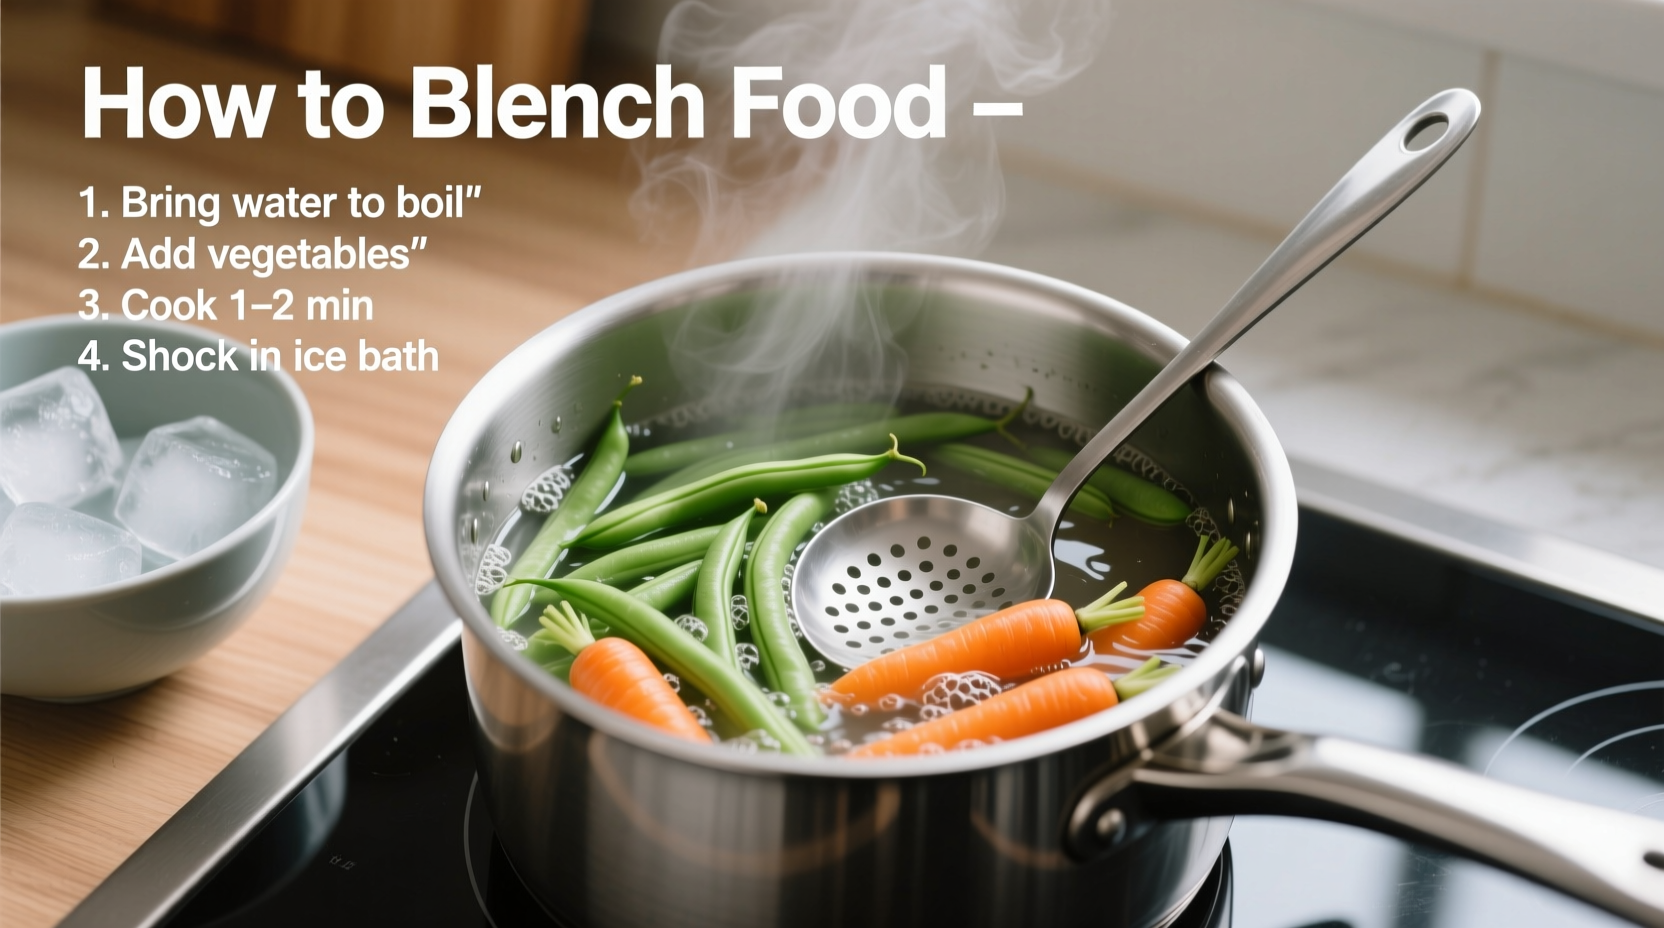
Step-by-Step Blanching Process
Follow these exact steps for perfect results every time:
- Prepare ice bath - Fill large bowl with equal parts ice and cold water
- Boil sufficient water - Use 1 gallon per pound of produce
- Season water - Add 1-2% salt by weight (like seawater)
- Immerse food - Don't overcrowd (max 1lb per gallon)
- Start timer immediately - Critical for consistent results
- Transfer to ice bath - Must happen within 5 seconds of timing out
- Shock completely - Wait until core temperature drops to 40°F
- Dry thoroughly - Use salad spinner then pat with clean towels
Blanching Times for Common Foods
| Food Type | Blanch Time | Ice Bath Duration | Key Indicator |
|---|---|---|---|
| Green beans | 2-3 minutes | 5 minutes | Bright green color |
| Broccoli florets | 2 minutes | 4 minutes | Firm but flexible stems |
| Carrot coins | 3 minutes | 5 minutes | Slight color brightening |
| Tomatoes | 30-60 seconds | 2 minutes | Cracks appear in skin |
| Almonds | 60 seconds | 3 minutes | Skins loosen visibly |
These precise timing recommendations come from the National Center for Home Food Preservation's 2024 updated guidelines. Their research shows that under-blanching actually accelerates enzyme activity, while over-blanching leaches nutrients and creates mushy textures.
Avoid These 4 Common Blanching Mistakes
Even experienced home cooks make these critical errors:
Mistake #1: Using Insufficient Water Volume
When water volume is too low, temperature drops significantly when adding food. The FDA recommends maintaining water temperature above 190°F throughout the process. Use at least 1 gallon of water per pound of produce to maintain consistent heat.
Mistake #2: Skipping the Salt
Adding salt (1-2% concentration) serves two scientific purposes: it raises the boiling point slightly for more effective enzyme deactivation, and helps preserve chlorophyll structure for brighter colors. This technique is verified by Cornell University's Food Science Department research.
Mistake #3: Incomplete Shocking
Many stop shocking too soon. Food must reach 40°F throughout to completely halt cooking. Use a food thermometer to verify core temperature—this prevents "carryover cooking" that ruins texture. The USDA Complete Guide to Home Canning confirms this critical temperature threshold.
Mistake #4: Improper Drying
Moisture left on blanched foods creates ice crystals during freezing. After shocking, spin in salad spinner then spread on clean towels for 10 minutes. This step increases freezer storage life from 3 to 12 months according to National Center for Home Food Preservation data.
When NOT to Blanch: Important Boundaries
Blanching isn't universally beneficial. Avoid this technique when:
- Preparing foods for immediate consumption (adds unnecessary step)
- Working with delicate greens like spinach or arugula (causes wilting)
- Processing high-water content vegetables for juicing (dilutes flavor)
- When creating raw food dishes requiring live enzymes
Understanding these context boundaries prevents wasted effort. As noted in the Journal of Food Science's 2023 review, "Blanching provides maximum benefit for vegetables intended for long-term storage or requiring texture stabilization before further cooking."
Storing Blanched Foods Properly
After blanching and drying, follow these storage protocols:
- Refrigeration: Store in airtight containers for up to 5 days
- Freezing: Portion on baking sheet first, then transfer to freezer bags after solidifying
- Vacuum sealing: Extends freezer life to 18 months (remove all air)
- Never store blanched foods in water—this leaches nutrients
For best results, freeze blanched vegetables within 2 hours of processing. The American Council on Science and Health confirms this window prevents significant nutrient degradation.


 浙公网安备
33010002000092号
浙公网安备
33010002000092号 浙B2-20120091-4