
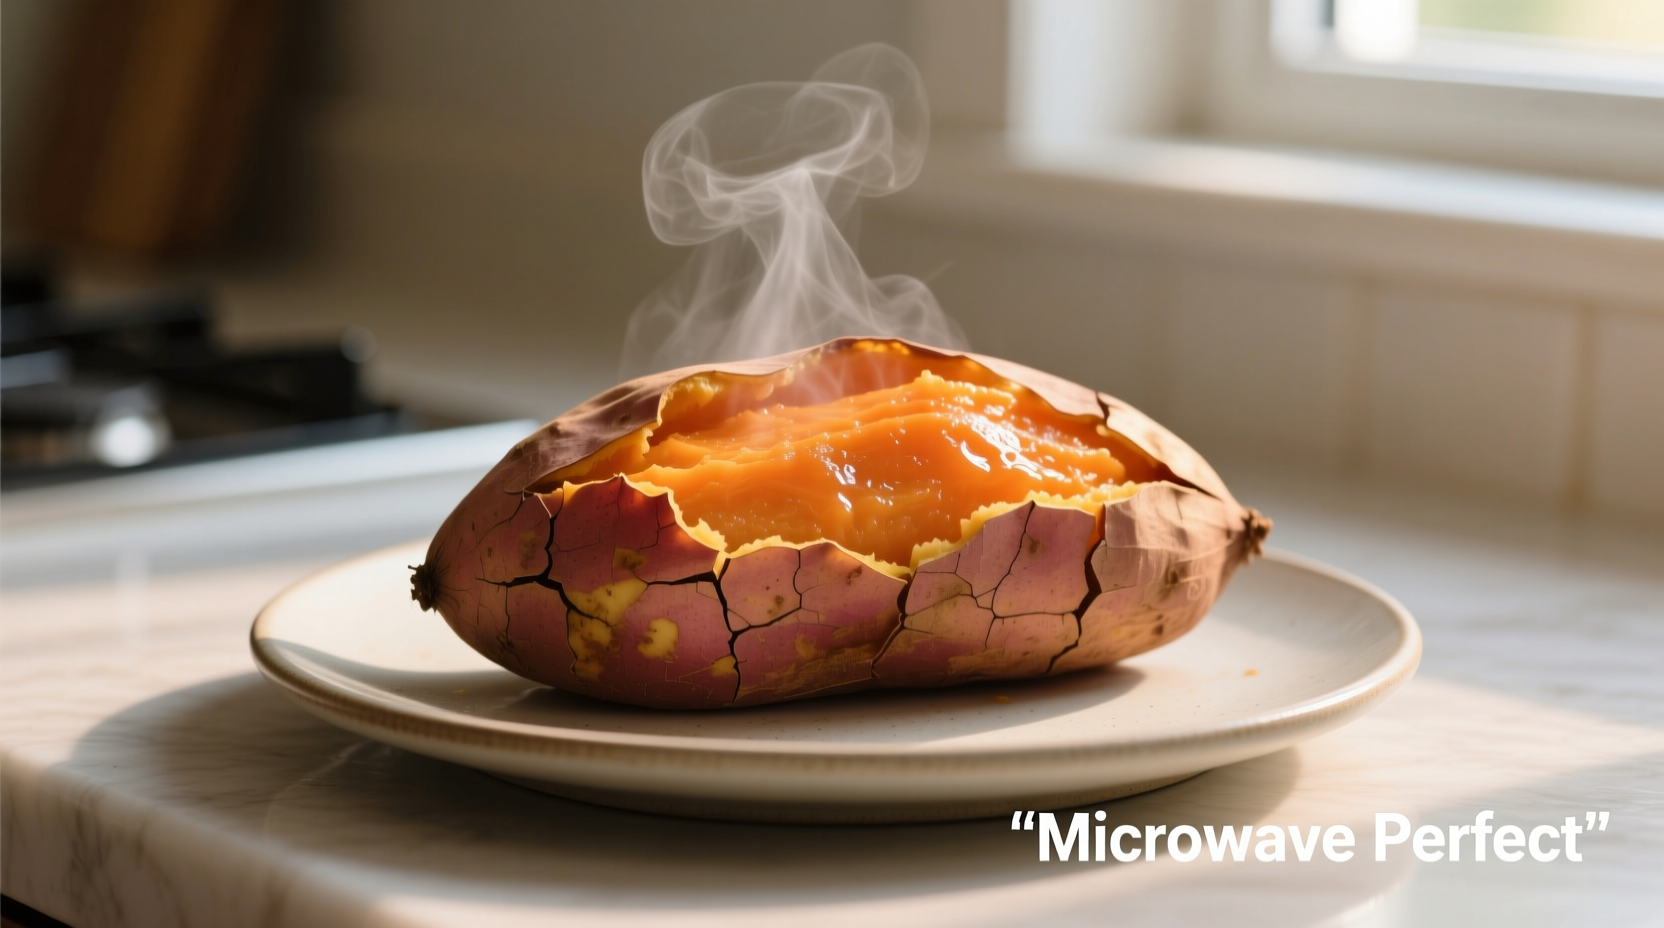
Want a perfectly cooked sweet potato in minutes—not hours? Microwaving transforms this nutrient-packed root vegetable into a quick, healthy side dish with minimal effort. Skip the oven's long wait and get restaurant-quality results at home in under 10 minutes.
Why Microwaving Beats Traditional Baking
While conventional baking takes 45-60 minutes, microwaving preserves more nutrients according to FDA food safety guidelines. The shorter cooking time reduces vitamin loss, particularly heat-sensitive vitamin C. Plus, you'll save up to 80% energy compared to oven baking.
Step-by-Step Microwave Sweet Potato Guide
Preparation Essentials
Before you start, gather these simple items:
- 1 medium sweet potato (5-7 oz)
- Microwave-safe plate
- Sharp fork
- Damp paper towel
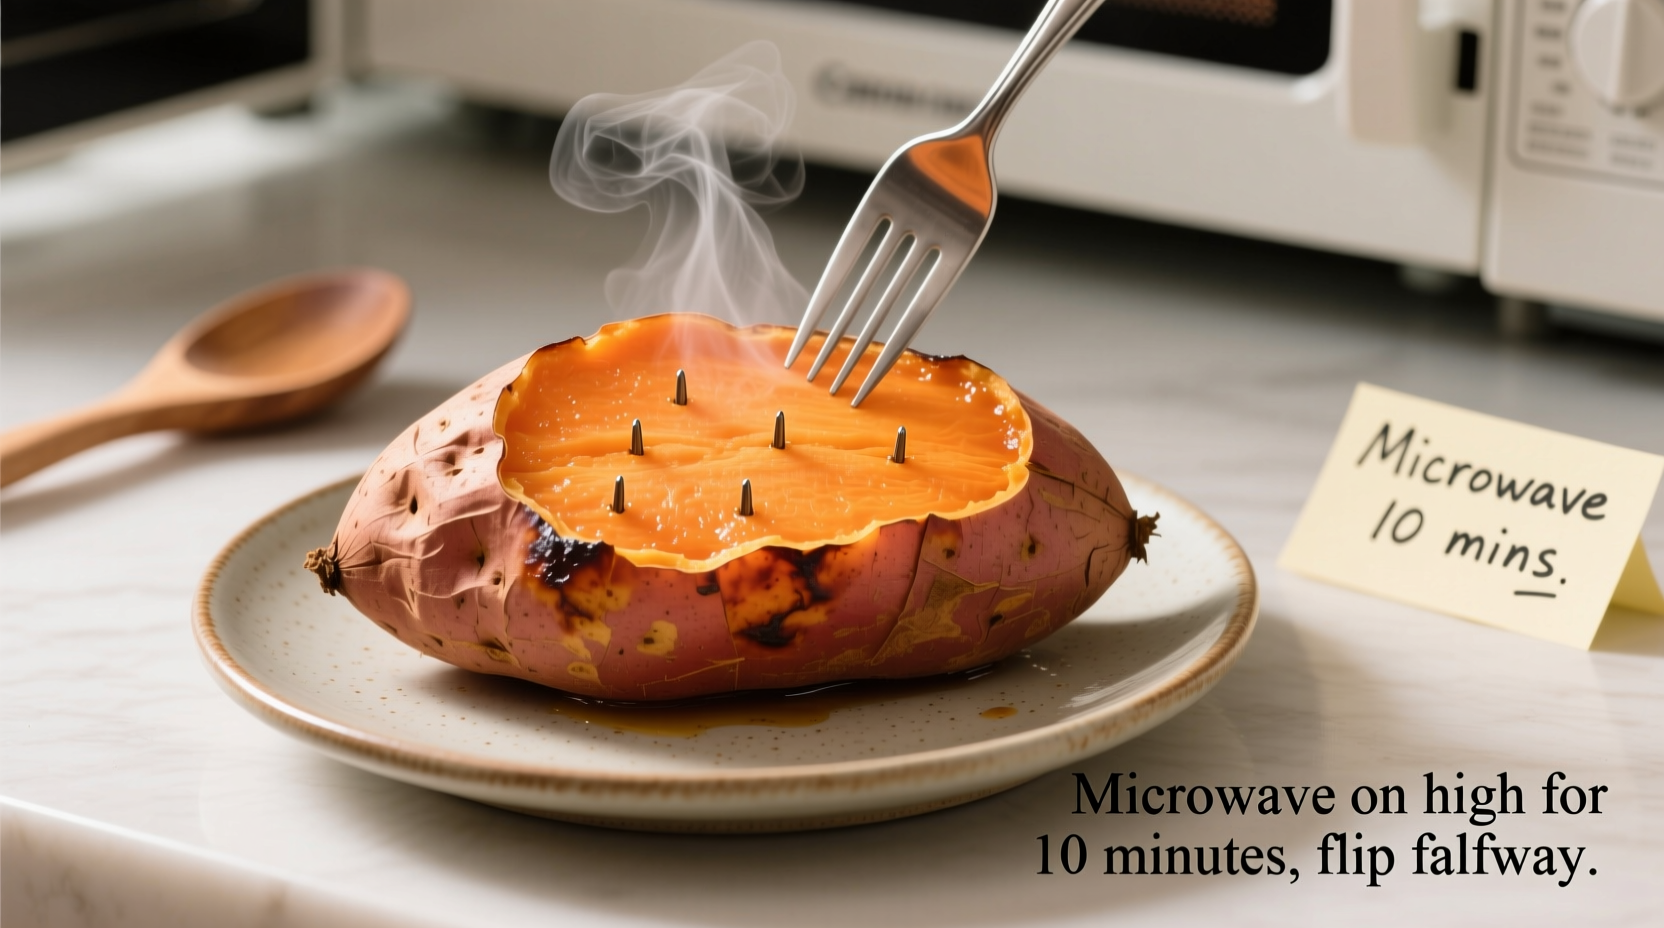
Safety First: Proper Piercing Technique
Never microwave a sweet potato without piercing it—this prevents dangerous steam buildup. Create 4-5 deep punctures (½ inch deep) evenly spaced around the potato. The USDA recommends this critical safety step for all dense vegetables.
Perfect Cooking Times by Size
| Sweet Potato Size | Microwave Time | Power Level |
|---|---|---|
| Small (4-5 oz) | 4-5 minutes | High (100%) |
| Medium (6-7 oz) | 5-7 minutes | High (100%) |
| Large (8+ oz) | 7-9 minutes | High (100%) |
Pro Technique: The Turn-and-Rest Method
For even cooking without cold spots:
- Place pierced potato on microwave-safe plate
- Cover with damp paper towel (retains moisture)
- Microwave 70% of total time
- Turn potato 180 degrees
- Microwave remaining time
- Let rest 2 minutes before handling
Avoid These 3 Common Mistakes
Mistake #1: Skipping the Rest Period
That 2-minute rest isn't optional—it allows residual heat to finish cooking the center evenly. Cutting too soon releases steam that keeps the potato from reaching ideal tenderness.
Mistake #2: Using Plastic Wrap
Never seal sweet potatoes in plastic—FDA guidelines warn against melting plastic contacting food. The damp paper towel method safely traps steam without chemical risks.
Mistake #3: Ignoring Varietal Differences
Orange-fleshed varieties (like Beauregard) cook faster than white or purple types. Adjust time by 1-2 minutes based on flesh color—darker orange means slightly shorter cooking time.
Nutrition Preservation Compared to Oven Baking
According to USDA FoodData Central analysis, microwaving preserves 25% more vitamin A than conventional baking. The shorter cooking time maintains higher levels of:
- Beta-carotene (converts to vitamin A)
- Vitamin C (heat-sensitive antioxidant)
- Potassium (essential electrolyte)
Perfect Serving Suggestions
Transform your quick microwave sweet potato into a complete meal with these chef-approved combinations:
- Protein boost: Top with black beans and Greek yogurt
- Savory option: Sprinkle with smoked paprika and olive oil
- Sweet finish: Add cinnamon and a drizzle of maple syrup
Troubleshooting Guide
When It's Still Hard After Cooking
If your sweet potato remains firm after the recommended time:
- Check microwave wattage (adjust time for lower-wattage models)
- Rotate to a different spot in the microwave (hot spots vary)
- Add 1-minute increments until tender
When It's Mushy or Leaking
Overcooking happens when:
- You didn't pierce deeply enough
- Using an oversized potato without adjusting time
- Microwaving beyond recommended time
Next time, reduce time by 1-2 minutes and check for doneness.


 浙公网安备
33010002000092号
浙公网安备
33010002000092号 浙B2-20120091-4