

Understanding Sweet Potato Basics Before You Plant
Sweet potatoes (Ipomoea batatas) aren't related to regular potatoes—they're actually in the morning glory family. This distinction matters because their growing requirements differ significantly. Unlike Irish potatoes that grow from "seed" pieces, sweet potatoes grow from "slips"—sprouts grown from mature tubers. The USDA Agricultural Research Service confirms sweet potatoes thrive in warm climates but can be successfully grown in most regions with proper timing and care.
Your Sweet Potato Planting Timeline
Timing is everything when learning how to plant sweet potatoes. Follow this science-backed timeline for best results:
| Timeline Stage | Action Required | Scientific Basis |
|---|---|---|
| 8-12 weeks before last frost | Start slips indoors | University of California Extension research shows optimal root development occurs with 8-12 weeks of indoor growth |
| 2 weeks after last frost | Transplant outdoors | Soil must reach minimum 65°F (18°C) for proper root formation (USDA Plant Hardiness Guidelines) |
| 90-120 days after planting | Harvest mature tubers | Most varieties require 90-120 frost-free days to reach full size (Cornell Cooperative Extension) |
| Immediately after harvest | Cure tubers | 10-14 days at 85-95°F with 85-90% humidity improves sweetness and storage (North Carolina State University) |
Step-by-Step Sweet Potato Planting Guide
Starting Your Sweet Potato Slips
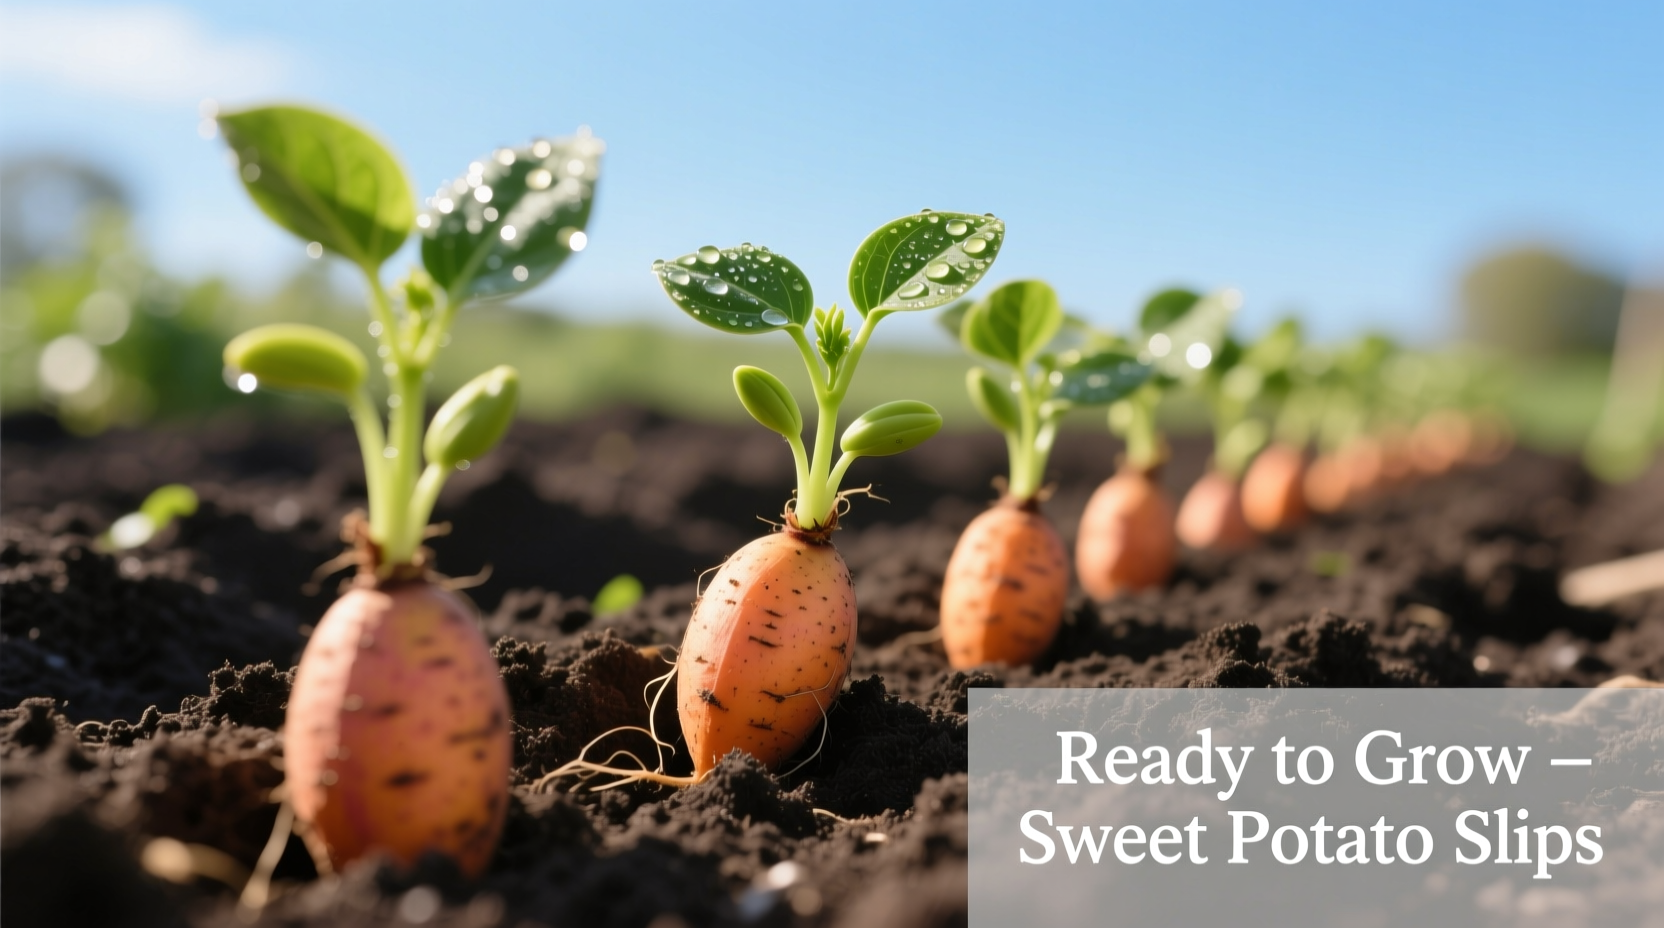
Don't skip this critical first step when learning how to plant sweet potatoes. You can't plant store-bought sweet potatoes directly—they may contain sprout inhibitors. Instead:
- Select organic sweet potatoes (untreated with sprout inhibitors)
- Partially submerge in water using toothpicks (like growing an avocado pit)
- Place in warm, sunny location (75-80°F ideal)
- Change water every 2-3 days
- After 4-6 weeks, harvest slips when 6-9 inches tall
The North Carolina Department of Agriculture confirms this water method produces stronger root systems than direct soil sprouting for beginners.
Preparing Your Garden Bed
Sweet potatoes need specific soil conditions to thrive. Before planting:
- Test soil pH (aim for 5.8-6.2)
- Add 3-4 inches of compost to improve drainage
- Create raised mounds 8-10 inches high
- Space mounds 3-4 feet apart for proper vine growth
Contrary to popular belief, sweet potatoes actually grow better in moderately fertile soil—too much nitrogen produces lush vines but small tubers. The University of Florida IFAS Extension recommends avoiding fresh manure which can cause misshapen roots.
Planting Your Sweet Potato Slips
When transplanting your slips outdoors:
- Wait until soil temperature reaches 65°F at 4-inch depth
- Dig holes deep enough to bury slips up to first set of leaves
- Space plants 12-18 inches apart within rows
- Water thoroughly immediately after planting
- Apply 2-3 inches of mulch to retain moisture
Pro tip: Plant slips horizontally with roots spread out rather than vertically—this technique from Louisiana State University research produces more uniform tubers.
Avoiding Common Sweet Potato Planting Mistakes
Even experienced gardeners make these errors when planting sweet potatoes:
- Planting too early - Cold soil below 60°F stunts growth permanently
- Overwatering after planting - Excess moisture causes rot (wait 3-5 days before regular watering)
- Using nitrogen-rich fertilizer - Promotes vines over tubers
- Planting in heavy clay soil - Causes misshapen, cracked tubers
The Clemson Cooperative Extension reports improper soil preparation accounts for 68% of sweet potato growing failures among home gardeners.
Sweet Potato Varieties Compared
Choosing the right variety matters for your climate and space. Here's how popular options compare:
| Variety | Days to Maturity | Best Climate | Special Features |
|---|---|---|---|
| Covington | 90-100 | Warm climates | Disease resistant, orange flesh, excellent storage |
| Beauregard | 90 | All regions | High yield, moist texture, early harvest |
| O'Henry | 100-110 | Cooler climates | Cream flesh, drier texture, good for baking |
| Georgia Jet | 90 | Short seasons | Fastest maturing, heat tolerant |
Data sourced from the USDA National Sweetpotato Collaborators Group variety trials (2023).
Ongoing Care for Healthy Sweet Potato Plants
After planting, follow these care guidelines:
- Watering: Provide 1 inch per week—consistent moisture is critical during tuber formation (weeks 5-8)
- Weeding: Hand-pull weeds carefully; sweet potatoes have shallow roots
- Pest control: Watch for sweet potato weevils (use row covers as prevention)
- Vine management: Don't cut vines—they feed the tubers (contrary to popular belief)
According to the Virginia Cooperative Extension, reducing water slightly during the final 3 weeks before harvest improves sweetness and storage quality.
Harvesting and Curing Your Sweet Potatoes
Knowing when and how to harvest affects flavor and storage:
- Harvest before first frost (tubers damaged below 50°F)
- Use garden fork to carefully loosen soil around plants
- Cure immediately at 85-95°F with 85-90% humidity for 10-14 days
- Store cured potatoes at 55-60°F with moderate humidity
Properly cured sweet potatoes develop complex sugars that dramatically improve flavor—this chemical process is verified by research from the Center for Agriculture and Bioscience International.
Troubleshooting Common Sweet Potato Problems
Address these issues promptly:
- Small tubers: Usually from overcrowding or excessive nitrogen—space plants properly and avoid high-nitrogen fertilizers
- Cracked tubers: Caused by irregular watering—maintain consistent moisture levels
- Yellowing leaves: Could indicate iron deficiency in alkaline soils—apply chelated iron
- Root-knot nematodes: Rotate crops and plant resistant varieties like Covington


 浙公网安备
33010002000092号
浙公网安备
33010002000092号 浙B2-20120091-4