
Grow celery successfully by starting seeds indoors 10-12 weeks before your last frost date, maintaining consistent moisture (1-1.5 inches weekly), providing rich soil with pH 6.0-6.8, and ensuring 6-8 hours of sunlight daily. Expect harvest in 130-140 days with proper blanching techniques to produce tender, flavorful stalks.
Why Homegrown Celery Beats Store-Bought
Commercial celery often loses flavor and nutrients during transport. Homegrown celery delivers superior crispness and complex flavor profiles you won't find in grocery stores. According to Cornell University Cooperative Extension, freshly harvested celery contains up to 30% more vitamin K and 25% more antioxidants than store-bought varieties that have traveled an average of 1,500 miles to reach shelves.
Your Celery Growing Roadmap
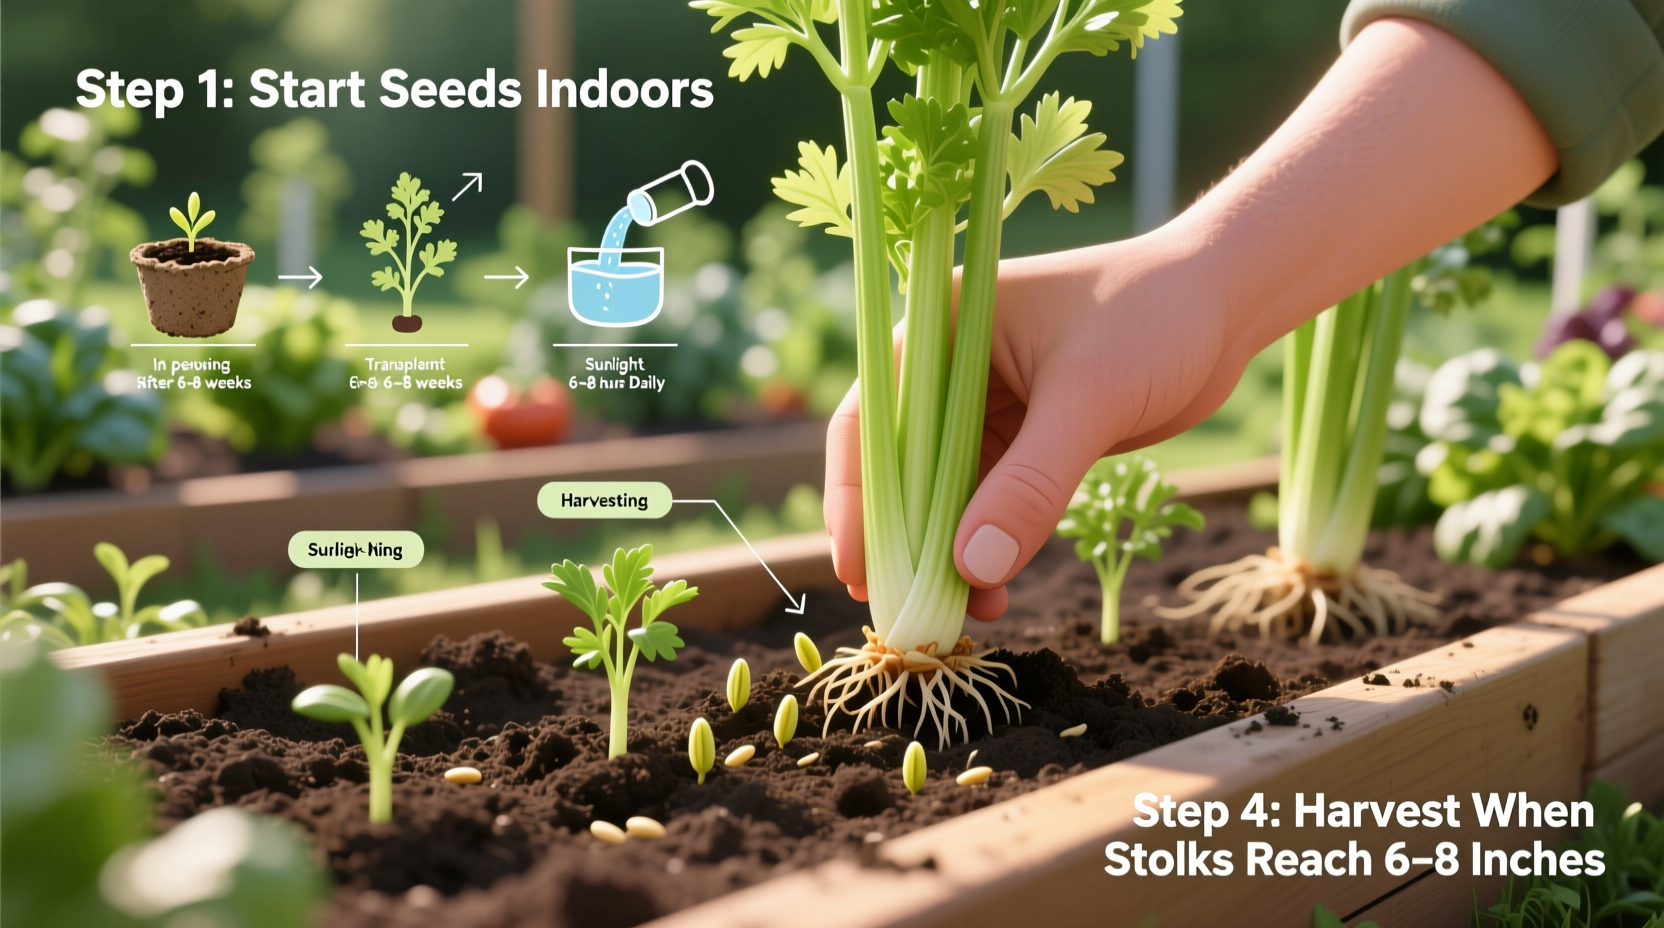
Follow this practical sequence based on successful home gardeners' experiences rather than theoretical gardening principles. This approach mirrors how you'll actually interact with your celery plants throughout the growing season.
Phase 1: Seed Starting (10-12 Weeks Before Last Frost)
Celery's long growing season requires an early start. Unlike many vegetables, celery seeds germinate best at 70°F (21°C) with consistent moisture. Plant seeds ¼ inch deep in seed trays using a sterile seed starting mix. Keep soil consistently moist but not waterlogged—celery seeds won't germinate if they dry out.
"Celery has notoriously slow and erratic germination," explains Dr. Linda Chalker-Scott, horticulture specialist at Washington State University. "Expect 14-21 days for sprouts to appear, and maintain steady moisture throughout this critical period."
Phase 2: Transplanting Seedlings (2-3 Weeks After Last Frost)
| Transplant Requirement | Optimal Condition | Common Mistake |
|---|---|---|
| Soil Temperature | 50°F+ (10°C+) | Planting in cold soil |
| Spacing | 8-10 inches apart | Overcrowding plants |
| Soil Preparation | 2 inches compost + balanced fertilizer | Insufficient organic matter |
| Planting Depth | Same as seedling container | Planting too deep |
Prepare garden beds with ample organic matter—celery demands nutrient-rich soil. Space plants 8-10 inches apart in rows 18-24 inches apart. Water thoroughly after transplanting and apply 2-3 inches of mulch to maintain consistent soil moisture, which is critical for preventing stringy, bitter stalks.
Phase 3: Watering & Feeding Schedule (Weeks 3-16 After Transplant)
Celery's high water content (95%) makes consistent moisture non-negotiable. Implement this proven watering strategy:
- Weeks 3-6: 1 inch of water daily (preferably morning)
- Weeks 7-10: 1.5 inches of water daily + liquid seaweed fertilizer weekly
- Weeks 11-16: Maintain 1.5 inches daily + calcium supplement to prevent blackheart
"Inconsistent watering is the #1 reason home gardeners fail with celery," states the University of California Agriculture and Natural Resources guide. "Fluctuations between wet and dry conditions cause rapid growth spurts followed by stress, resulting in tough, stringy stalks with bitter flavor."
Phase 4: Blanching Techniques (8-10 Weeks After Transplant)
Blanching produces the tender, pale stalks characteristic of quality celery. Choose one method:
- Traditional mounding: Gradually hill soil around stalks over 2-3 weeks
- Cardboard collars: Create 12-inch tubes around plants (most effective)
- Self-blanching varieties: Opt for 'Golden Self-Blanching' if avoiding manual blanching
Begin blanching when stalks reach 12 inches tall, continuing for 3-4 weeks before harvest. Stop watering 3 days before harvest to concentrate flavors.
Phase 5: Pest & Disease Management
Celery's primary threats include:
- Celery leaf miner: Use floating row covers from transplant through midseason
- Pink rot: Rotate crops annually and ensure proper drainage
- Blackheart: Maintain consistent calcium levels through soil amendments
The USDA notes that crop rotation is essential for celery success—avoid planting in the same spot more than once every 3-4 years to prevent soil-borne diseases from establishing.
Phase 6: Harvesting at Peak Flavor
Harvest celery when stalks reach 8-10 inches tall from ground to first leaf node. For best flavor, harvest in the morning after dew has dried. Use a sharp knife to cut at soil level or pull entire plant. Homegrown celery typically yields 3-5 pounds per 10-foot row when properly cared for.
Celery Growing Timeline: What to Expect
Understanding celery's growth stages helps manage expectations:
- Weeks 1-3: Seed germination (patience required)
- Weeks 4-8: Seedling development (indoor stage)
- Weeks 9-12: Transplant establishment (critical moisture period)
- Weeks 13-18: Rapid stalk development (consistent feeding)
- Weeks 19-20: Blanching period (flavor development)
- Weeks 21-22: Harvest time (peak crispness and flavor)
Climate Considerations: Where Celery Thrives
Celery grows best in USDA Hardiness Zones 2-10 as a cool-season crop. Gardeners in Zones 7-10 should plant for fall harvest, while Zones 2-6 succeed with spring planting. According to the National Gardening Association, celery requires 85-100 days of temperatures between 60-75°F (15-24°C) for optimal development—making it challenging but possible in most climates with proper timing.
Troubleshooting Common Celery Problems
Address these frequent issues promptly:
- Stringy stalks: Inconsistent watering—implement drip irrigation
- Bitter flavor: Heat stress—provide afternoon shade in warm climates
- Yellowing leaves: Nitrogen deficiency—apply balanced organic fertilizer
- Hollow stalks: Calcium deficiency—add gypsum to soil
Varietal Recommendations for Your Climate
Choose varieties based on your growing conditions:
- Cool climates: 'Tango' (disease resistant, crisp flavor)
- Warm climates: 'Utah 52-70R' (heat tolerant)
- Container gardening: 'Millionaire' (compact growth)
- Organic gardens: 'Lathom Self-Blanching' (fewer pest issues)
Extending Your Celery Harvest
Double your harvest with these techniques:
- Harvest outer stalks first, allowing inner stalks to continue growing
- Plant successive crops every 2-3 weeks for continuous harvest
- Use the "cut-and-come-again" method with leaf celery varieties
- Store harvested celery upright in water in the refrigerator
Frequently Asked Questions
Can I grow celery in containers?
Yes, celery grows well in containers with a minimum 12-inch depth and width. Use a high-quality potting mix amended with compost, and ensure consistent watering as container soil dries faster. Choose compact varieties like 'Millionaire' for best results, and place containers where they'll receive 6-8 hours of sunlight daily.
Why is my homegrown celery so stringy?
Stringy celery typically results from inconsistent watering or nutrient deficiencies. Celery requires 1-1.5 inches of water daily with no fluctuations. Implement drip irrigation for steady moisture, ensure adequate nitrogen through balanced fertilization, and consider blanching techniques to produce more tender stalks. Harvesting too late can also cause increased stringiness.
How long does celery take to grow from seed?
Celery requires 130-140 days from seed to harvest. Start seeds indoors 10-12 weeks before your last frost date, then transplant to the garden 2-3 weeks after the last frost. The extended growing season makes consistent care throughout the process essential for successful harvest.
Does celery need full sun?
Celery performs best with 6-8 hours of direct sunlight daily but appreciates afternoon shade in hot climates. In regions with summer temperatures consistently above 80°F (27°C), provide 30-50% shade during the hottest part of the day to prevent bolting and bitter flavor development while maintaining adequate light for growth.


 浙公网安备
33010002000092号
浙公网安备
33010002000092号 浙B2-20120091-4