
Drying dill properly preserves its distinctive flavor for year-round culinary use. Whether you've harvested an abundance from your garden or bought more than you can use fresh, proper drying techniques maintain the herb's essential oils and prevent mold or spoilage. This guide covers multiple drying methods with specific timing, temperature guidelines, and storage recommendations based on horticultural best practices.
Why Proper Drying Matters for Dill
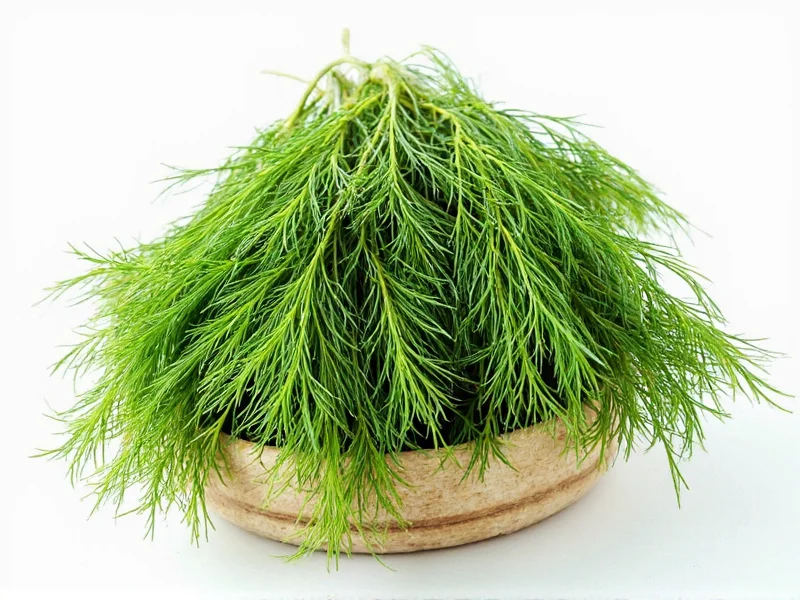
Dill's delicate flavor compounds degrade quickly when exposed to improper drying conditions. Unlike hardy herbs like rosemary, dill contains volatile oils that evaporate rapidly with excessive heat. The ideal drying process removes moisture while preserving maximum flavor and color. Fresh dill typically contains 80-90% water content, which must reduce to 10-15% for safe storage without compromising quality.
Harvesting Dill for Optimal Drying Results
Timing your harvest correctly significantly impacts drying success. Pick dill when morning dew has evaporated but before midday heat:
- Flower buds have formed but haven't fully opened (peak essential oil concentration)
- Stems are still flexible, not woody
- Leaves appear vibrant green without yellowing
- Avoid harvesting after rain or heavy watering
Four Effective Drying Methods Compared
| Method | Time Required | Temperature | Best For | Flavor Retention |
|---|---|---|---|---|
| Air Drying | 1-2 weeks | 65-75°F (18-24°C) | Large harvests, traditional approach | ★★★★☆ |
| Oven Drying | 2-4 hours | 150-170°F (65-77°C) | Urgent drying needs | ★★★☆☆ |
| Dehydrator | 4-8 hours | 95°F (35°C) | Consistent results, multiple batches | ★★★★★ |
| Micro-drying | 3-5 minutes | Low power setting | Small emergency batches | ★★☆☆☆ |
Air Drying: The Traditional Approach
Air drying preserves dill's flavor profile better than heat-based methods. Follow these precise steps:
- Wash dill gently in cool water and shake off excess moisture
- Pat completely dry with clean towels - moisture causes mold
- Divide into small bundles (¼ inch diameter) with rubber bands
- Hang upside down in a dark closet or paper bag with holes
- Maintain 40-50% humidity and consistent airflow
- Check daily after first week - ready when leaves crumble easily
Avoid direct sunlight which degrades chlorophyll and flavor compounds. The paper bag method protects from dust while allowing airflow - simply poke holes in a standard paper bag and place bundles inside.
Oven Drying for Time-Sensitive Situations
When you need dried dill quickly, use your oven with extreme care:
- Preheat to absolute minimum temperature (150°F/65°C)
- Spread single layer on parchment-lined baking sheet
- Prop oven door open 2-3 inches with wooden spoon
- Rotate sheets every 30 minutes for even drying
- Check every 20 minutes after first hour
- Remove when leaves feel papery but not brittle
Never exceed 170°F (77°C) - higher temperatures destroy dill's essential oils. Oven drying typically takes 2-4 hours depending on moisture content. This method works best for small batches when you need dried dill within hours.
Dehydrator Method for Consistent Results
Food dehydrators provide the most controlled drying environment:
- Set temperature to 95°F (35°C) - dill's ideal drying point
- Arrange sprigs in single layer without overlapping
- Run dehydrator for 4-8 hours depending on humidity
- Check hourly after first 4 hours
- Store immediately in airtight containers upon completion
Dehydrators maintain consistent low temperatures that preserve volatile compounds better than ovens. The circulating air prevents moisture pockets that cause mold. This method yields the most uniform results across large harvests.
Critical Storage Guidelines for Dried Dill
Improper storage ruins even perfectly dried dill. Follow these science-backed storage practices:
- Completely cool dried dill before storing (trapped heat causes condensation)
- Use amber glass jars with airtight seals - blocks light better than plastic
- Include silica gel packets to absorb residual moisture
- Store in dark cupboard away from stove or sink
- Label with harvest and drying dates
Properly stored dried dill maintains peak flavor for 6-12 months. After one year, flavor gradually diminishes though remains safe to use. Test potency by rubbing between fingers - strong aroma indicates good quality.
Using Dried Dill Effectively in Cooking
Understand the flavor conversion when substituting dried for fresh dill:
- Use 1 teaspoon dried dill for every 1 tablespoon fresh
- Add dried dill early in cooking to rehydrate and release flavors
- Reconstitute in warm water for 10 minutes before using in cold dishes
- Best uses: pickling, soups, stews, potato salad, and breads
- Avoid using dried dill in dishes where fresh would be garnished
Dried dill develops deeper, more concentrated flavor notes compared to fresh. The drying process converts some compounds into thymol, giving dried dill subtle thyme-like undertones that work well in heartier dishes.
Troubleshooting Common Drying Problems
Address these frequent issues with practical solutions:
- Mold development: Caused by insufficient airflow or high humidity. Solution: Increase ventilation, reduce bundle size, add dehumidifier
- Brown or black spots: Indicates burning from excessive heat. Solution: Lower temperature immediately
- Leaves sticking to stems: Incomplete drying. Solution: Return to drying process for additional 24-48 hours
- Dull color: Exposure to light during drying. Solution: Always dry in complete darkness
- Musty smell: Residual moisture. Solution: Oven-dry at 150°F for 30 minutes to finish drying
Frequently Asked Questions
Can I dry dill in the microwave?
Yes, but with caution. Place dill between paper towels and microwave on 10% power for 1-minute intervals, checking after each. Total time typically 3-5 minutes. This method works for small emergency batches but significantly reduces flavor quality compared to other methods.
How do I know when dill is completely dry?
Properly dried dill leaves should crumble easily when rubbed between fingers. Stems should snap cleanly rather than bend. If any moisture remains, the herb will develop mold during storage. Test one leaf by placing in sealed container for 24 hours - if condensation appears, it needs more drying time.
Should I remove dill leaves from stems before drying?
No, drying whole stems preserves more flavor. The stems contain essential oils that transfer to leaves during drying. Remove leaves only after complete drying when storing. Whole stems also maintain better structure during the drying process, preventing leaf loss.
Why does my dried dill taste different from fresh?
Drying concentrates dill's flavor compounds while converting some elements into different aromatic profiles. The fresh herb's delicate notes transform into deeper, more robust flavors. Dried dill develops subtle thyme-like undertones due to chemical changes during dehydration. This makes it better suited for cooked dishes rather than fresh applications.
Can I freeze dill instead of drying it?
Yes, freezing preserves more fresh flavor than drying but has different storage requirements. Chop dill, mix with olive oil, and freeze in ice cube trays. Transfer cubes to freezer bags for up to 6 months. Frozen dill works well in cooked dishes but loses texture, making it unsuitable for garnishes.


 浙公网安备
33010002000092号
浙公网安备
33010002000092号 浙B2-20120091-4