
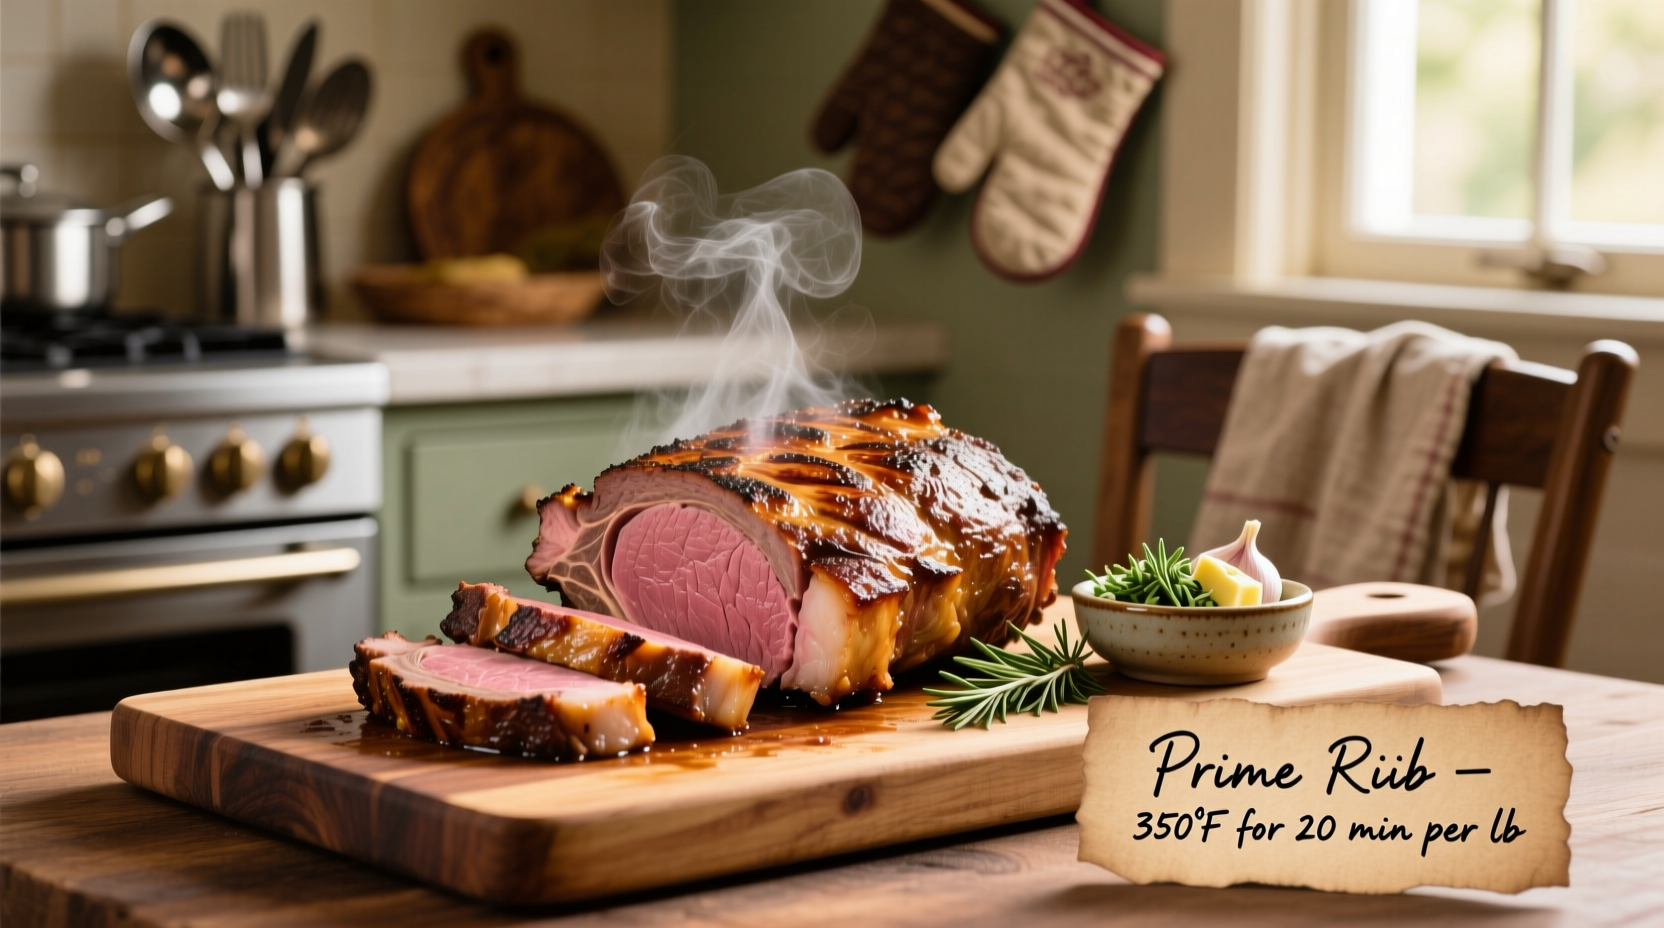
Nothing says celebration quite like a perfectly cooked prime rib. As a professional chef who's prepared this centerpiece roast for everything from holiday feasts to Michelin-starred dinners, I've mastered the techniques that transform this premium cut into a showstopper. Forget dry, overcooked results—with the right approach, you'll achieve restaurant-quality prime rib with a flavorful crust and tender, rosy interior.
Why This Method Works Every Time
Cooking prime rib successfully hinges on three critical factors: temperature control, proper seasoning, and adequate resting time. The low-and-slow method combined with precise temperature monitoring eliminates guesswork, while the resting period allows juices to redistribute throughout the meat. This approach works whether you're cooking for two or twenty—simply adjust timing based on roast size.
Essential Preparation Steps
Before your roast ever touches heat, proper preparation sets the stage for success:
- Select quality meat: Choose USDA Prime grade if available, with even marbling throughout
- Dry-brine overnight: Generously salt the roast 24 hours before cooking to enhance flavor and texture
- Bring to room temperature: Remove from refrigerator 3-4 hours before cooking for even heat distribution
- Trim excess fat: Leave 1/4 inch fat cap for flavor but trim any thick sections that won't render properly
According to the USDA Food Safety and Inspection Service, proper handling of raw meat is critical for food safety. Always keep meat refrigerated below 40°F until ready to prepare and use separate cutting boards for raw meat and other ingredients (USDA FSIS).
Prime Rib Cooking Methods Compared
While traditional high-heat roasting remains popular, modern techniques offer more reliable results. Here's how the most effective methods compare:
| Method | Temperature | Time (per pound) | Best For | Result |
|---|---|---|---|---|
| Traditional Roasting | 325°F | 15-20 minutes | Experienced cooks | Risk of uneven cooking |
| Low-and-Slow | 225°F | 30-40 minutes | Most home cooks | Even cooking throughout |
| Reverse Sear | 225°F then 500°F | 45-60 minutes + sear | Special occasions | Perfect crust, even doneness |
Step-by-Step Cooking Instructions
1. Seasoning for Maximum Flavor
After dry-brining, apply your final seasoning:
- Mix 2 tablespoons coarse salt, 2 tablespoons freshly ground black pepper, 2 tablespoons garlic powder, and 1 tablespoon dried rosemary
- Rub mixture thoroughly over entire surface of roast, including ends
- Let sit uncovered in refrigerator for 1-2 hours to dry the surface (promotes better browning)
2. The Low-and-Slow Cooking Process
This method delivers the most consistent results for home cooks:
- Preheat oven to 225°F (convection setting preferred if available)
- Place roast on wire rack in roasting pan, bone-side down
- Insert oven-safe meat thermometer into thickest part of meat
- Cook until internal temperature reaches 115°F for rare, 120°F for medium-rare
- For a 5-rib roast (approx. 12 lbs), expect 3-4 hours cooking time
3. Temperature Guide for Perfect Doneness
Use this critical temperature guide for your desired doneness level. Remember that temperature will rise 5-10°F during resting:
- Rare: Remove at 115°F (final temp 120-125°F)
- Medium-rare: Remove at 120°F (final temp 125-130°F)
- Medium: Remove at 128°F (final temp 133-138°F)
America's Test Kitchen research confirms that cooking prime rib to just 120°F internal temperature before resting yields the ideal medium-rare result with maximum juiciness and flavor retention.
4. The Critical Resting Period
Never skip this essential step:
- Transfer roast to carving board and tent loosely with foil
- Rest for 30-45 minutes (15 minutes per pound is ideal)
- During resting, temperature will rise and juices redistribute
- Resting time is when the meat finishes cooking without additional heat
Common Prime Rib Mistakes to Avoid
Even experienced cooks make these critical errors:
- Not using a thermometer: Guessing doneness leads to overcooked results
- Cutting too soon: Slicing before proper resting causes juices to run out
- Starting with cold meat: Creates uneven cooking and gray outer layer
- Overcrowding the pan: Prevents proper air circulation and browning
- Ignoring carryover cooking: Not accounting for temperature rise during resting
When to Choose Alternative Methods
While low-and-slow works for most situations, certain circumstances call for different approaches:
- For smaller gatherings (2-4 people): Consider the reverse sear method for maximum crust development
- When time is limited: Traditional high-heat roasting (325°F) works but requires closer monitoring
- For special occasions: Reverse sear provides the most impressive presentation with perfect edge-to-edge doneness
- When cooking multiple roasts: Low-and-slow is more forgiving with timing variations
Serving Your Perfect Prime Rib
Complete your meal with these professional finishing touches:
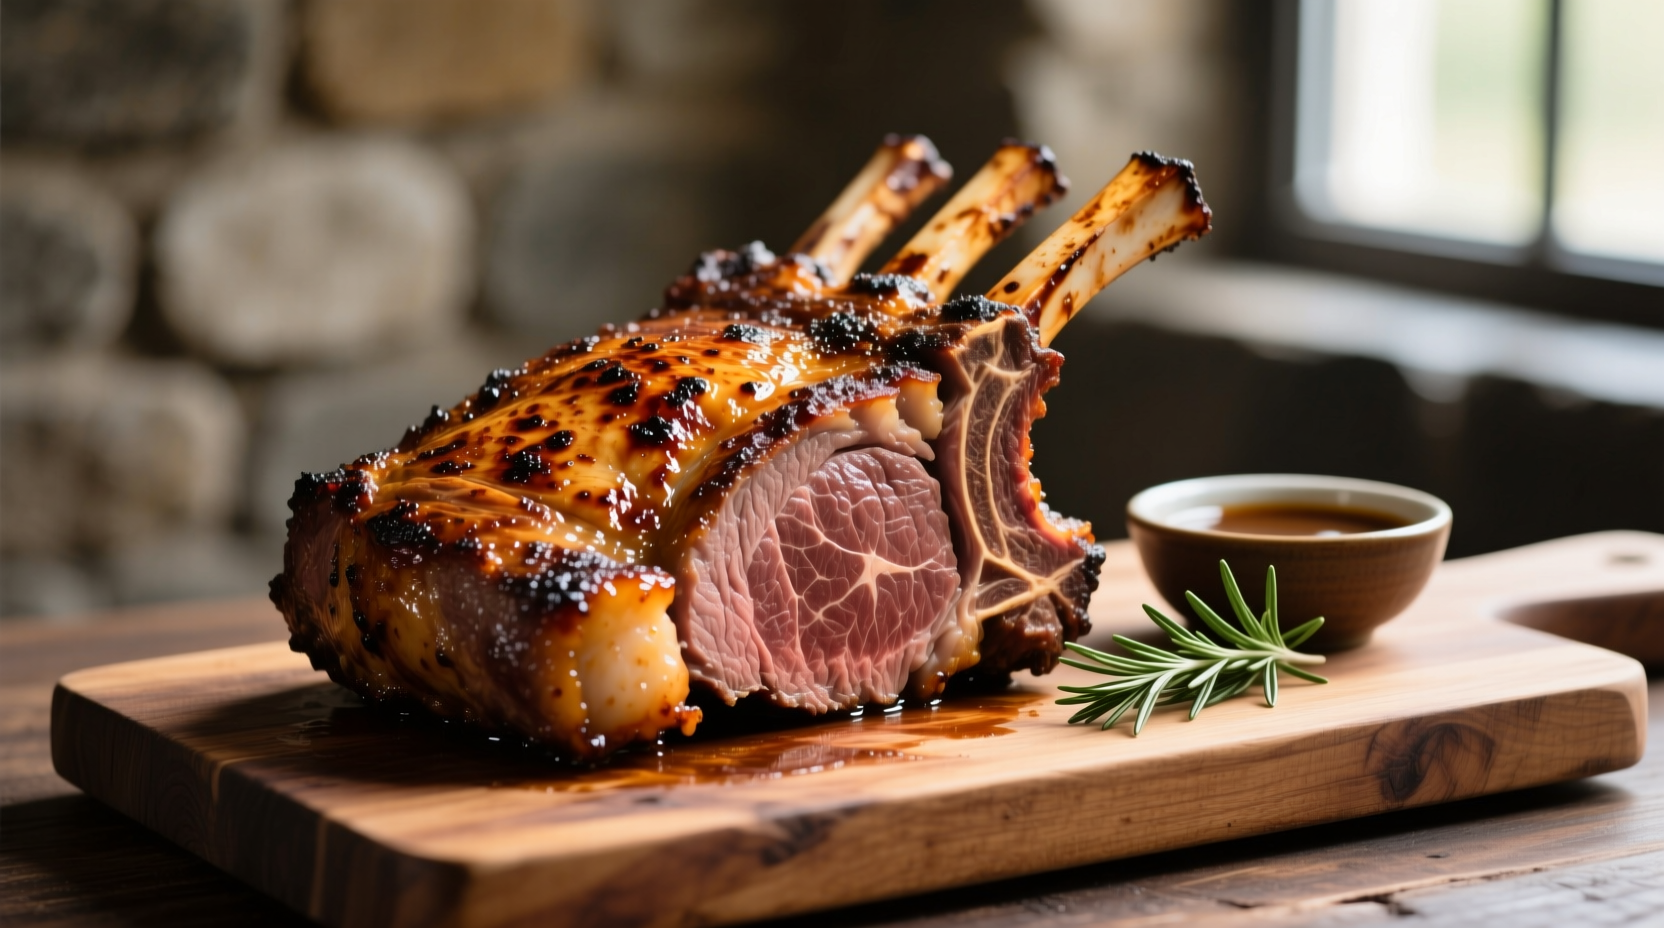
- Carving technique: Slice against the bone, perpendicular to the rib bones, for even portions
- Sauce pairing: Classic horseradish cream or jus made from pan drippings
- Side recommendations: Yorkshire pudding, roasted vegetables, and creamy mashed potatoes
- Wine pairing: Full-bodied Cabernet Sauvignon or Malbec complements the rich flavors
Troubleshooting Guide
Fix these common issues before they ruin your meal:
- Dry meat: Usually caused by overcooking—always use thermometer and pull early
- Gray outer layer: Meat started too cold—allow proper time to come to room temperature
- Fat not rendering: Cook at lower temperature for longer period to melt fat properly
- Uneven cooking: Rotate pan halfway through cooking for even heat distribution
Frequently Asked Questions
How long should prime rib rest before carving?
Prime rib should rest for 30-45 minutes before carving—approximately 15 minutes per pound. This critical resting period allows the muscle fibers to relax and juices to redistribute throughout the meat. Cutting too soon causes precious juices to run out, resulting in dry meat. During resting, the internal temperature will continue to rise 5-10°F (carryover cooking), so remove the roast from oven slightly below your target temperature.
What's the difference between prime rib and rib roast?
Prime rib specifically refers to a rib roast cut from the primal rib section that has been graded USDA Prime (the highest quality grade with abundant marbling). However, the terms are often used interchangeably. All prime rib is rib roast, but not all rib roast is prime rib—it could be Choice or Select grade. The cooking methods remain identical regardless of grade, though higher grade meat will generally be more tender and flavorful due to increased marbling.
Can I cook prime rib the day before and reheat?
Yes, but with proper technique. Cook the prime rib to 5°F below your target temperature, then cool rapidly in an ice bath. Refrigerate overnight, then reheat slowly in a 250°F oven until it reaches your desired final temperature. This method works well for large gatherings but requires careful temperature monitoring. The USDA recommends reheating cooked meat to 165°F for food safety, though for prime rib you'll want to stop at your preferred doneness temperature (typically 130-135°F for medium-rare).
Why is my prime rib fat chewy instead of crispy?
Chewy fat typically results from insufficient rendering time. The fat needs low, slow cooking to properly melt and crisp. Try these solutions: 1) Start at a lower temperature (225°F) for longer to allow fat to render gradually, 2) Score the fat cap in a diamond pattern before cooking to help render more evenly, 3) For the last 15-20 minutes, increase oven temperature to 450°F to crisp the exterior. Properly rendered prime rib fat should be golden brown and melt-in-your-mouth tender, not chewy or rubbery.
How do I know when prime rib is done without a thermometer?
While a meat thermometer is strongly recommended for accuracy, you can use the touch test as a backup method. Press the meat with your finger: rare feels like the fleshy part of your palm below the thumb when your hand is relaxed; medium-rare feels like that same area when you touch your thumb to your index finger; medium feels like when thumb touches middle finger. However, this method requires practice and is less reliable than a thermometer, especially for beginners. The USDA Food Safety and Inspection Service emphasizes that visual and tactile methods alone cannot guarantee food safety.


 浙公网安备
33010002000092号
浙公网安备
33010002000092号 浙B2-20120091-4